Airgradient One v9 configuration with Homeassistant for first time ESPhome user

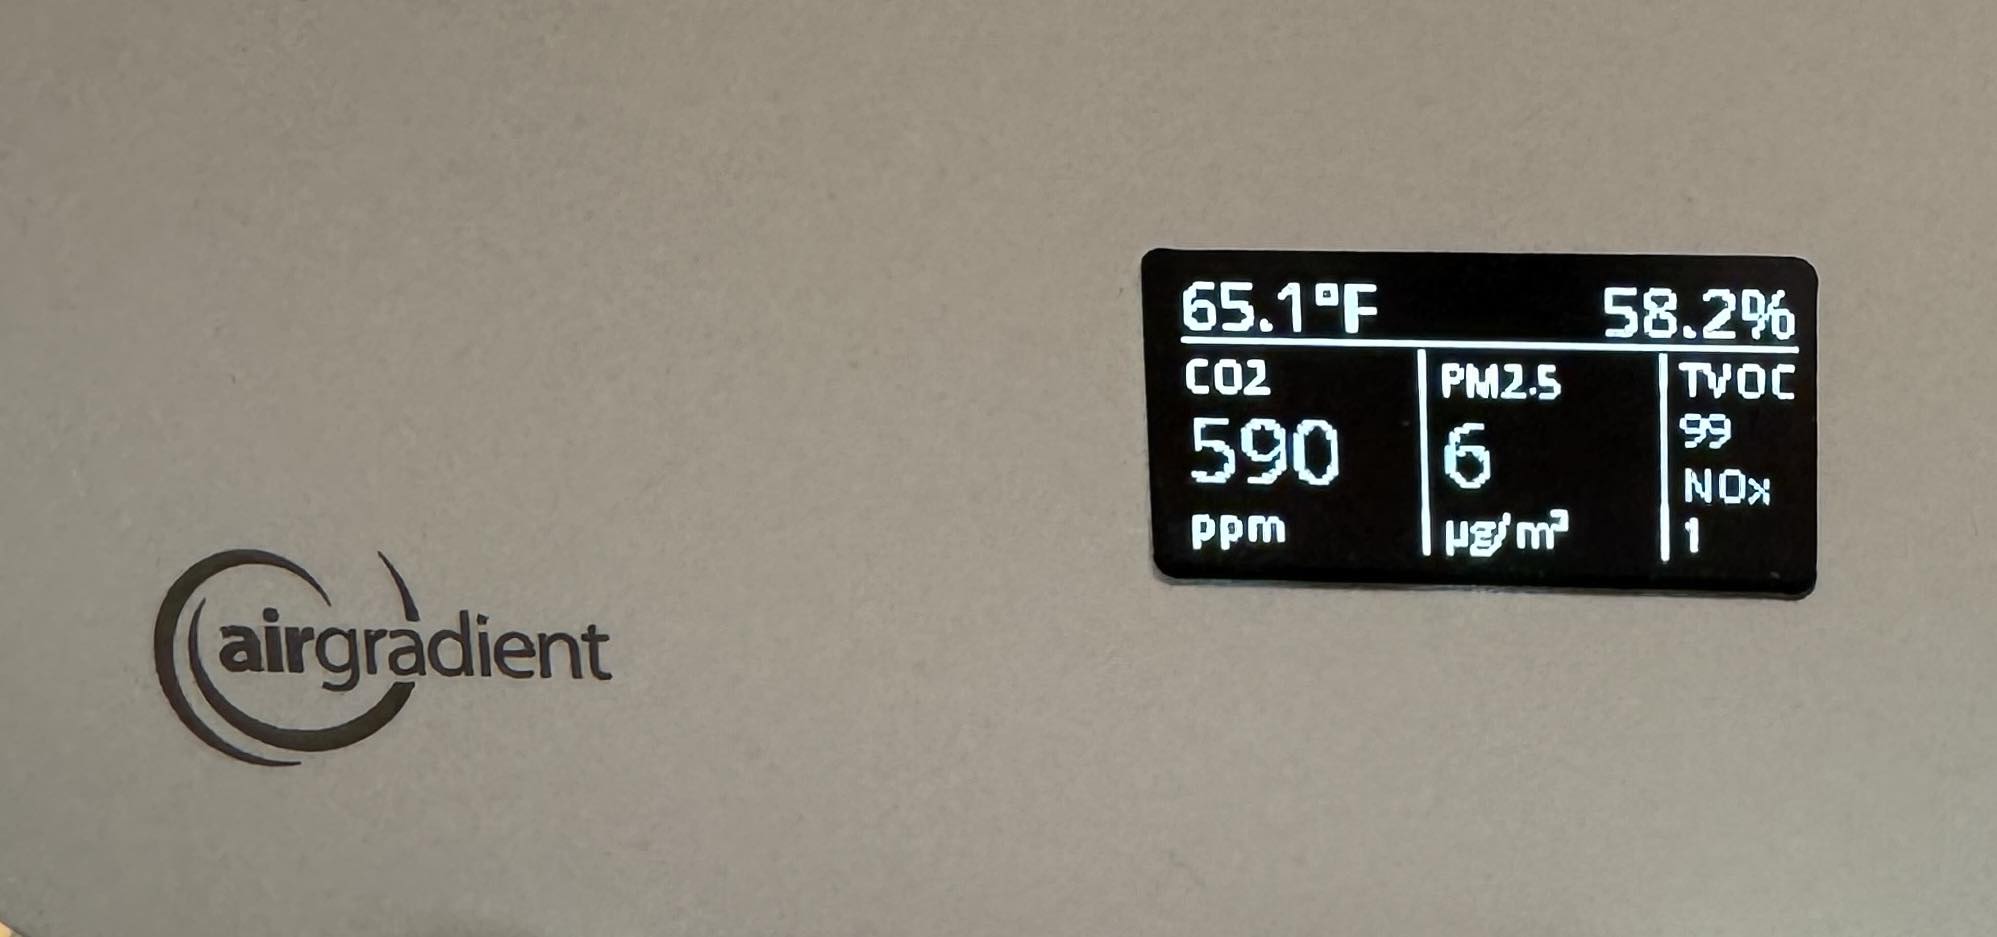
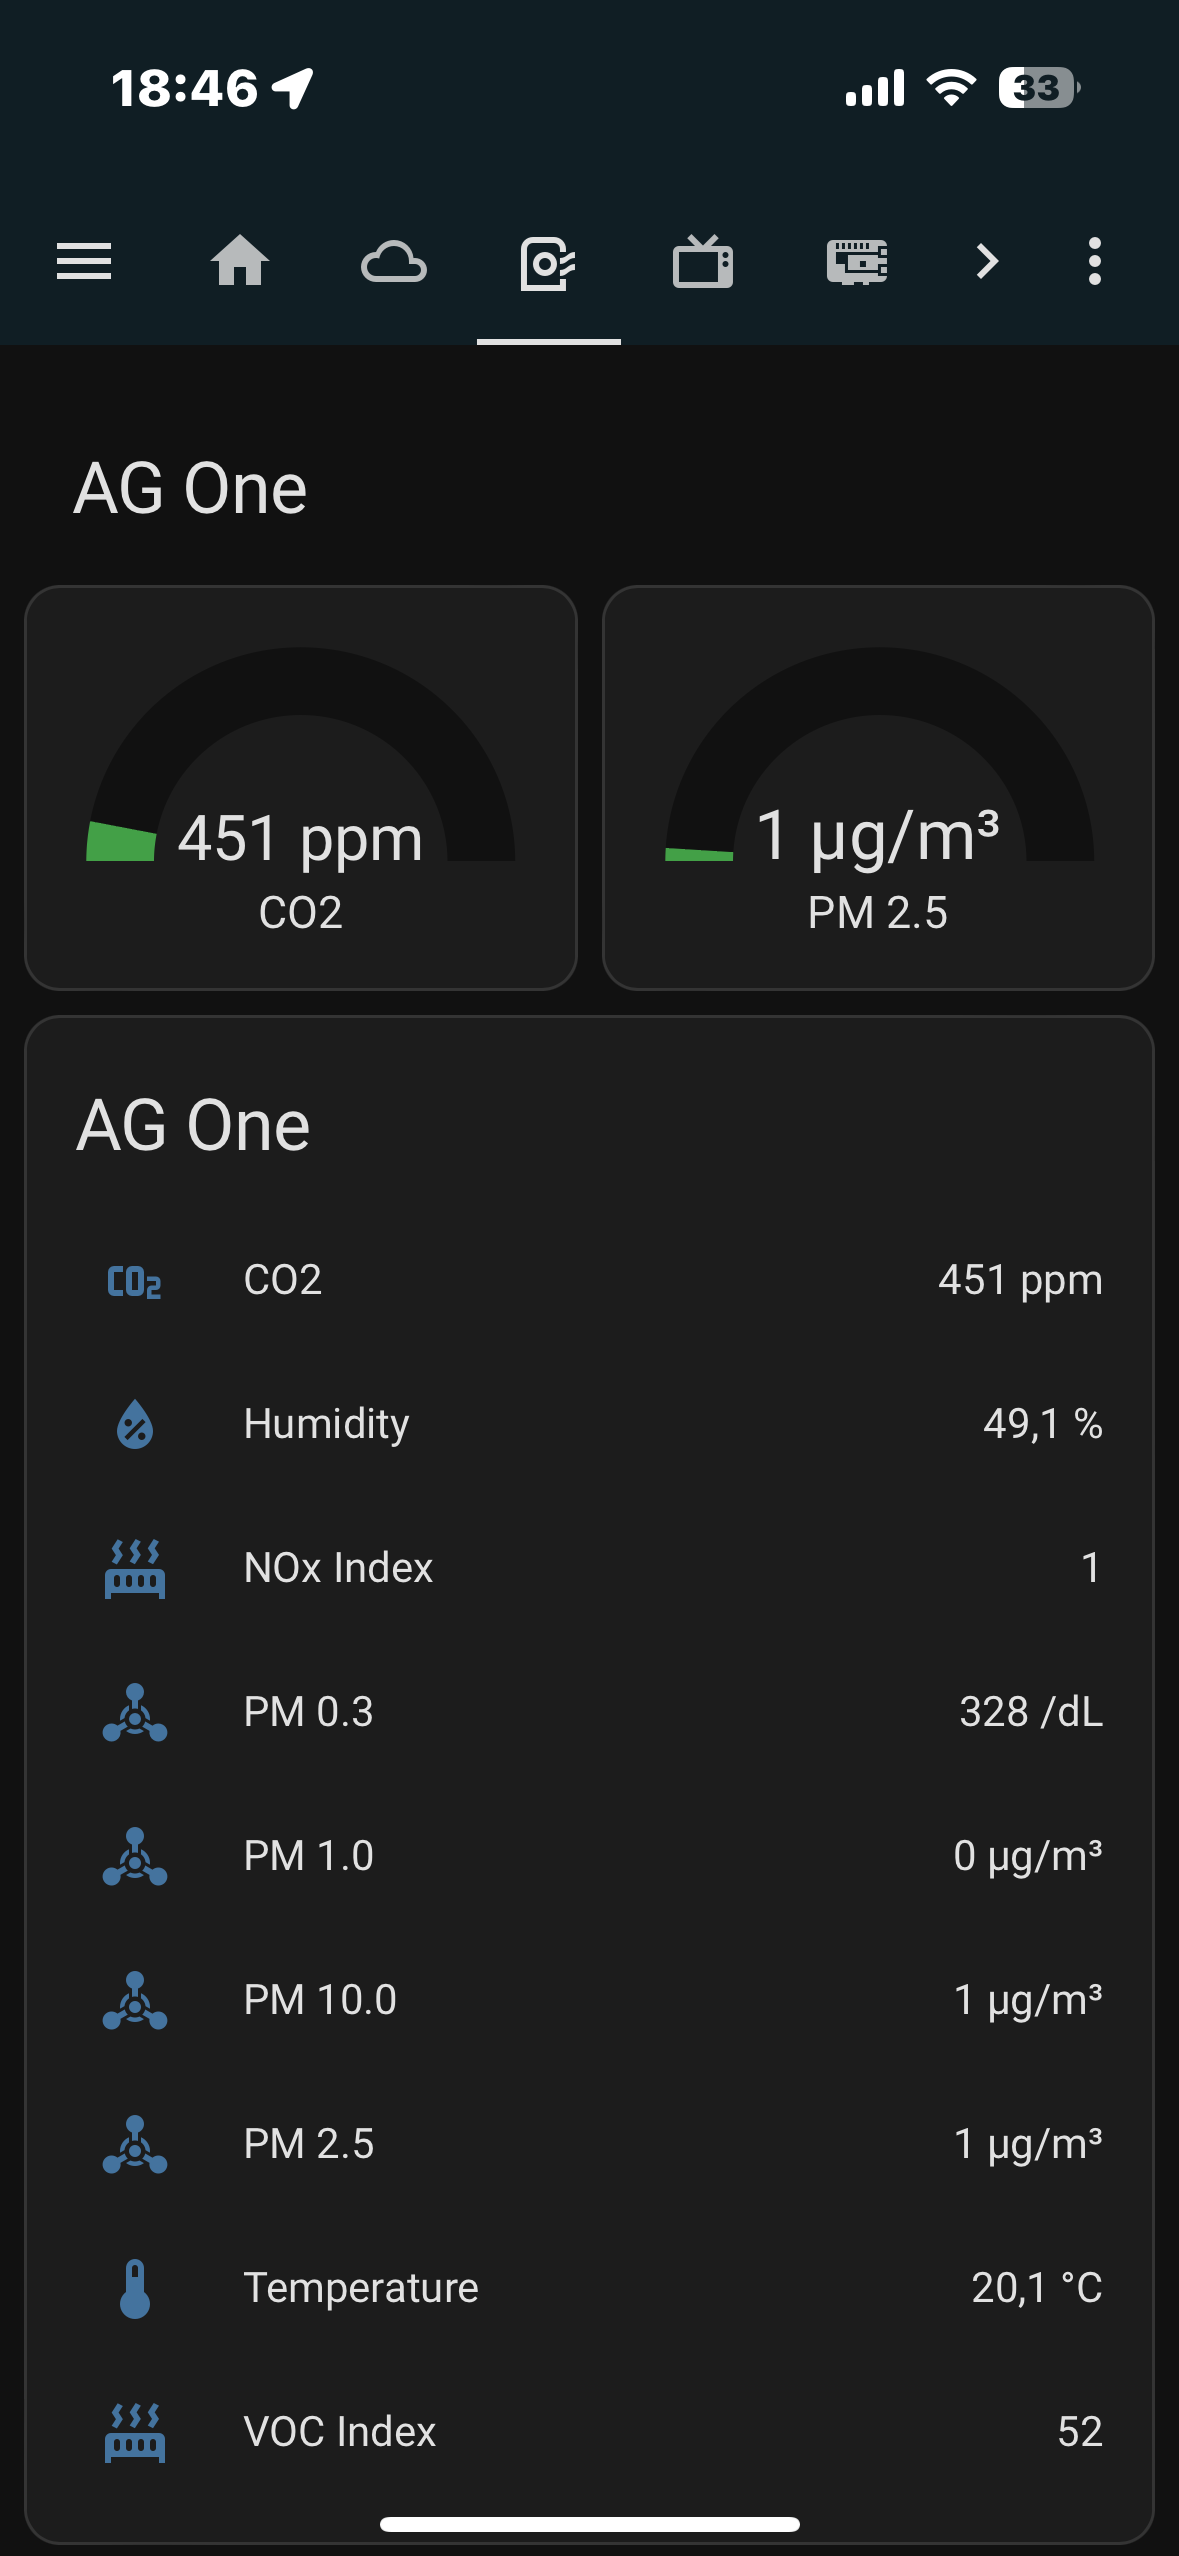
I’ve been using Homeassistant for some time, but this is my first time trying to integrate something via ESP32. I’m having a hard time getting things going. The unit works fine on the default firmware through the Airgradient cloud.

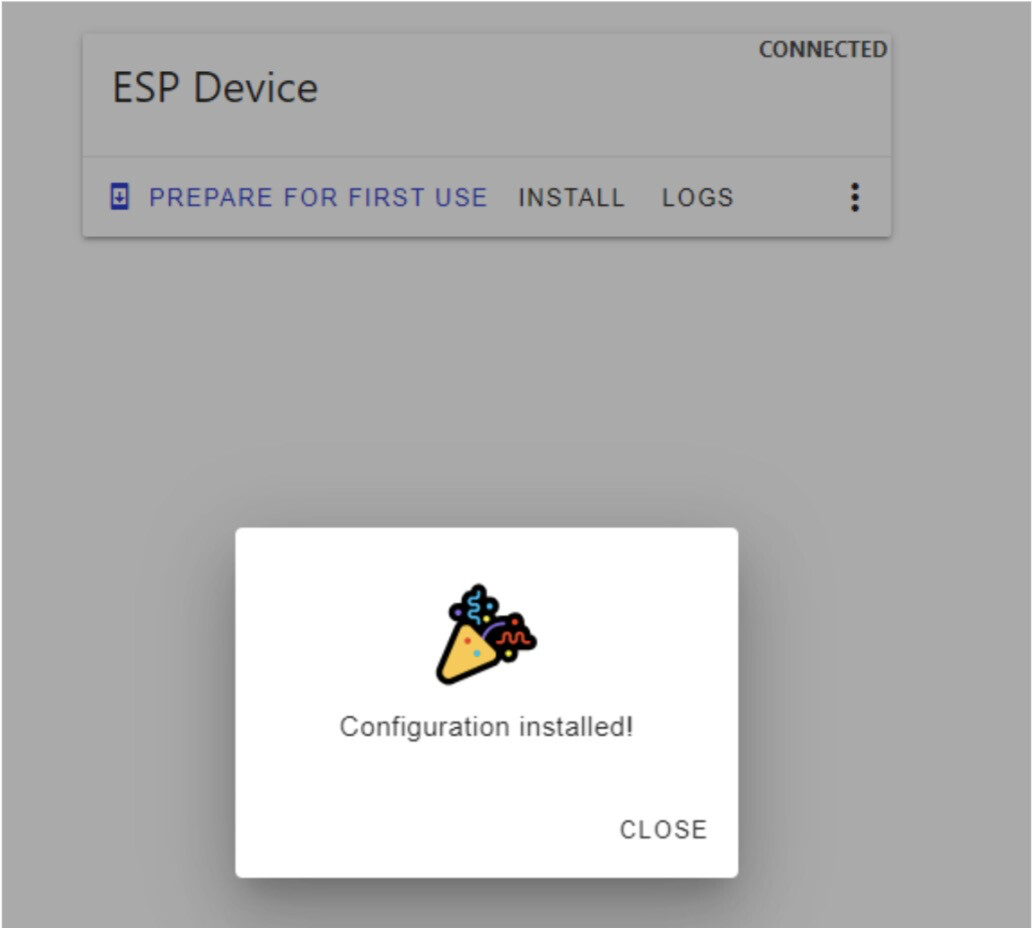
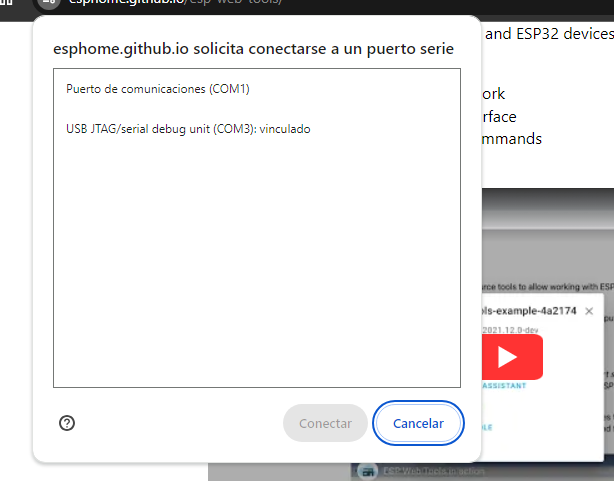
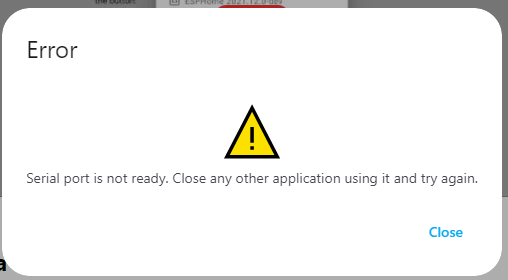
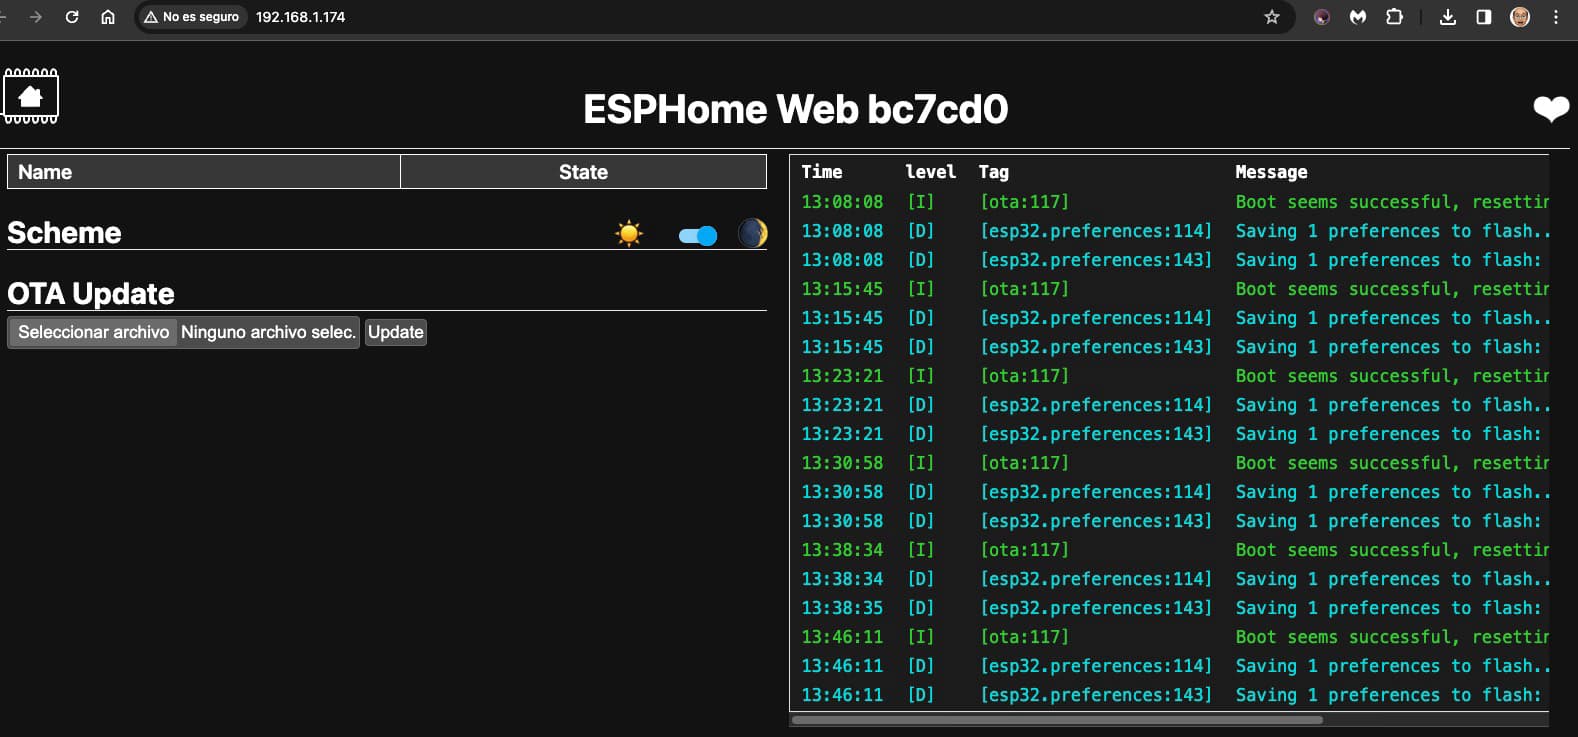
I’ve downloaded the latest airgradient-one.bin from malloacarray’s github and flashed it via https://web.esphome.io/.

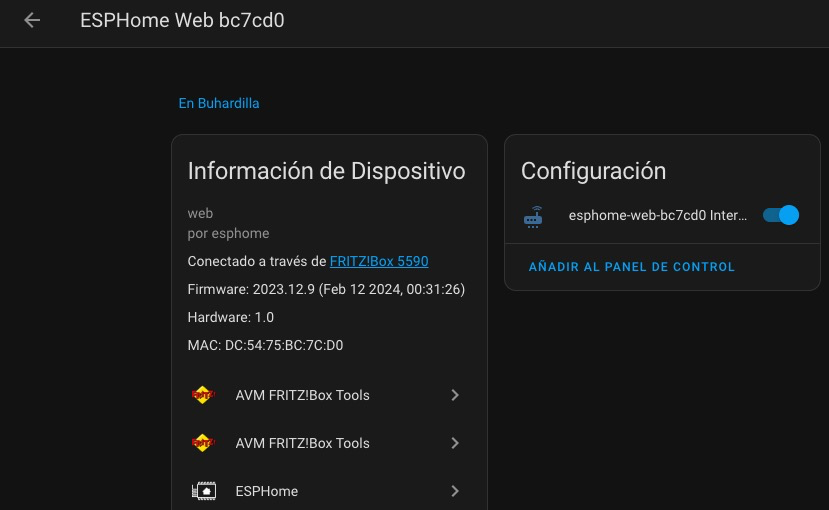
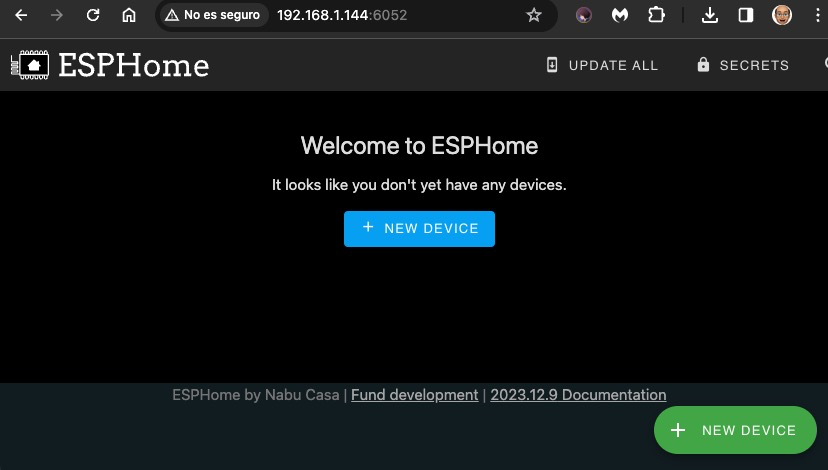
I’m uncertain where I’m supposed to install the yaml config file. Trying to add the ESPhome integration in Homeassistant isn’t possible until the unit has an IP address, and without knowing where to put the yaml config file I don’t believe I can get the unit on the WiFi network.

Any help is appreciated. It seems like the docs here and on github are written for someone who has used ESPhome before so I’m a little behind the curve.

TIA!

Disclaimer: not a pro at HA. Just another user.

First things first, have you installed the ESPHome addon on Home Assistant? If not, you can follow this process here: Getting Started with ESPHome and Home Assistant — ESPHome

Once you get access to the dashboard interface, you then add a new device. This is where the YAML config will be used. You’ll also need to setup your secrets (wifi name and password). Take note of the encryption key (and don’t overwrite that part in the YAML config).

Once saved, you can start the installation process. Click Install, then you’ll have a bunch of options to install the firmware (either have it plugged in to your computer or to the server running HA and ESPHome). Choose whatever suits your setup.

Once installed, assuming you set it up correctly, it should show up in your Wifi and the device should show as Online. This device should then show up under HA>Settings>Devices>Discovered. Configure it, then sensor data should be available in HA.

Another option since you already flashed the firmware, is that it should have setup a new Wifi hotspot when it turned on. So with a wifi device, look for a new wifi network that has something with “ag” or “airgradient” in the name. No password on the wifi

Once you join that, I believe you’ll be prompted to enter the wifi credentials for the device and it will connect to your home wifi. If that is successful, it may be auto detected by HomeAssistant.

Or you can do as @mascot1579 described, to setup a new device in ESPHome . For the AirGradient ONE v9, you’ll pick ESP32-C3. The follow what mascot described, keeping your encryption keys but replacing the other lines with the file from the repo so you have the substitutions and packages section.

So I realized I needed to get a container with esphome running in it. After I did that I was able to feel my way through to getting a config with my wifi credentials in it uploaded to the unit and now its online and the esphome integration in HA is able to communicate with it. So all is well

Thanks for the replies!

Don’t mean to hijack the thread but I am also less experienced with ESPhome and am trying to integrate AG One with HA. I have a couple of other esphome integrations already (konnected) so I’m not completely new to that.

However, I have two AG One devices in my home and I’m not sure how to modify the (mallocArray) yaml file for two devices. I wanted to use unique names that I define, rather than using the MAC address on the end of the name.

But I’m not finding a references on how that would look in the yaml. Do I need two yamls with name field changed for each? Or do I put both names in one yaml somehow? If so, how does the system know which is which?

If I should start a new post, I’d be happy to,
Thanks,

You’ll want two files and you just need to change the name and friendly_name fields so they are unique in each file.

Right now I have the feature to add the mac suffix disabled by default, so you can just leave it like that and as long as the names are unique, you should be good

Hello. Although I have experience with HomeAssistant, I’m a newcomer to ESPHome since I previously used Tasmota but nothing more. I’m running HomeAssistant in Docker containers, which means I don’t have access to the “addons” for installing ESPHome.
I’ve tried to configure my AG using my buhardilla.yaml file. I connected my AG to a Windows PC and used the web version of ESPHome to generate the firmware image and upload it to the AG.

esphome:
  name: buhardilla

esp32:
  board: esp32-c3-devkitm-1
  framework:
    type: arduino

# Enable logging
logger:

# Enable Home Assistant API
api:
  password: ""

ota:
  password: ""

wifi:
  ssid: "myWiFi"
  password: "myWiFi_Passw"

  # Enable fallback hotspot (captive portal) in case wifi connection fails
  ap:
    ssid: "Buhardilla Fallback Hotspot"
    password: "password_ESPgenerated"

captive_portal:
    
    # AirGradient ONE - Board v9
# https://www.airgradient.com/open-airgradient/instructions/overview/

substitutions:
  name: "ag-one"
  friendly_name: "AG One"
  config_version: 2.0.1
  name_add_mac_suffix: "false"  # Must have quotes around value


dashboard_import:
  package_import_url: github://MallocArray/airgradient_esphome/airgradient-one.yaml
  import_full_config: false

packages:
  board: github://MallocArray/airgradient_esphome/packages/airgradient_esp32-c3_board.yaml
  pm_2.5: github://MallocArray/airgradient_esphome/packages/sensor_pms5003.yaml
  co2: github://MallocArray/airgradient_esphome/packages/sensor_s8.yaml
  temp_humidity: github://MallocArray/airgradient_esphome/packages/sensor_sht40.yaml
  tvoc: github://MallocArray/airgradient_esphome/packages/sensor_sgp41.yaml
  display: github://MallocArray/airgradient_esphome/packages/display_sh1106_multi_page.yaml
  led: github://MallocArray/airgradient_esphome/packages/led.yaml
  led_co2: github://MallocArray/airgradient_esphome/packages/led_co2.yaml
  airgradient_api: github://MallocArray/airgradient_esphome/packages/airgradient_api_esp32-c3.yaml
  hardware_watchdog: github://MallocArray/airgradient_esphome/packages/watchdog.yaml
  config_button: github://MallocArray/airgradient_esphome/packages/config_button.yaml
  wifi: github://MallocArray/airgradient_esphome/packages/sensor_wifi.yaml
  uptime: github://MallocArray/airgradient_esphome/packages/sensor_uptime.yaml
  safe_mode: github://MallocArray/airgradient_esphome/packages/switch_safe_mode.yaml

binary_sensor:
  - id: !extend config_button
    pin:
      ignore_strapping_warning: true  # Acknowledging that this is a strapping pin and should not have external pullup/down resistors  https://esphome.io/guides/faq.html#why-am-i-getting-a-warning-about-strapping-pins

Apparently, both the compilation and the upload were successful. However, the AG has stopped sending data, the LCD turns off, and I suspect it hasn’t connected to my Wi-Fi network.

What can be done to either revert it to its previous state /factory reset or get it connected to my Home Assistant?

Connecting the AG to the PC … seems fine too

image

but is bad :frowning:

image

Thanks in advance and greetings.

I would take out all of the lines I quoted, as they are also specified inside of the airgradient_esp32-c3_board.yaml file, so you don’t need to double specify.

Then update the section

substitutions:
  name: "ag-one"
  friendly_name: "AG One"

with the name and friendly name you want for your device, probably buhardilla in your case.

If you are having trouble flashing it again, try unplugging the device from USB, then using a small screwdriver to press and hold the Config button in the back of the device (small hole next to the USB-C port) while connecting the USB cable. After 1 second of being plugged in, stop pressing the button and then try to flash again the same way you have. Holding that button while connecting power puts it into a different state to allow flashing if things aren’t working right normally. Don’t worry if no lights or display show up for that process.

If you still are having trouble, you could try one of the pre-compiled .bin files in the ESPHome repo for your model which won’t connect it to your wifi, but it will setup a wifi hotspot so you can connect and enter your credentials. Mostly just to prove that it is able to flash and is working

You can also always install the Arduino code from the AirGradient site just to show things are working and then do ESPHome again.

With the error about the Serial Port not ready, sometimes just rebooting your computer is enough to free up the port and let you flash it again.

Thank you @MallocArray

I’ve just flashing again holding the button…and changing the PC in order to “free” the serial port.


# Enable Home Assistant API
api:
  password: ""

ota:
  password: ""

wifi:
  ssid: "myWiFi"
  password: "myPassWifi"

  # Enable fallback hotspot (captive portal) in case wifi connection fails
  ap:
    ssid: "Buhardilla Fallback Hotspot"
    password: "passwordESP"

captive_portal:
    
    # AirGradient ONE - Board v9
# https://www.airgradient.com/open-airgradient/instructions/overview/

and I’ve just received a message about Configuration installed … but the AG is not connected to the WiFi and not any “new AP” with SSID=“Buhardilla…” :frowning:

How can I use the “precompiled bin” files?

Probably, I’ve just have an error because I’m trying to install my “buhardilla.yaml” but in the video (ESP Web Tools) is installing ESPHOME, etc. Do I to install one of this precompiled bin files instead my yaml file?

Download the file airgradient-one.bin from here:
MallocArray/airgradient_esphome: ESPHome definition for an AirGradient DIY device to send data to HomeAssistant and AirGradient servers (github.com)

I use the site Web - ESPHome to connect to the device and then give it the .bin file to flash to the device

I also run HomeAssistant in Docker, but I run ESPHome in Docker along side it.

I use docker compose to start it up, and I mount a volume in a folder off my user directory of /docker/esphome/config so I have access to all of my configs. Here is the compose file that may be helpful to you

version: '3'

services:
  esphome:
      container_name: esphome
      image: esphome/esphome:latest
      privileged: true
      network_mode: host
      volumes:
        - /home/pi/docker/esphome/config:/config:rw
        - /etc/localtime:/etc/localtime:ro
      devices: # most of the time we'll be flashing over OTA (that's why we have port 6052), so the devices setting is not needed, only if it's the first flash of a new device
      - /dev/ttyUSB0:/dev/ttyUSB0 # the ESP device has to be mapped to the docker host, if it's not mapped, the /dev/ttyUSB0 device will not exist and the container will fail. If the ESP32 is not connected at the time, we need to comment out the devices section.
      - /dev/ttyUSB1:/dev/ttyUSB1 # the ESP device has to be mapped to the docker host, if it's not mapped, the /dev/ttyUSB0 device will not exist and the container will fail. If the ESP32 is not connected at the time, we need to comment out the devices section.
      - /dev/ttyACM0:/dev/ttyACM0
      environment:
        - ESPHOME_DASHBOARD_USE_PING=true
      restart: unless-stopped

Thanks.

I upload your airgradient-one.bin and flash it to my AG connected to my PC (web-esphome). Data appears in the LCD (with temperature in ºF)!

Unfortunately when I unconnect it from my PC the data disappeared … but apparently the AG is connected to my WiFi :frowning:

Is it normal?

My HomeAssistant has detected the new ESP … but only with just one entity: switch.pc_dc_54_75_bc_7c_d0_internet_access :frowning:

Another problem :frowning:
I’ve just created the new docker but it can’t detect any device. I 've connected the AG through USB to the RPi … without detection neither :frowning:

If you are using the Compose file I posted, you have to have the AG connected via USB when you start the container, otherwise it skips mounting the port. When I do need to be connected for a brand new device, I connect it, then do docker-compose down && docker-compose up -d (you may need docker compose without the dash depending on your version)

With your own ESPHome install, you’ll need to use the New Device button which will start creating a new yaml file, but then you can edit it and copy and paste the file you were using before.

In your screenshots with “ESPHome Web xxx” in the name, I don’t think it really flashed the AirGradient config, as that doesn’t look like the name I would expect to see and the logs aren’t showing any of the devices.

Thank you. Now it’s working fine

1 Like

@MallocArray
One question. I’m trying to connect to my AG but it doesn’t responds me its IP address :frowning:

Could be related with one of these options?

It should respond to pings, but it doesn’t have a webpage to view sensor readings on the device by default. It takes up a significant amount of memory. You can add it by just adding web_server: to your .yaml file

I don’t have a switch named “Internet Access” in my configs, so that might be something special you added or from another source.

My AG respond to pings, of course. My problem was related with the web_server :wink:

What’s the meaning of the Flash Mode (Safe Mode) switch? Can you explain how to install an OTA on the device?

THANK YOU!

It is a similar equivalent of holding the Config button while connecting power. If you are having trouble flashing the device because of some code running on it, you can flip the Safe Mode switch and it should help be able to flash it OTA.

In order to OTA update, you need to have a version of ESPHome running on your network and the associated .yaml file with the config. Then you can either make changes to the file, or just click Install to install the latest version of ESPHome based on your server version.

If you used the .bin file to flash, then you may not have any of this setup.

Thank you very much! :slightly_smiling_face: