Test Version for PCB v 4.2 with HA Support and Other Features

I just published a snapshot test version for all people with the legacy DIY Pro with board 4.2.
(Earlier PCB versions are still work in progress and will follow).

You can flash it from this page:
The AirGradient DIY Air Quality Sensor (Pro Presoldered-Version, PCB Version 4.2)

And press the blue button “Flash Beta Firmware”. Please note that you need to plug the cable directly into the D1 mini (thus you need to open your enclosure).

Tested and Working

  1. SHT3x and SHT4x supported
  2. Forced CO2 calibration supported from AirGradient dashboard
  3. Configuration from AirGradient dashboard supported (e.g. Temperature / Fahrenheit, US AQI / ug/m3)
  4. Display brightness supported
  5. Offline support
  6. Factory reset (long press of button)
  7. Local server / local configuration
  8. HA local integration supported. (see notes below)

Not tested (yet)

  • MQTT support

Not implemented

  • Over the Air Updates

Breaking Change:
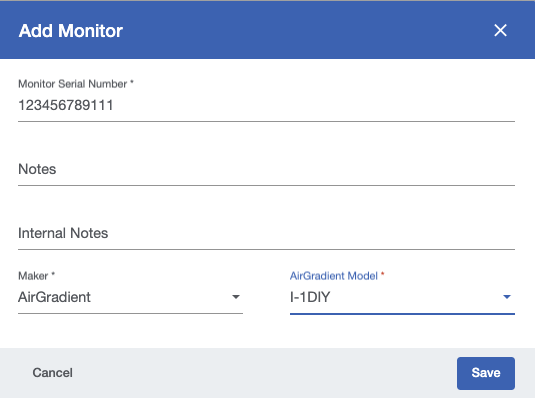
Serialnumber is now 12 digits. So you need to set it up again as new hardware on the AirGradient dashboard and then link the exsting location to the new hardware.

Go to: AirGradient then click “Add new”
image

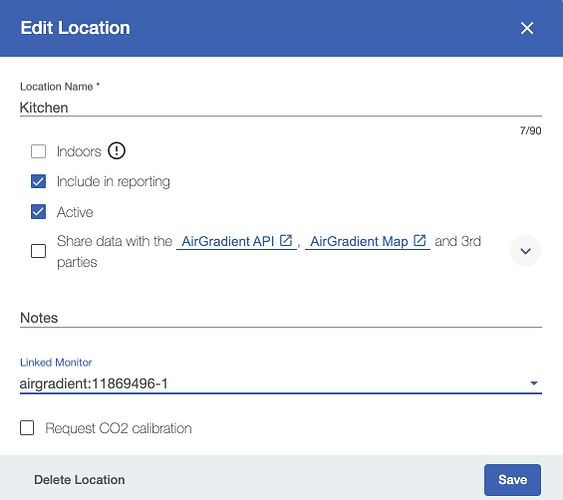
Then change the Linked Monitor in Location Settings to the new serial number
https://app.airgradient.com/settings/location

Please report any questions / probelems here.

Home Assistant
Local Home Assistant is Supported but note the following:

  • You need to have the latest Home Assistant version installed (2024.6)

  • Auto discovery does not work. To add the AirGradient device go to: Settings, Devices & Services then click on the blue “Add Integration”
    image

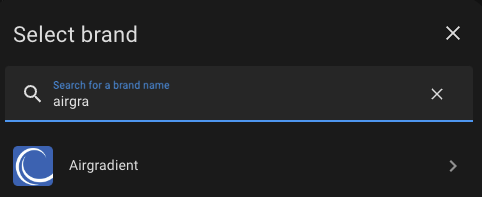
  • Then search for “AirGradient”
    image

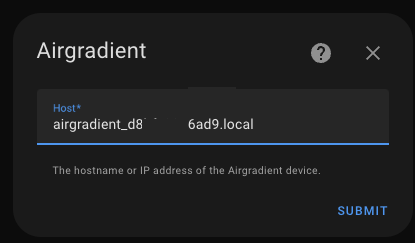
  • Then as host put in:
    image
    “airgradient_d8…d9.local” with the complete serial number of your monitor. It is displayed during boot.

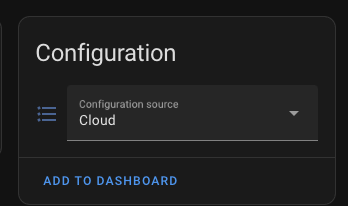
  • Then in the settings, set the monitor to accept cloud configuration:
    image

(there is an error currently returned when changing this setting but it still works).
PCB 4.2, test version installed and working just fine. serial number i got was not 12 numbers, it had some letters as well, that got me confused for a bit.

Yes the serial number is 12 digits hex.

@Achim_AirGradient are OTA updates completely off the table for the DIY 4.2 boards? I assume there will not be any/many updates upcoming for this board but opening it up for updates will destroy the screw taps quickly.

The limited memory on the ESP8266 chip inside of the earlier Pro models is a big contributor.

I’m not on the development team, but I get the feeling it is low likelihood.

ESPHome can still do OTA updates to these devices for that config, so it is possible, but may not be with the architecture the stock firmware is using.

Implementing and maintaining the OTA is quite resource intensive and we do have a lot of higher priority items.

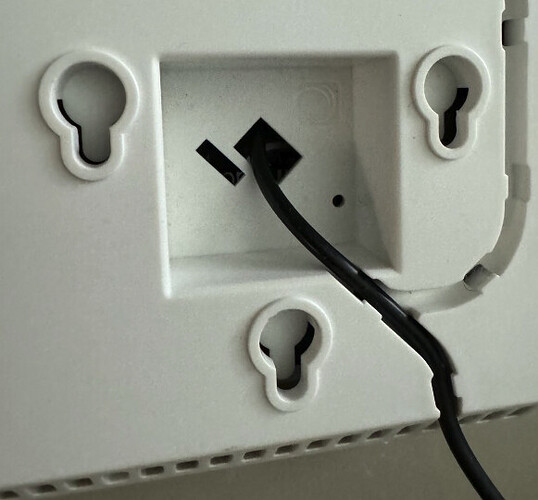
However what you can do is to get a USB C cable with a straight plug, feed it through the larger rectangle hole on the enclosure directly into the D1 mini. Then you can flash it this way without opening the enclosure.

2 Likes

I am trying to flash my pcb 4.2 board through the mini port.

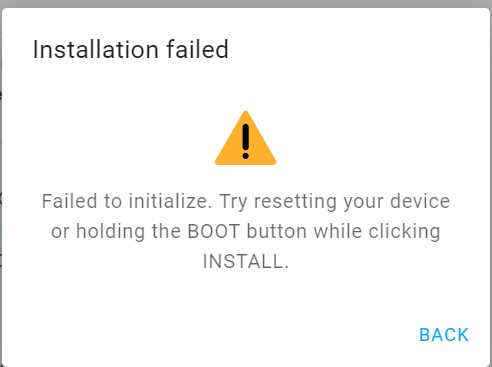
I have used three different USB-C cables, and both Edge and Chrome and have also tried to press the middle button on the pcb board. I get this result every time. I also don’t know how to reset the board…

Any help please :slight_smile:
board

With the 4.2 board you have to plug directly into the chip inside, you can’t use the external USB port
Before plugging in the cable, press and hold the reset button on the D1 Mini board and plugin your USB cable
The try to flash again

1 Like

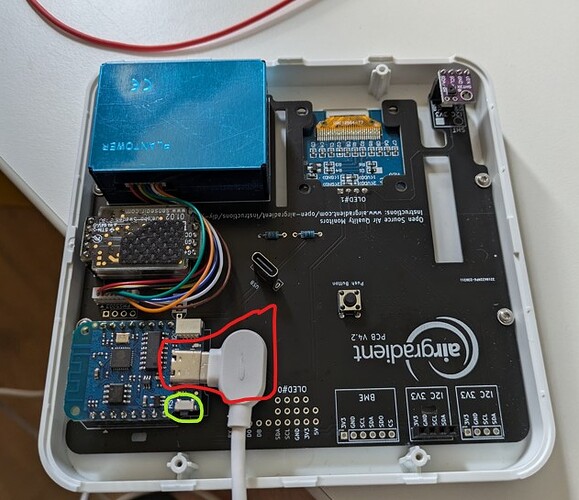
Please check the image. Red circle is the D1 usb-c port, correct?
And the button we are talking about is the green circle?

So I press the green button and then insert the usb cable. I have hold it for 5 seconds and like 60 seconds. When I let it go it starts the normal boot process that asks med to connect to the wifi.

If I try to install the beta firmware through Edge i can just plug it in, press the button for like 5 seconds or keep holding the button for a long time. Nothing really changes. I get the same error and when I let go of the button it starts to go through the boot up process on the screen.

I am very confused. :smiley:

These drivers were missing: Okay I can’t post a url but if you google “CH341SER zip” its the wch-ic com domain

It works as expected now. These things are maybe obvious for you guys, but it was not for me :smiley:

Thanks!

Thank you for doing this–A very nice upgrade for my DIY PRO from last year. I had put off opening the case but this motivated me.

FYI. The instructions for changing from the short to full MAC address didn’t quite work for me, so I wound up with a new device and a disconnected old device. The serial number drop down under Linked Monitor only shows the old 6 digit MAC.

I just did this, and it worked well for the most part. It boot-looped initially, but I’m not sure why. I vaguely recall it asking for initial unit settings (C/F, etc.). Pressing the button on the D1 and re-flashing then worked.

I also didn’t create a new device in the AirGradient dashboard–I just updated the serial number on the existing device, which seemed to work.

If I wanted to “upgrade” to a One v9, that would entail swapping the board, case (for the LED cutouts, but not strictly necessary I think?), and SHT40 temp sensor (my PRO 4.2 comes with an SHT31 per The AirGradient DIY Air Quality Sensor (Pro Version PCB Version 4.2)) for the most part correct?

Yes. Correct. You would need the board and also the SHT40 module.