The newest Pro version has a button. Did anyone successfully add a button to the old Pro version? The PCB doesn’t have a location for it so the button will probably need to be attached to the case itself. If anyone did it already, how did you attach the button to the case and which place did you choose? How is solved for the new version, does the case have a hole for the button to stick out? Are there any pictures available?
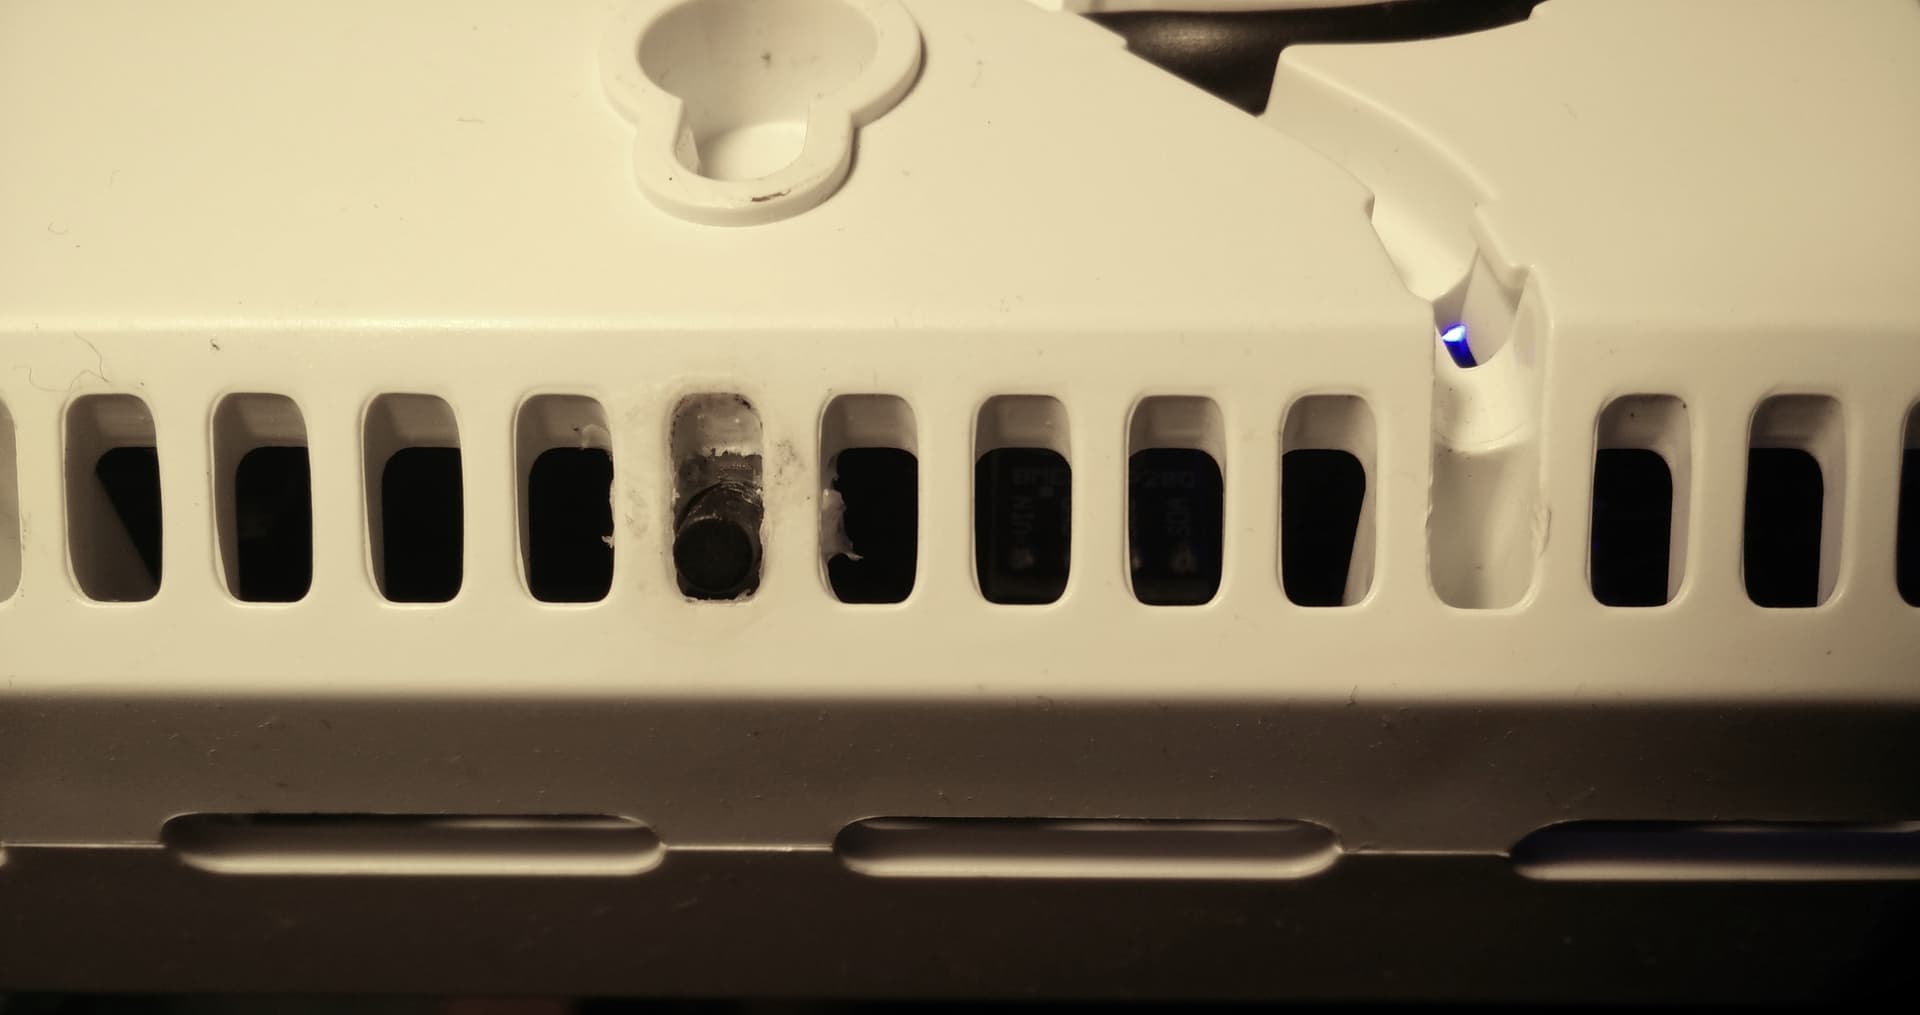
There is a small hole at the back of the enclosure and you can use a small screwdriver etc. to press it.
I think retrofitting it to the old PCB will be difficult.
I just purchased the DIY Pro kit and received it yesterday and it is the version v3.3 PCB without the button! The order page when I purchased the kit clearly lists “Configuration button” as one of the items included in the kit.
At the time you ordered the kit, we did not have the new version available and at that time the description did not include the button. I just updated the shop description last week. You received the version you ordered.
Okay. I must be mistaken then. Thanks.
Is there a way to order the latest pro kit PCB to retrofit the parts onto it? The shop only has the basic PCB available for order. Thanks!
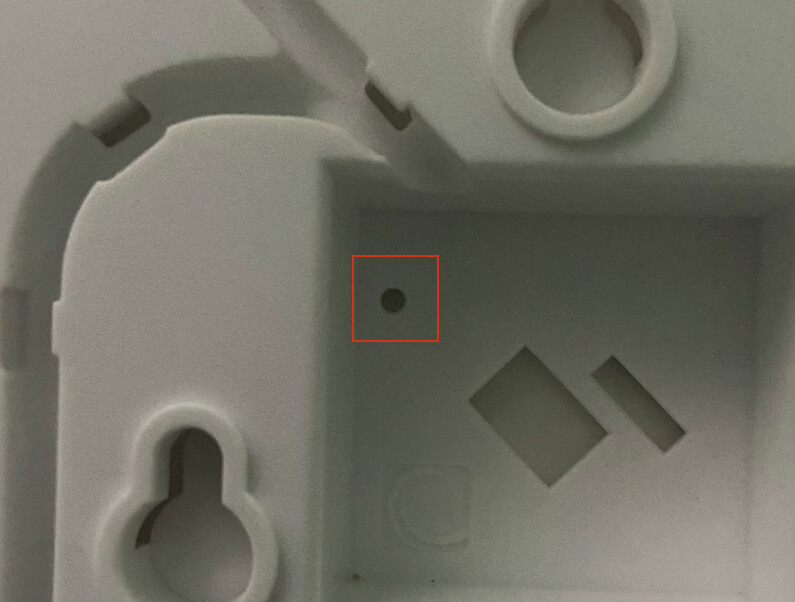
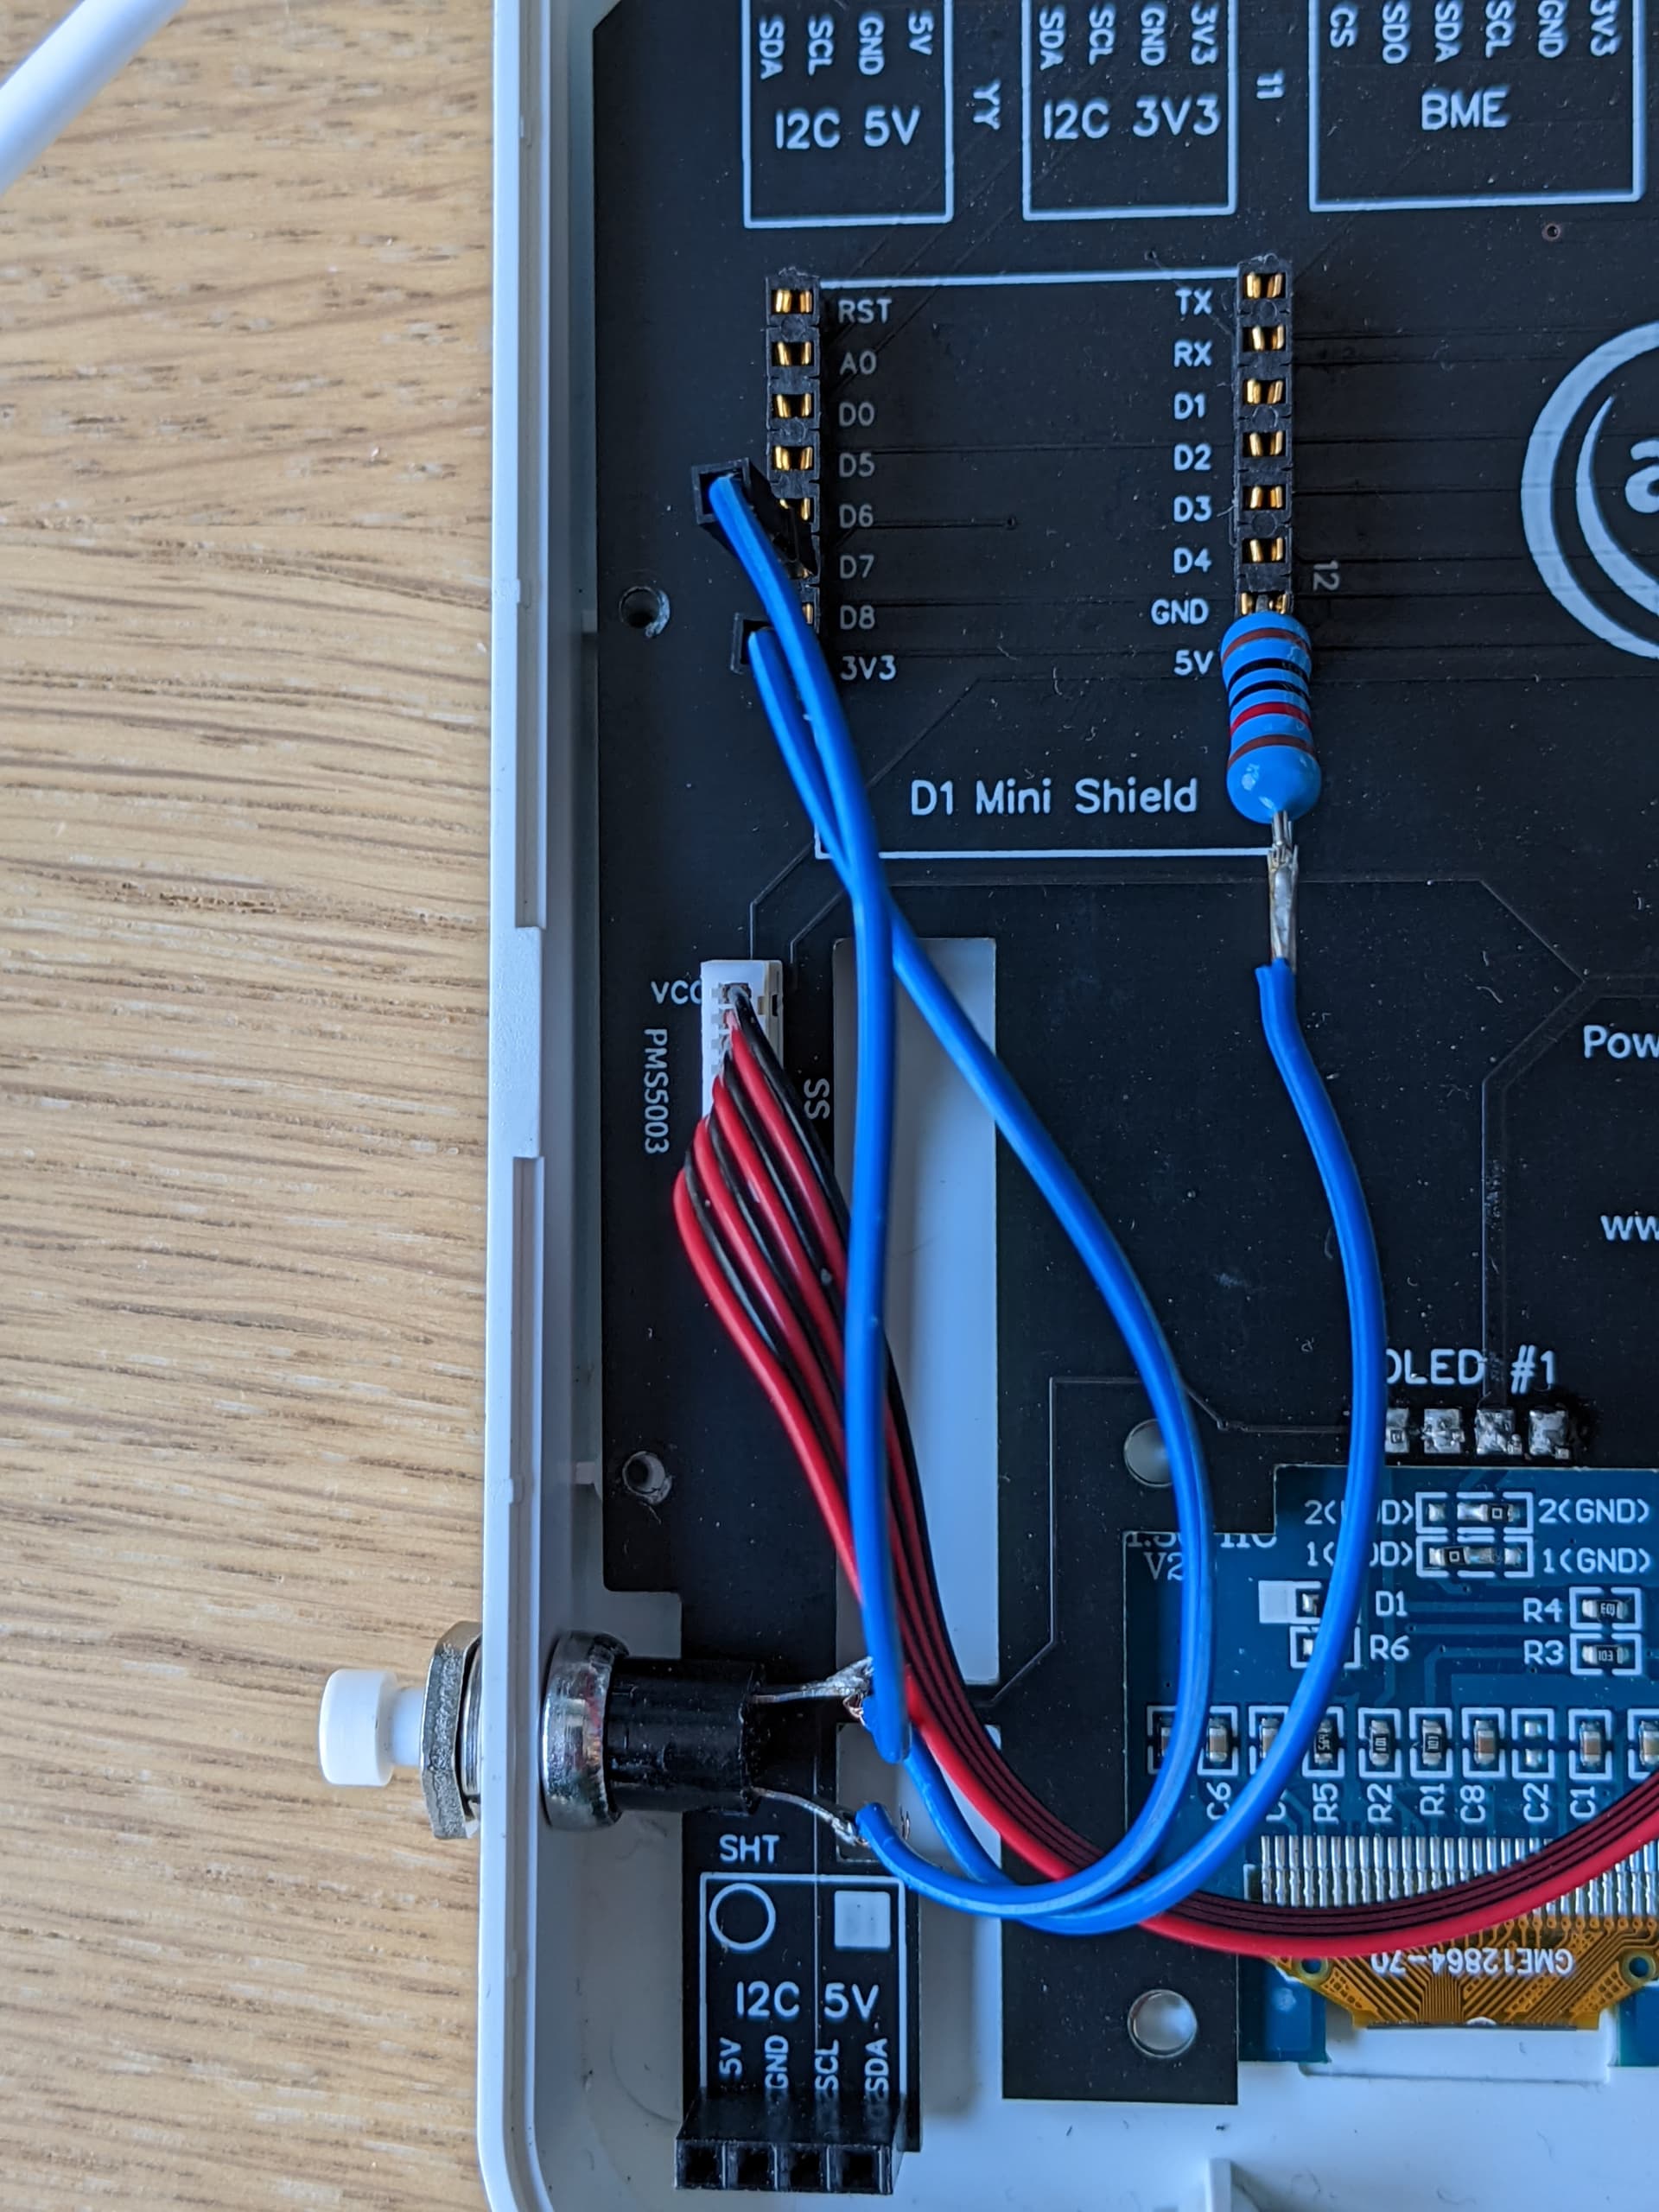
I also wanted a button to toggle the screen so I glued a simple pcb button between the ribs on the topside and connected it to D7 (which was unused) and ground. I then wrote some code to give it multple functions. It does the job and you can’t really see it from the front.
Great idea. Would it be possible you post a photo. Curious to see how it looks exactly.
The only thing is that the button is on the other half of the case so the 2 wires internally need to cross and are a bit of a hassle when opening/closing the case. Maybe drilling a hole and put it on same side would be easier. A sideways button(s) on the pcb with a rod through that hole would a simple solution I guess.
Thank you for sharing your pictures. Your solution is great, especially since it requires no drilling!
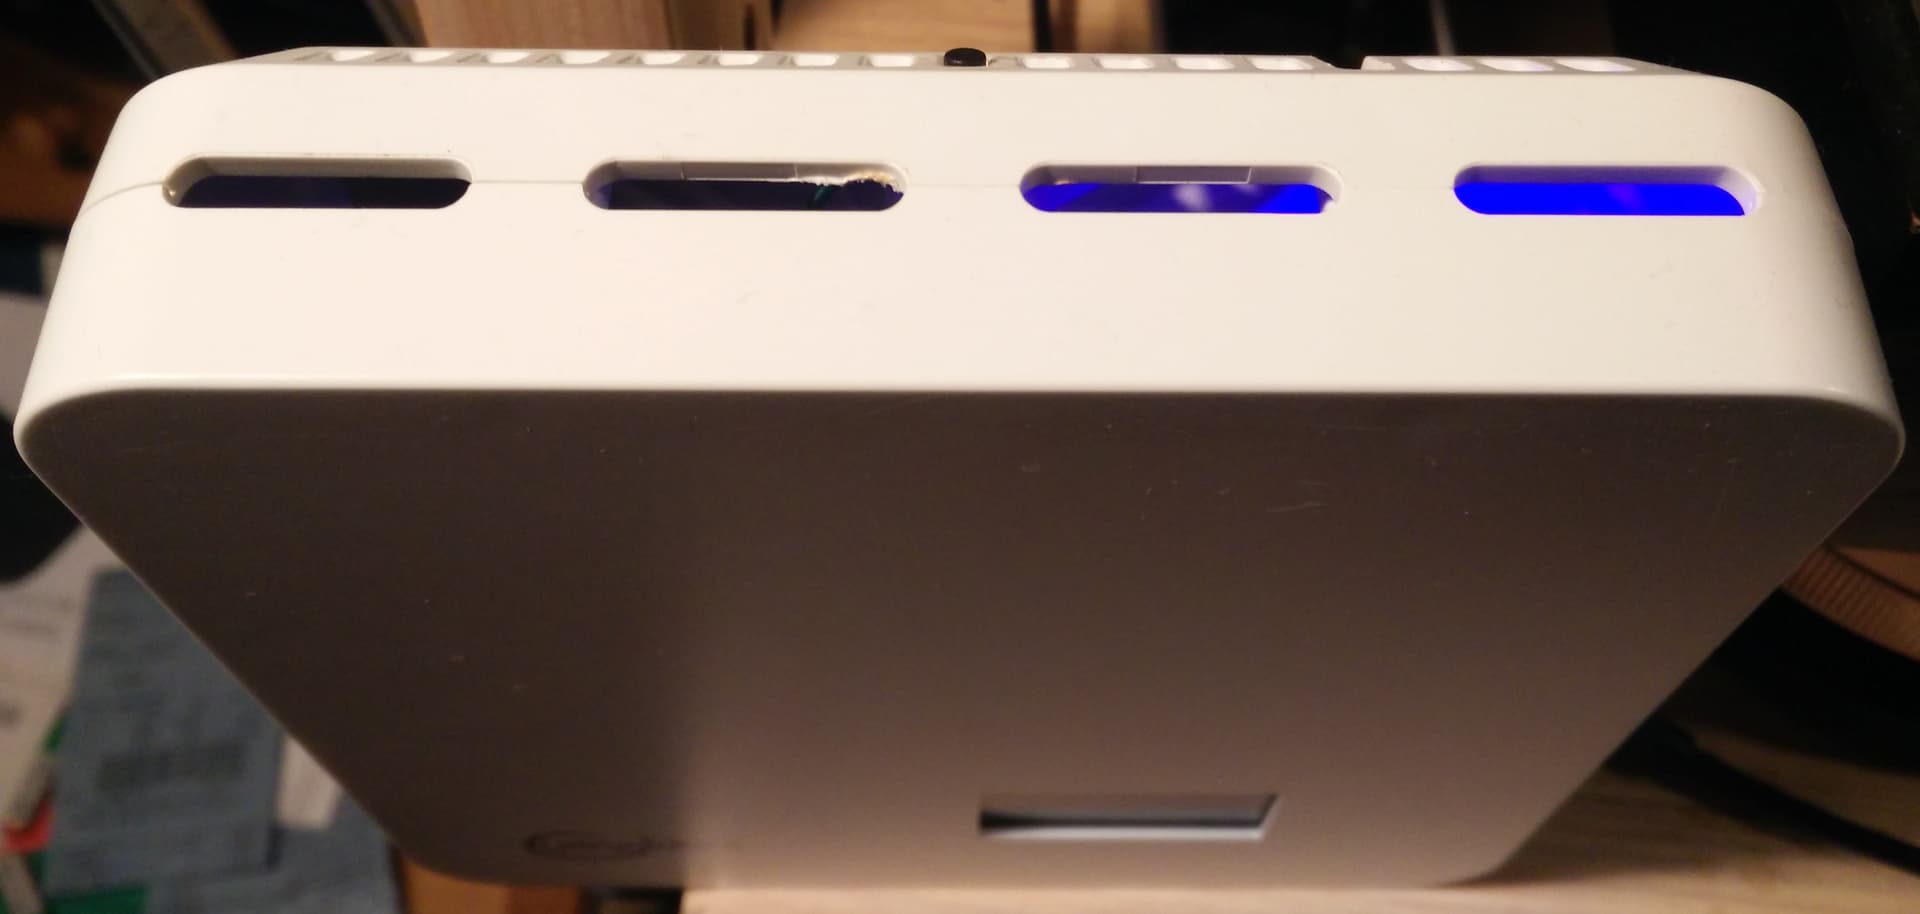
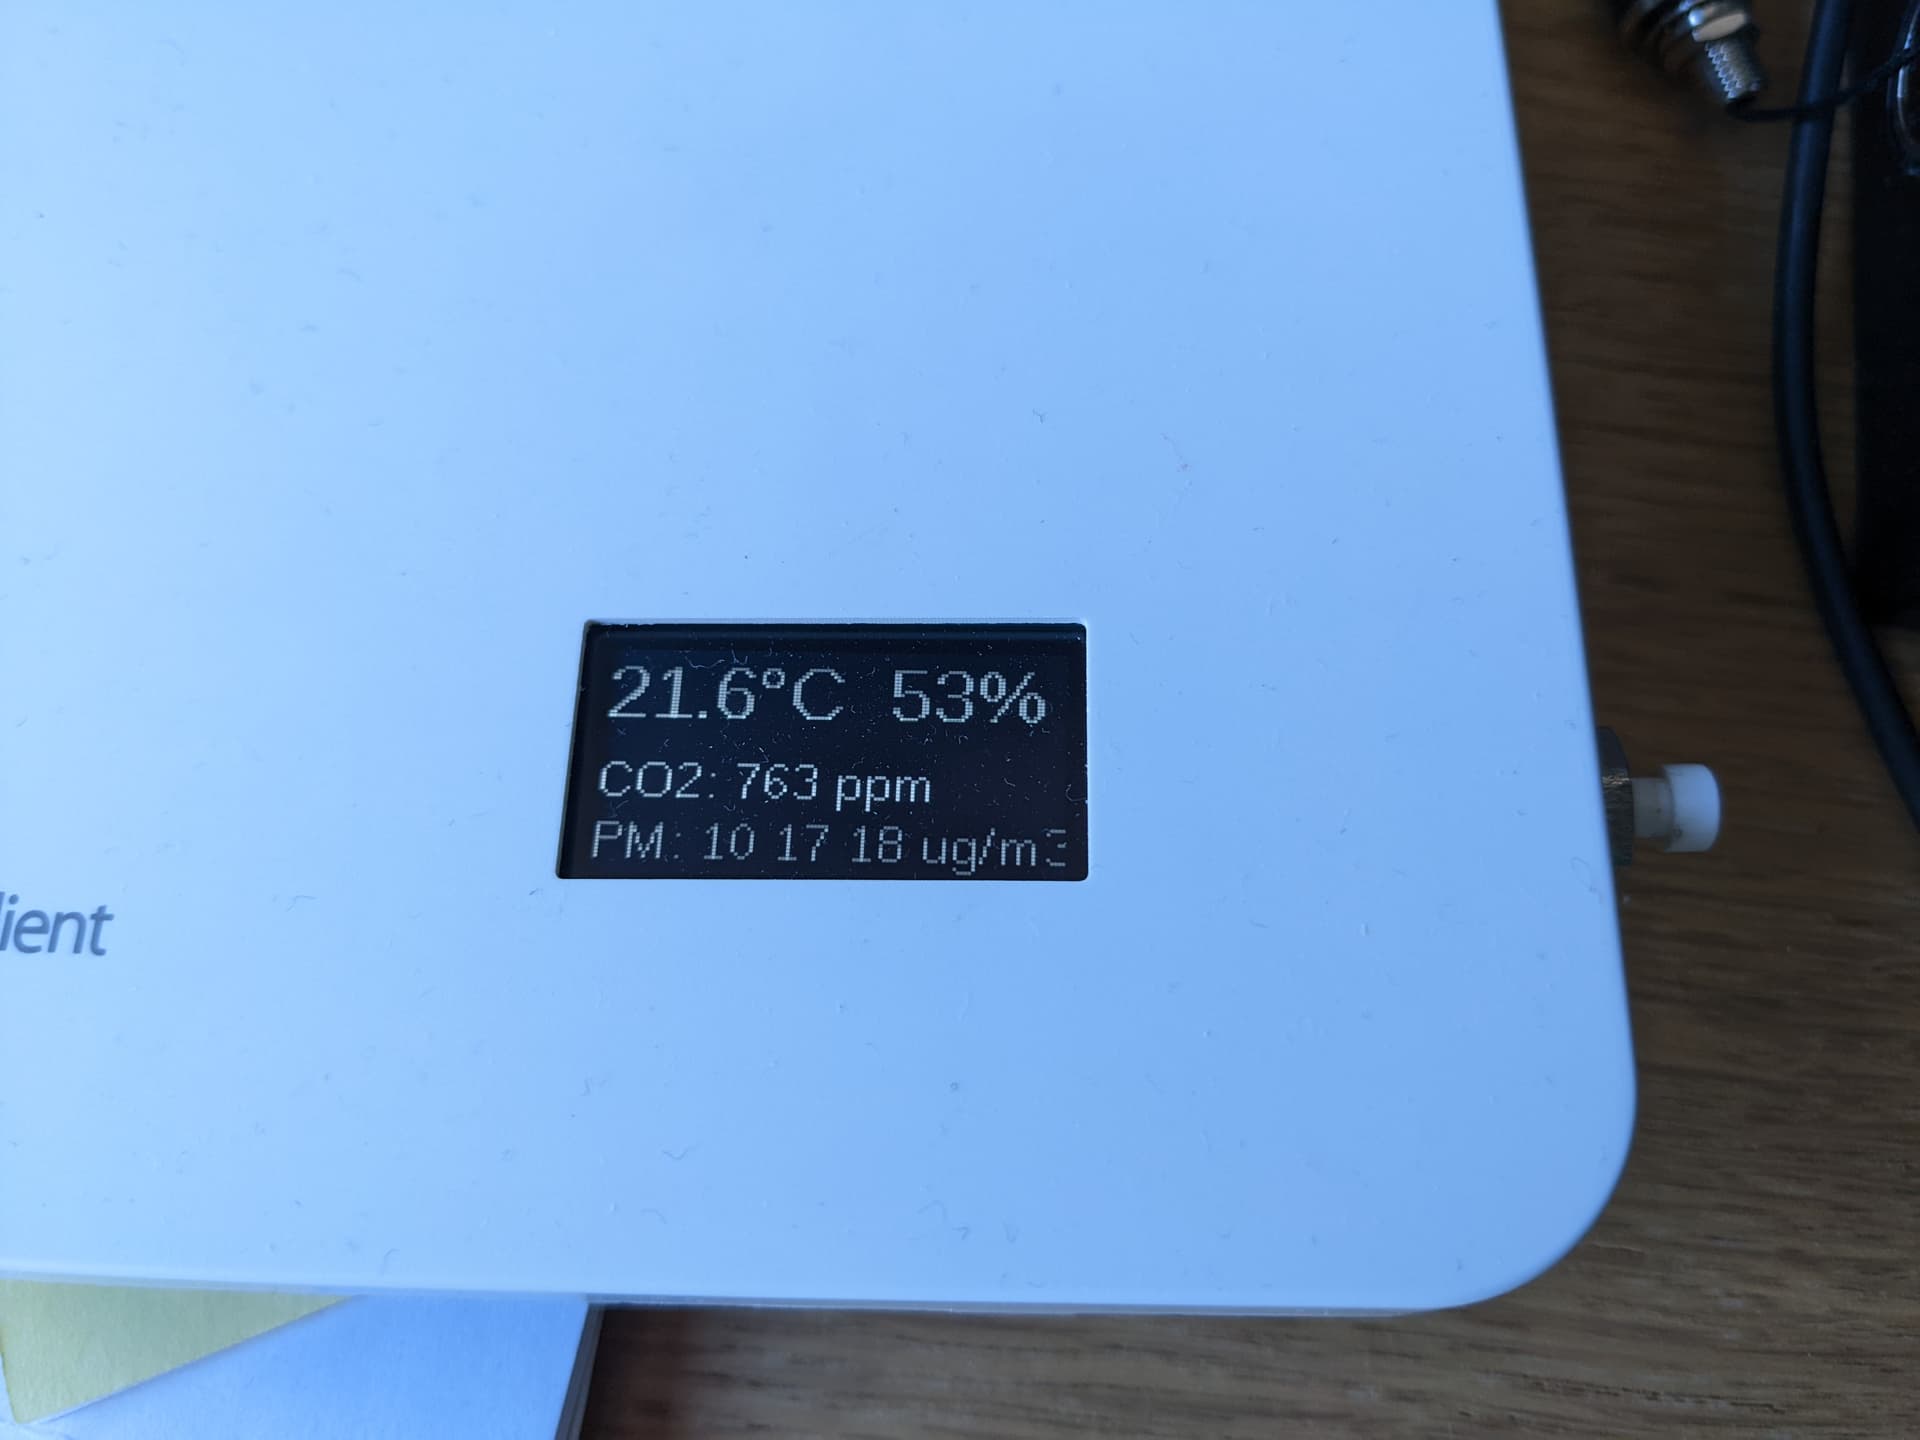
I also added a button now. I used TRU COMPONENTS TC-MT250AWS, which I chose due to its relatively small diameter and since it can be directly mounted into the case. It makes a little squeaky noise when pushing it, but otherwise it’s an okay choice.
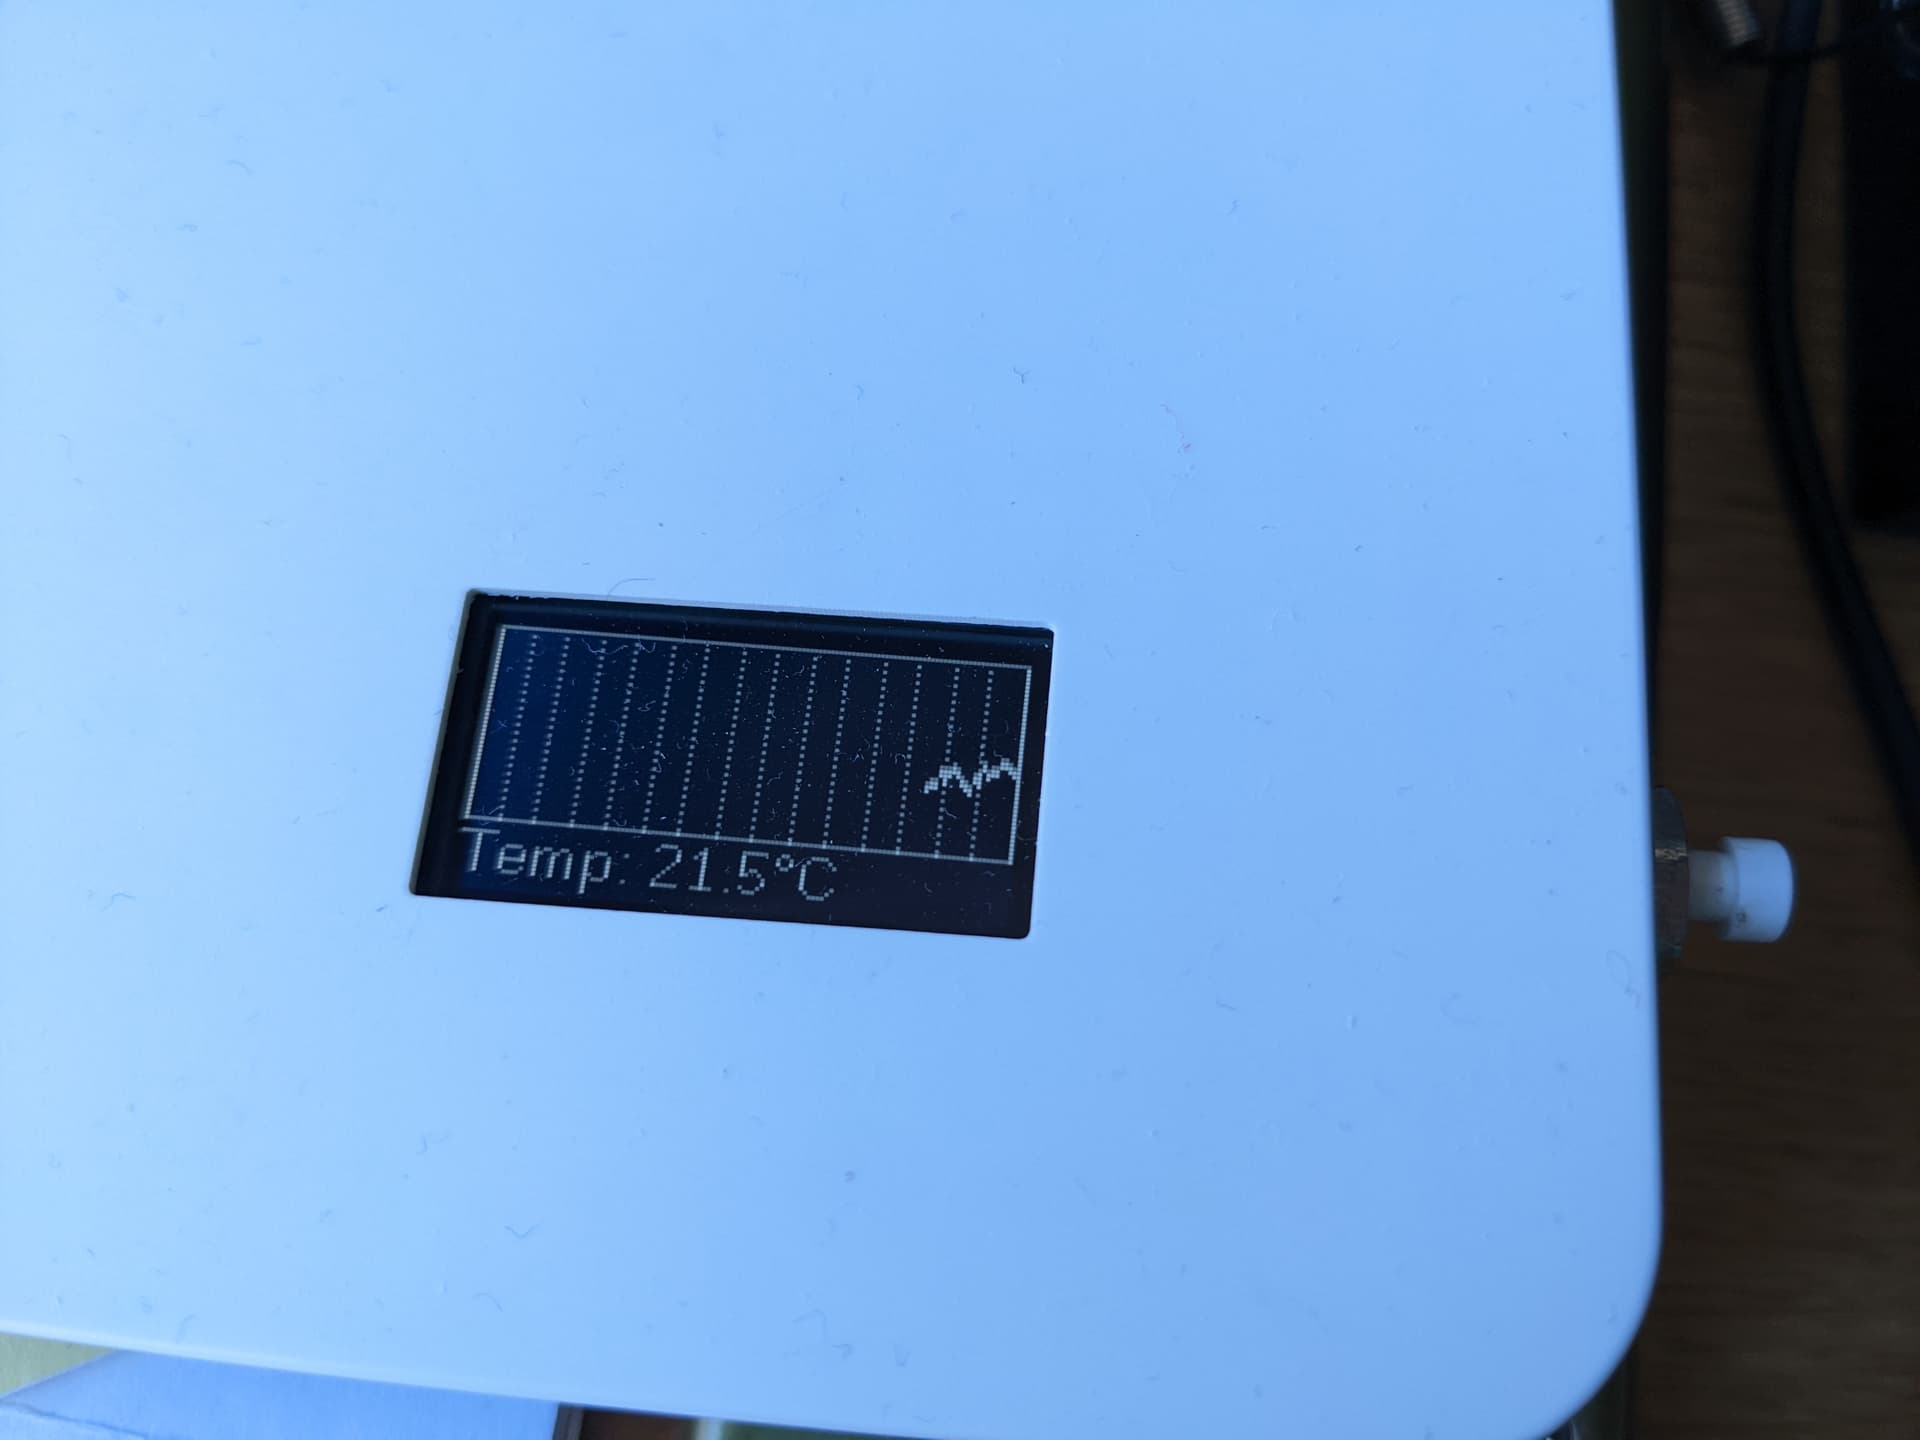
The button turns the display on and off and flips through graphs showing the last 12 hours of values. I’m running esphome. Hope this can serve as inspiration for others 
2 Likes
Would you share your yaml file with the graphs? I was going to work on configuring graphs, but if you already have it…
Absolutely. And thanks for your patience!