We are just doing a soft release of the new 3.1.1 release.
It is available here:
Firmwares
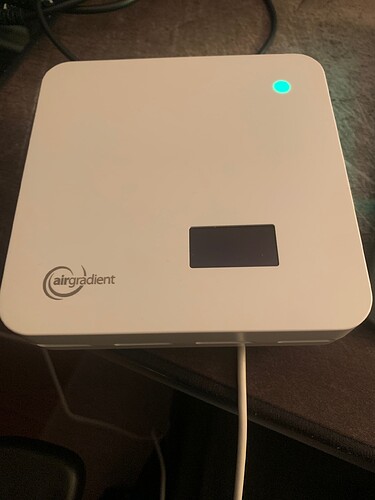
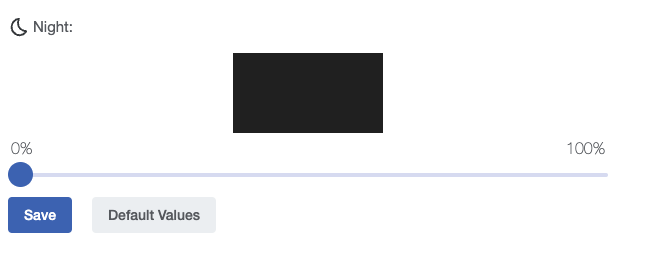
If you get a blank display after flashing see the comment below.
Please comment if you have any questions or find anything not working as expected. I’d say straight forward bugs directly as GitHub issues, more general discussions here.
Version 3.1.1 Release
New features:
- Over the air (OTA) updates. New versions of the firmware will be automatically downloaded and installed.
- Added noxLearningOffset and tvocLearningOffset configuration for changing the behavior of the SGP41 sensor.
- Added offline mode.
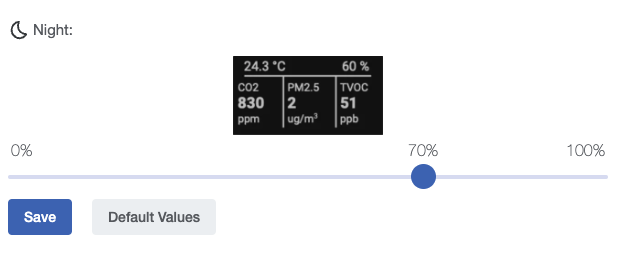
- Added brightness settings for day/night for LED bar and display. In case display is off after flashing, please adjust it on our dashboard Place Settings.
- Added platform I/O compatability.
- Moved all dependent libraries into project structure.
- Added docs folder with local API documentation
- Add ‘Prevent Connection to AirGradient Server’ checkbox to WiFi Manager to not allow any connection with the AirGradient cloud. Only use if you do not want to access the AirGradient dashboard and if you do not want to share your outdoor data with openAQ. All local configurations are still possible even with using the AirGradient cloud.
- Many bug fixes.
Breaking API Change: Temperature and humidity correction
Moved temperature and humidity correction to separate properties called atmp_compensated and rhum_compensated. As a result atmp and rhum properties do not contain compensated values anymore but the raw values measured. This only affects AirGradient Open Air outdoor models. 3rd party integrations like ESPHome or openHAB need to be updated. Sorry for the inconvenience!
The reason for this change was that we had a mix of raw values from the sensor modules and corrected values. We foresee that we need to develop a number of additional correction values e.g. for PM and probably also regularly adjust and improve these algorithms. So having them in the firmware makes this very difficult and handling it server side much easier.
Flashing Instructions
Important. Please follow these steps for flashing only. If you only want to see debug messages and logs of the monitor see the instructions for logging:
- Push the button on the PCB and keep it pushed
- Plug in the USB C cable
- Release the button. If you do not do this, the board will not get into the flash mode.
- Press the blue button
- Select the serial port your monitor is connected to. It is typically called “USB JTAG / Serial Debug”
- Follow the instructions for flashing
- After the flashing is complete, restart the monitor by unplugging the USB C cable (and plugging it back in)
Logging Instructions
Follow below to see debug messages and logs of the monitor:
- Plug in the USB C cable
- Press the blue button
- Select the serial port your monitor is connected to. It is typically called “USB JTAG / Serial Debug”
- Click on “Logs & Console”
- Click on “Reset Device” to reboot the monitor


