AirGradient Forum

Calibrate Humidity Sensor

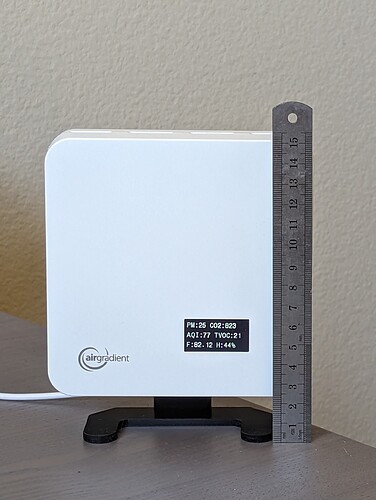
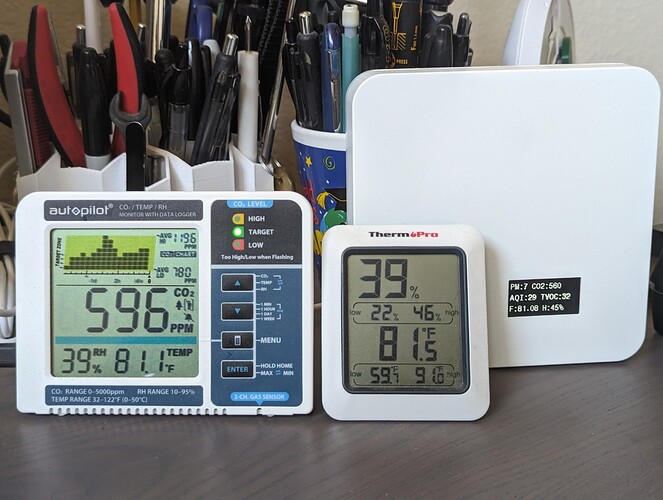
I have a PCB v3.3 version of the board that has been running with ESPHome connected to Home Assistant on my desk for almost a year. I also have a ThermoPro TP50 and Hydrofarm APCEM2 Autopilot Desktop CO2 Monitor right next to it for the same amount of time.

CO2 and Temp are all pretty close to each other for all 3 devices (2 for the CO2), but the Humidity on the AirGradient has always been off by 5-6% or so, while the ThermoPro and Hydrofarm are within 1%.

Any way to adjust calibration or know what is going on?

Picture below for reference.
1 Like

A few things:

  • The vents at the bottom of the AirGradient need to get air. So please mount it on the wall or put some distance holder below. The way you put it on the table my guess is that the heat is > ambient
  • A lot of commercial monitors actually show too low RH because of internal heat built up in the enclosure. Often these companies offset the temperature but not (or only partially) the RH. Please double check the RH with a real reference device.
  • The more I think I believe that all three devices might show too high temperature and RH. Please check with a real reference device.

Thanks for the feedback. I did not know about the airflow from the bottom so I will reposition my sensor and see if it improves.

I don’t need it to be accurate compared to a reference device, I was just more curious why they weren’t consistent between each other.

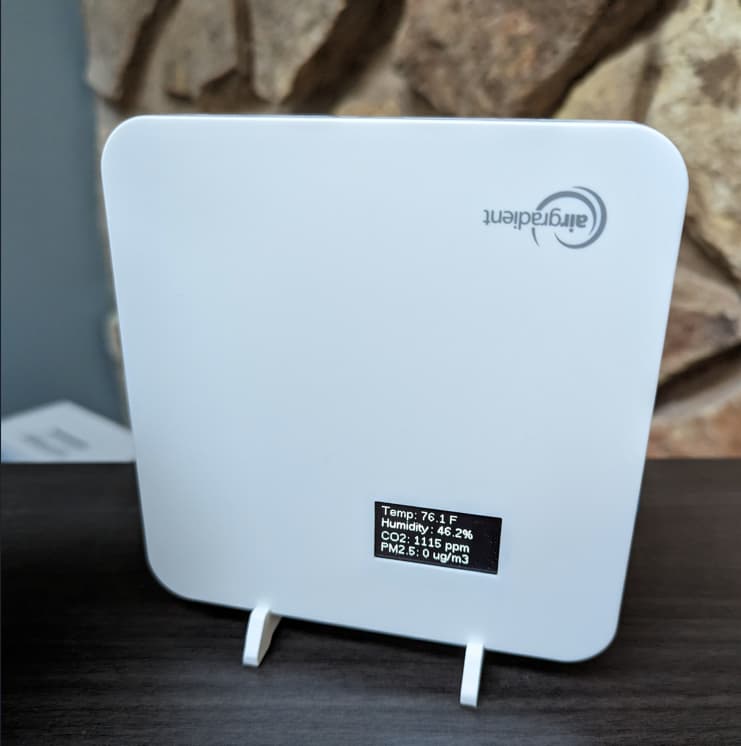
Is hanging on a wall the expected orientation? I have a Pro sitting flat on a table with the display facing up, but I get much higher temps than I think are actually in the area, but there are no vents in the main face, so I could see it trapping heat inside. But I don’t really want to mount it to a wall. Maybe we need a printable stand so it can be almost standing on edge, but be up high enough to let airflow through.

Consider vents on the front of the case for future?

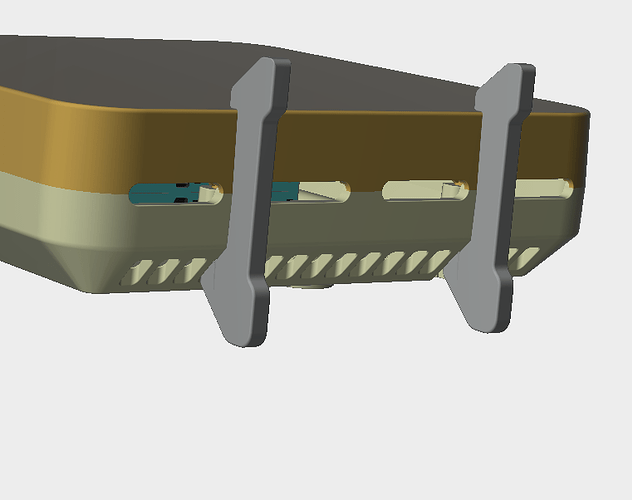
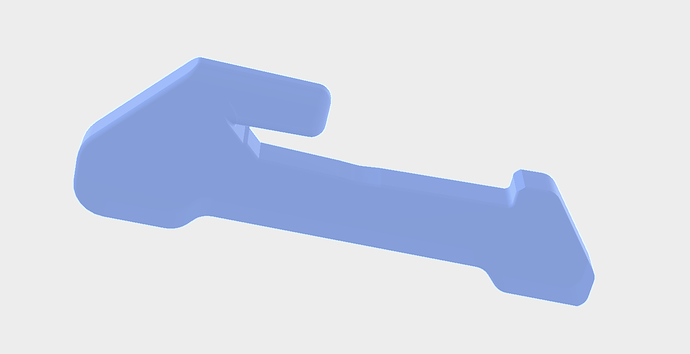
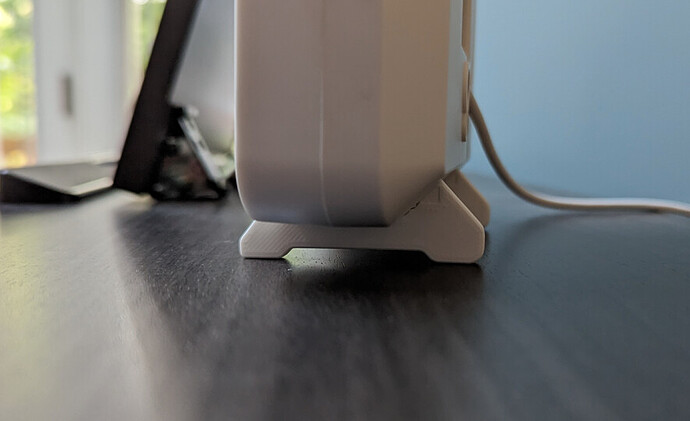
We do actually have some small clip on stands developed that make a great stand. We will probably offer it soon as an upgrade.

How much space should we leave open on the bottom? I was going to design and 3d print something. Thanks!

Will you offer the STL files as well? This project is what got me to buy my first 3d printer for the original DIY kit and I would prefer to keep being able to print my own

Yes, I will put the clip on stands on the website so that people can 3D print them. It’s a simple design but works quite well:

Published the STEP file on The AirGradient Instructions Overview

I was able to convert it with Fusion to get a .stl, but I think having it available directly as both on the website would be helpful

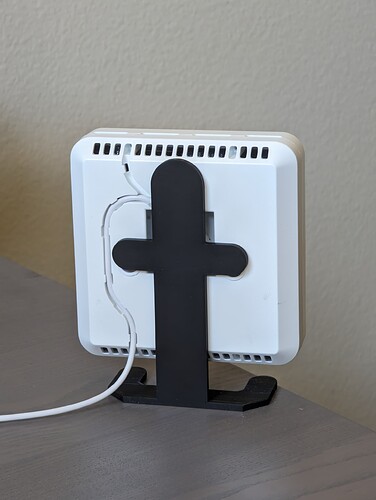
Very nice and simple clips. I went a different route with this I designed and printed last night.

https://www.printables.com/model/531085-airgradient-diy-pro-desk-stand


Still no change in humidity but its been less than a day. I might also try swapping the temp/humidity sensors between the different DIY Pro’s I have in different rooms and see if that make a difference.

1 Like

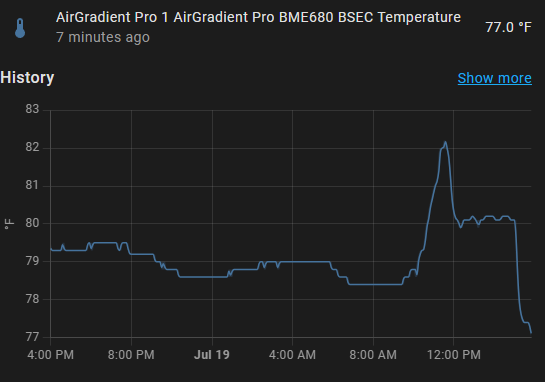
The stand makes a huge difference. Attaching my temperature chart. Before 10:00 I had it inside, Set it outside 10:00 - 12:00 to calibrate SenseAir, and then brought back inside at 12:00 and added the clips at 3:00 and you can see a significant drop just from it laying on its back to standing up on edge with the printed clips

image

I like your stand! We were thinking of something like that when we designed our small clip on stand but we wanted something that could fit into existing box so it had to be small.

1 Like

I like the AirGradient provided clip file. Printed great and securely connected.


1 Like

Any way to adjust calibration or know what is going on?

None of the cheap humidity sensors are calibrated. Each one has its own personality. If you want reliable data, you need to do calibration using saturated solution salt standards.

Then use curve-fitting software to do linear regression. FWIW, here are my results:

Sensor reading	Hygrometer	Setpoint - 25C	Standard
10.60%	10%	8.24%	sodium hydroxide
35.30%	30%	32.00%	Boveda
72.50%	74%	75.30%	table salt
27.20%	22%	23.00%	potassium acetate
14.50%	10%	11.30%	lithium chloride
59.30%	57%	57.10%	sodium bromide
85.70%	86%	84.30%	potassium chloride

The best-fit linear curve is: y = x*1.013383 - 3.5052

1 Like