I just received and assembled the pre-soldered kit and have some feedback on the experience. Ultimately I was successful, but the instructions were unnecessarily frustrating. I get this is a DIY type niche product, but if you intend it to be more widely used, these things should really be addressed.
-
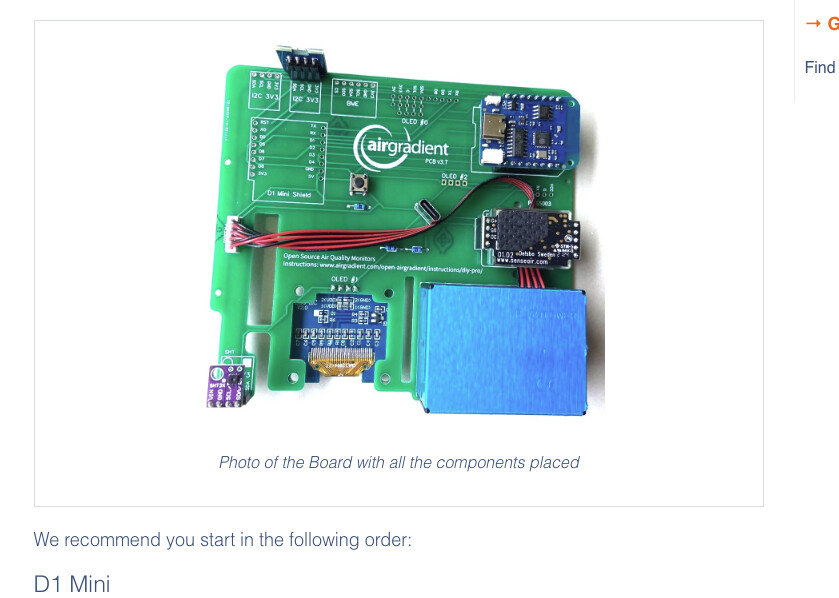
The diagrams don’t show pictures of the actual PCB being assembled, just diagrams. The D1 Mini in particular confused me and I plugged it in reversed. This seemed logical because it had the USB-C port pointing towards the exterior of the device. The diagram was not helpful at all in that.
-
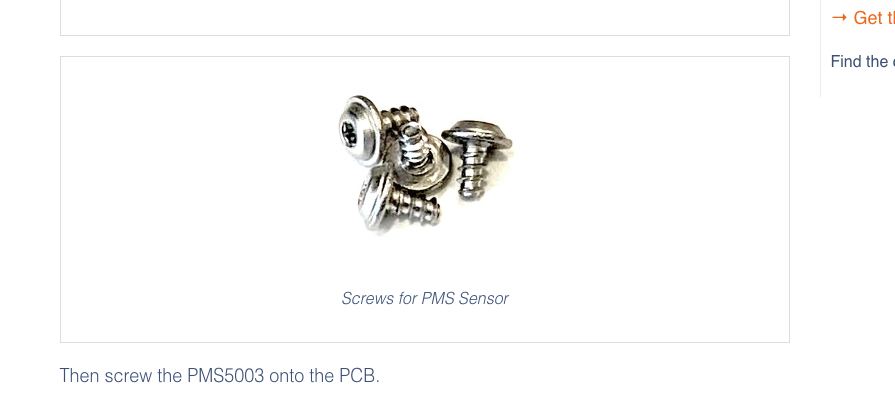
The device came with two types of screws, and don’t tell you which to use. I tried the longer ones first for the PMS module, which was of course wrong. Not a huge deal but it was unnecessary.
-
Speaking of screws, I ended up with 4 extra of the stubby ones and 0 of the long ones. Is this intended? Did I mess up? I don’t think I did, but honestly don’t know.
-
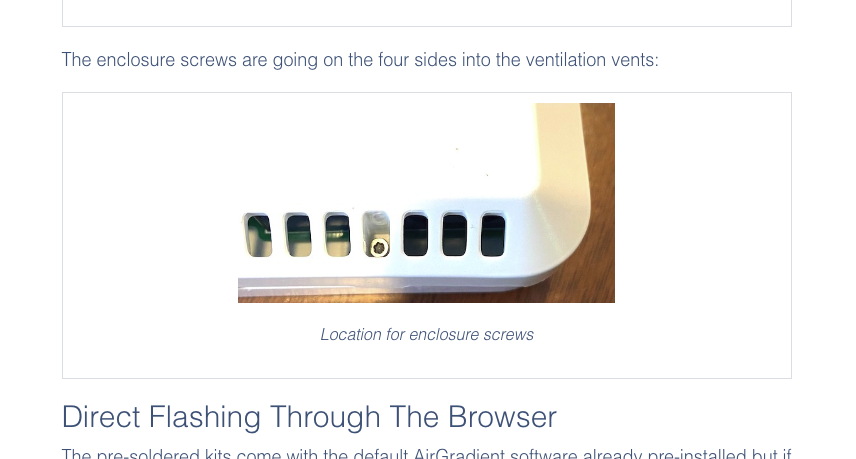
Still on screws! There are zero instructions how to put the case together. It wasn’t immediately visible how to do it. I figured it out, the long screws go into hidden little holes, but instructions were non-existant here.
-
The delay when the device boots up, where you can hit the button to change OLED naming and orientation, is extremely short. Again I made it work but adding, say, 2 seconds would help a lot there.
-
Speaking of orientation, the default orientation on the OLED is upside-down. The logo on the case would be upside-down if left alone. Easy enough to reverse it (once you get that ultra-short delay down) but the default should be correct, don’t you think? How many people just left it that way?
-
While the instructions do talk about flashing, they don’t make it clear that the device won’t work in HomeAssistant without being flashed with ESPhome. So now I need to open it back up and flash it. Normally that wouldn’t be a huge deal but I’m pretty scared of stripping the little plastic threads in the screw holes. Definitely suggest a big bold notification telling people they need to do this-- and it would be very cool if there was some way to do it through your dashboard, too.