AirGradient One - not working after flashing with Arduino

Hi, my AirGradient One is not working after uploading the ONE-V9.ino

Can someone advise me on what I need to do to get it working as intended again? Thanks.

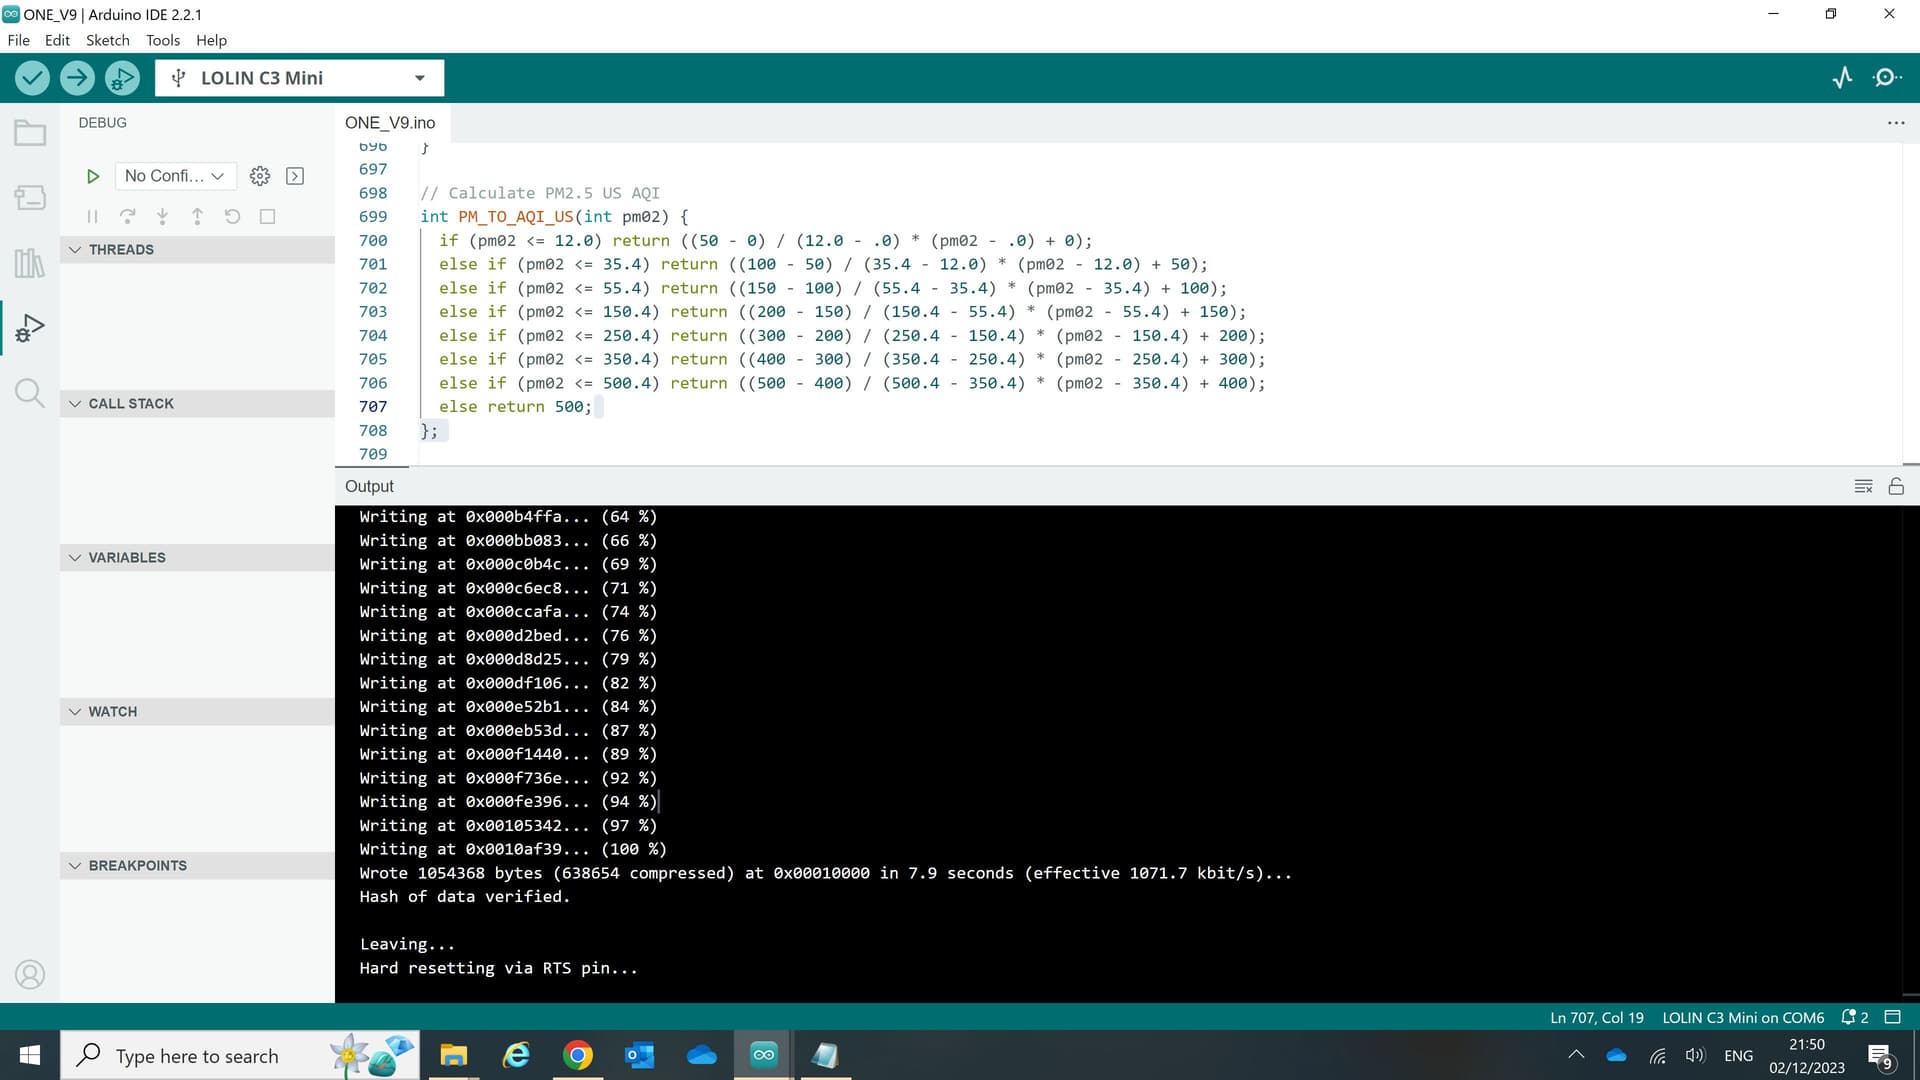
Below is a screenshot of Arduino IDE showing the output (how do I do a Hard Resetting via RTS pin?).

Below is an example of a log obtained from Airgradient v9.

assert failed: i2c_ll_cal_bus_clk /IDF/components/hal/esp32c3/include/hal/i2c_ll.h:105 (clk_cal->scl_wait_high < clk_cal->sda_sample && clk_cal->sda_sample < clk_cal->scl_high)
Core 0 register dump:
MEPC : 0x40381eec RA : 0x40386c56 SP : 0x3fc9da30 GP : 0x3fc8e400
TP : 0x3fc70bd8 T0 : 0x656c706d T1 : 0x6d61735f T2 : 0x61735f61
S0/FP : 0x00000001 S1 : 0x3fc9dc10 A0 : 0x3fc9da94 A1 : 0x3fc8fead
A2 : 0x00000001 A3 : 0x00000029 A4 : 0x00000001 A5 : 0x3fc97000
A6 : 0x6c63203c A7 : 0x20656c70 S2 : 0x00000017 S3 : 0x3fc9da88
S4 : 0x3fc9da88 S5 : 0x4202878c S6 : 0x00000002 S7 : 0x3c0cc000
S8 : 0x00000000 S9 : 0x00000000 S10 : 0x00000000 S11 : 0x00000000
T3 : 0x6164733e T4 : 0x2d6c6163 T5 : 0x5f6b6c63 T6 : 0x20262620
MSTATUS : 0x00001801 MTVEC : 0x40380001 MCAUSE : 0x00000007 MTVAL : 0x00000000
MHARTID : 0x00000000

Stack memory:
3fc9da30: 0xa5a5a5a5 0xa5a5a5a5 0x3c0cbfa8 0x4038c5a6 0x00000000 0x3fc97000 0x0006000ESP-ROM:esp32c3-api1-20210207
Build:Feb 7 2021
rst:0x7 (TG0WDT_SYS_RST),boot:0xc (SPI_FAST_FLASH_BOOT)
Saved PC:0x4202636e
SPIWP:0xee
mode:DIO, clock div:1
load:0x3fcd5820,len:0x458
load:0x403cc710,len:0x814
load:0x403ce710,len:0x2878
entry 0x403cc710

A few questions:

  • Which version of the Arduino AirGradient library are you using?
  • Did you power cycle after the flashing?
  • Does the device work after using the web flasher below?

I’m using Arduino AirGradient 2.4.12

I did unplug it for 30sec then power it up again (is this the correct power cycle procedure?).

The web flasher doesn’t work for this one. Got 3 different types of
failed messages.

First error message below (even with following the instructions)

“Failed to initialize. Try resetting your device or holding the BOOT button while clicking INSTALL.”

This was followed by the message below when it tried to reconnect

“Serial port is not ready. Close any other application using it and try again.”

I got the following message when I tried to select the port again:
“Failed to execute ‘open’ on ‘SerialPort’: The port is already open.”

I have to press the “En” button to be able to reconnect to the USB port again.

In some cases the board needs to be put into a special boot/flash mode. Please use the small screwdriver and at the back next to the USB port is a small hole with a button behind.
Follow these steps:

  1. Push the button with the screwdriver and keep it pushed
  2. Plug in the USB C cable
  3. Release the button. If you do not do this, the board will not get into the flash mode.
  4. Press the orange button on the web flasher (or flash from Arduino IDE)
  5. Select the serial port your monitor is connected to. It is typically called “USB JTAG / Serial Debug”
  6. Follow the instructions for flashing
  7. After the flashing is complete, restart the monitor by unplugging the USB C cable (and plugging it back in)

That did the trick (via web flasher), thank you. I will try to use the same method to flash from Arduino IDE tomorrow to see if it works.

I have to install the following libraries to get the Arduino code to compile earlier.

  • PMS Library (following the instructions from your blog.)
  • S8_UART

Have a nice evening.

Achim, when I follow these instructions, the display remains blank upon releasing the button. (No LED, no display)
When I click “Flash Firmware”, I am able to connect to the device and I am presented with the offer to Install AIRGRADIENT ONE (ARDUINO) 13DEC23, or to look at the logs and console.
I select to install, I have tried both checking and unchecking the “erase device” option,
and after confirming I want to install, I still receive the “Installation failed” message. If I try to go back, I get an error that the serial port is not ready. I follow the same procedure as above to reboot back into boot/flash mode. I can then reconnect and look at the console (Blank, no activity), and the logs. The console updates with:
ESP-ROM:esp32c3-api1-20210207
Build:Feb 7 2021
rst:0x15 (USB_UART_CHIP_RESET),boot:0x1 (SPI_DOWNLOAD_BOOT)
Saved PC:0x4005213e
wait spi download

The downloaded log “esp-web-tools-logs” is blank.

I have tried three different USB hubs and usb cable other than the one included to rule that out as well. I have tried Edge & Chrome. Windows 11

In case it has any relevance: the instructions for how to configure units of measurement by using the button does not produce the expected behavior either. A short press of the button after start up causes the LEDS to light up once for each color, then go dark completely. No LED comes back on until the sensors refresh.

Do you have any other program open eg the Arduino IDE that uses that serial port?

Try to reboot your windows and only open the chrome browser to flash the firmware. Make sure that chrome is on the latest version.