Hello,
I have an AirGradient DIY Pro (ESPHome 2023.7.0) and after a while (around 2-3 weeks), it seems to go crazy.
See pictures below:
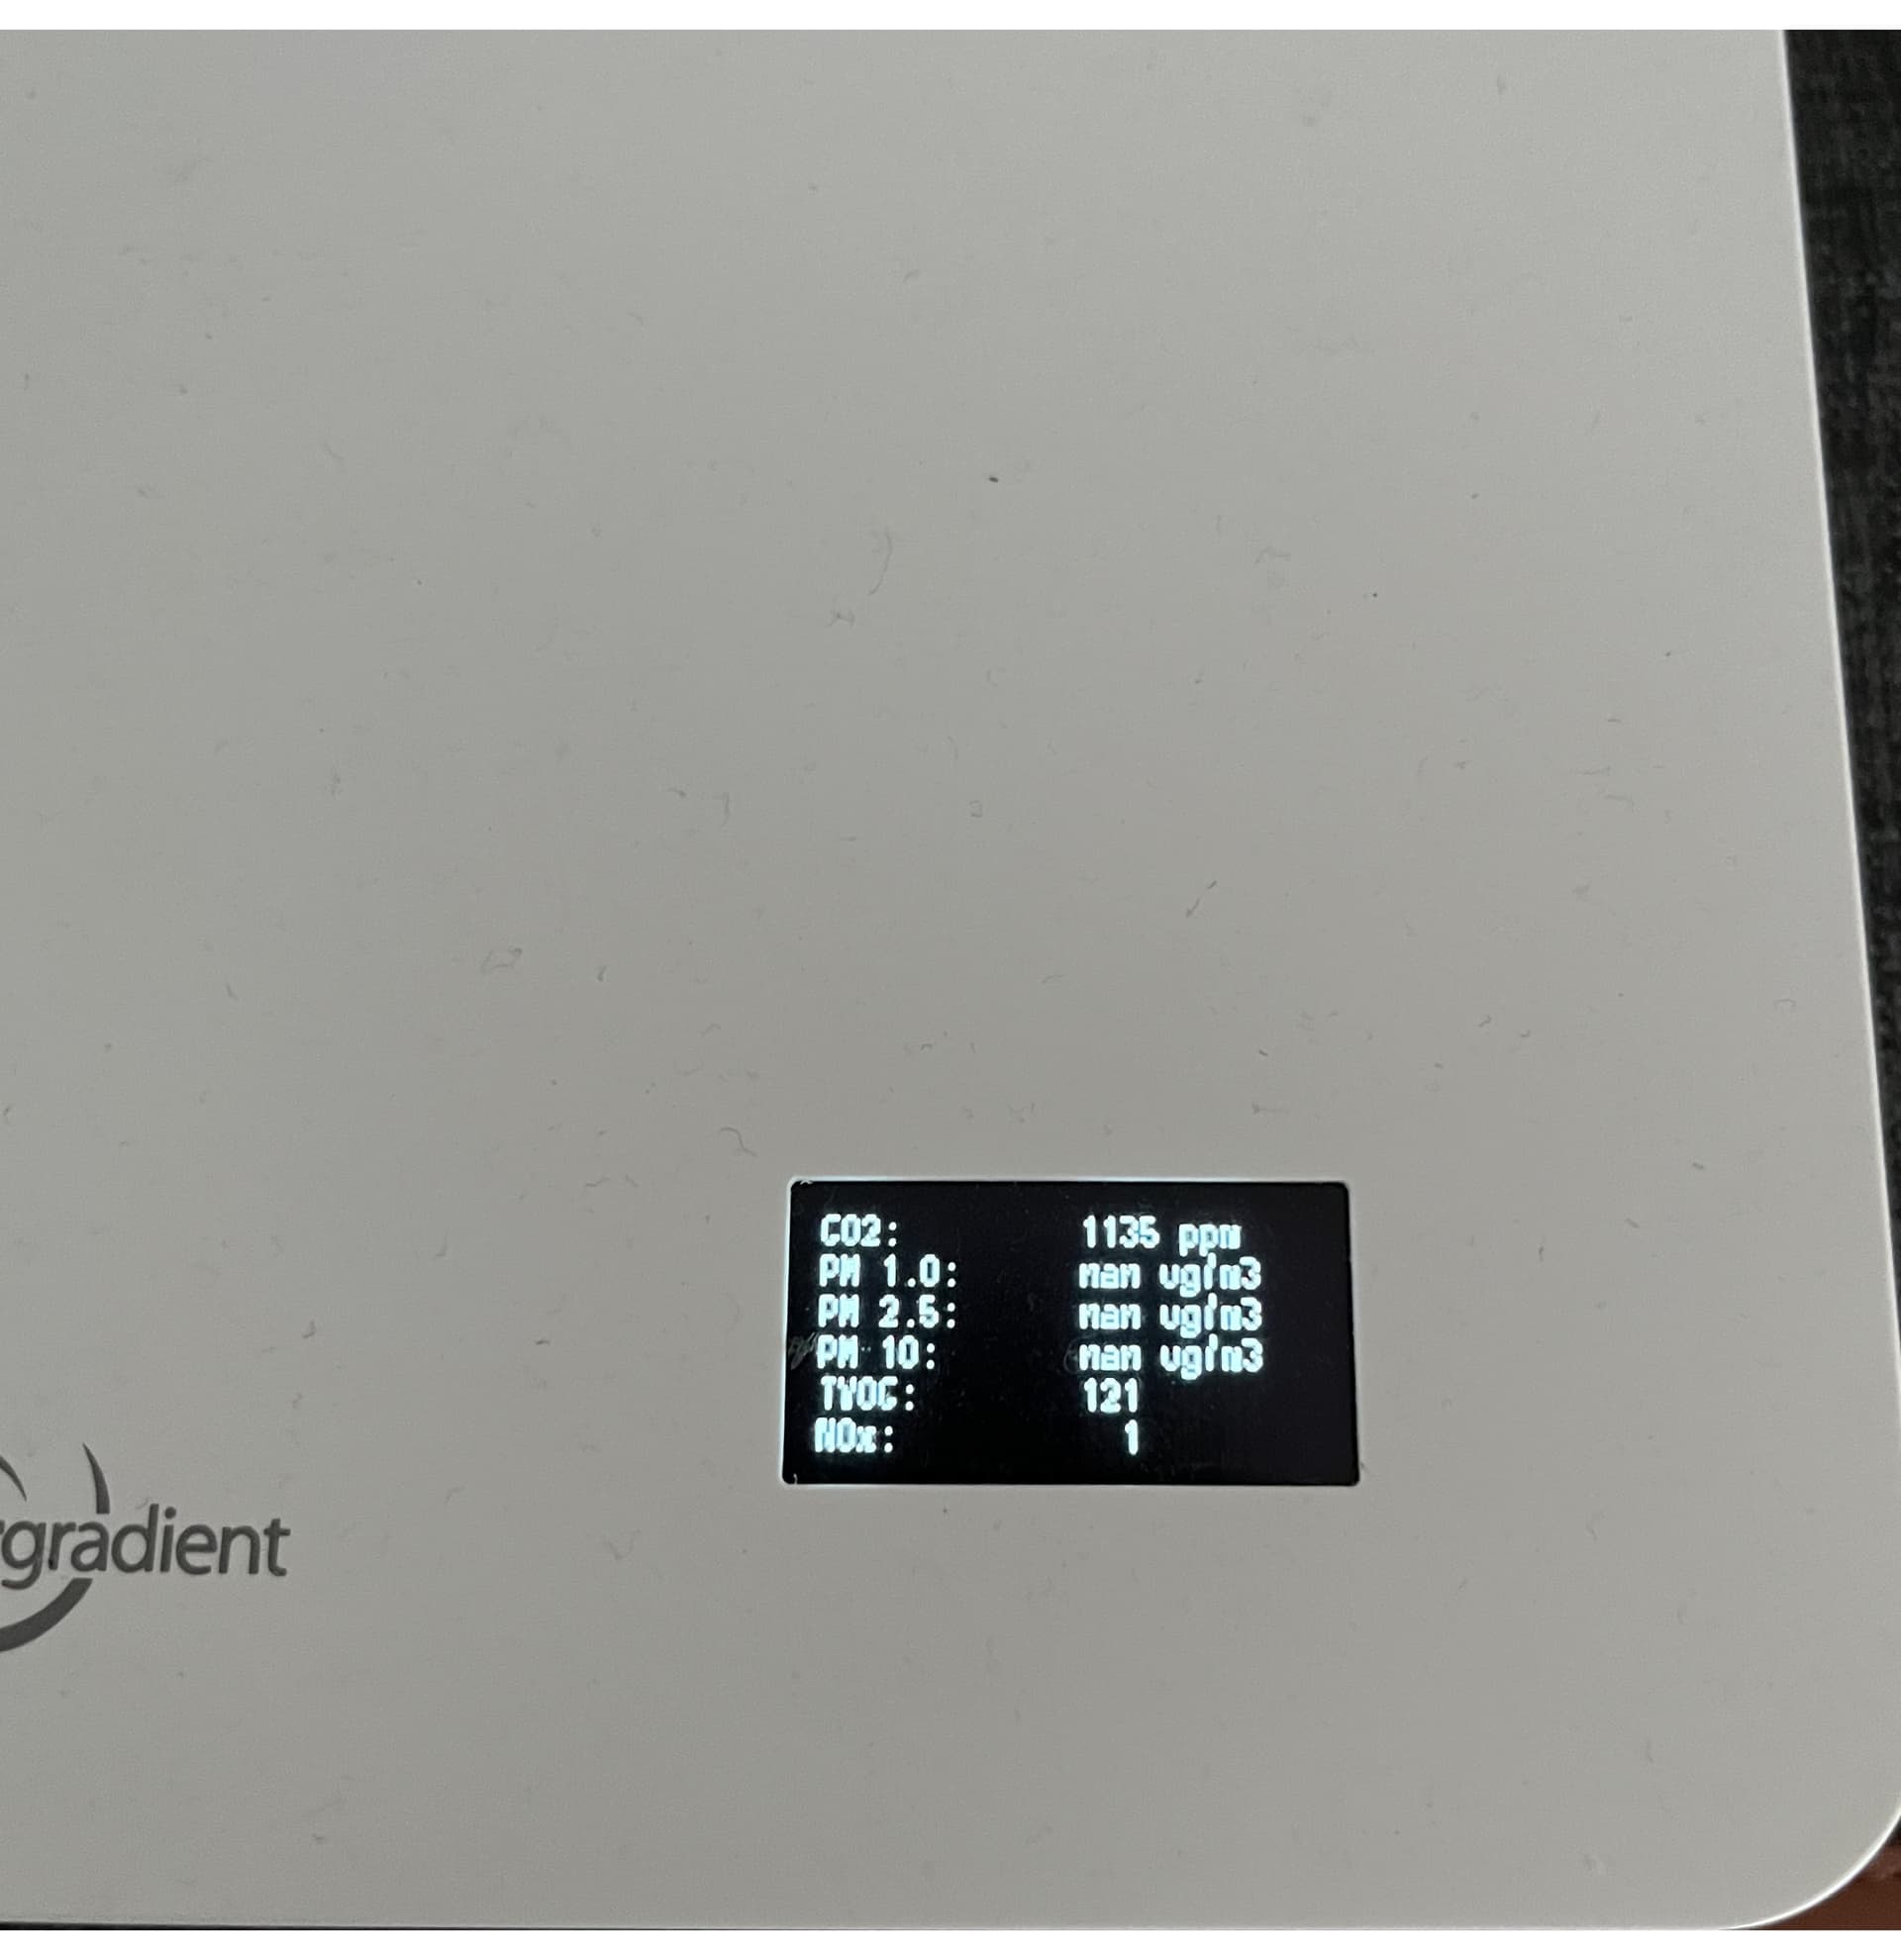
Is anyone else experiencing this ?
A reboot is solving the issue, but this is a bit annoying…
Hello,
I have an AirGradient DIY Pro (ESPHome 2023.7.0) and after a while (around 2-3 weeks), it seems to go crazy.
See pictures below:
Is anyone else experiencing this ?
A reboot is solving the issue, but this is a bit annoying…
I haven’t seen it give odd readings like that. ESPHome is constantly being updated, so you may try updating to the latest on your device and see how it goes.
Ok I tried upgrading with ESPHome 2023.11 but I got this issue when updating:
I suppose I’ll have to wait to test the new version…
Looks like 2023.10.6 doesn’t have the issue, so you could try using that version
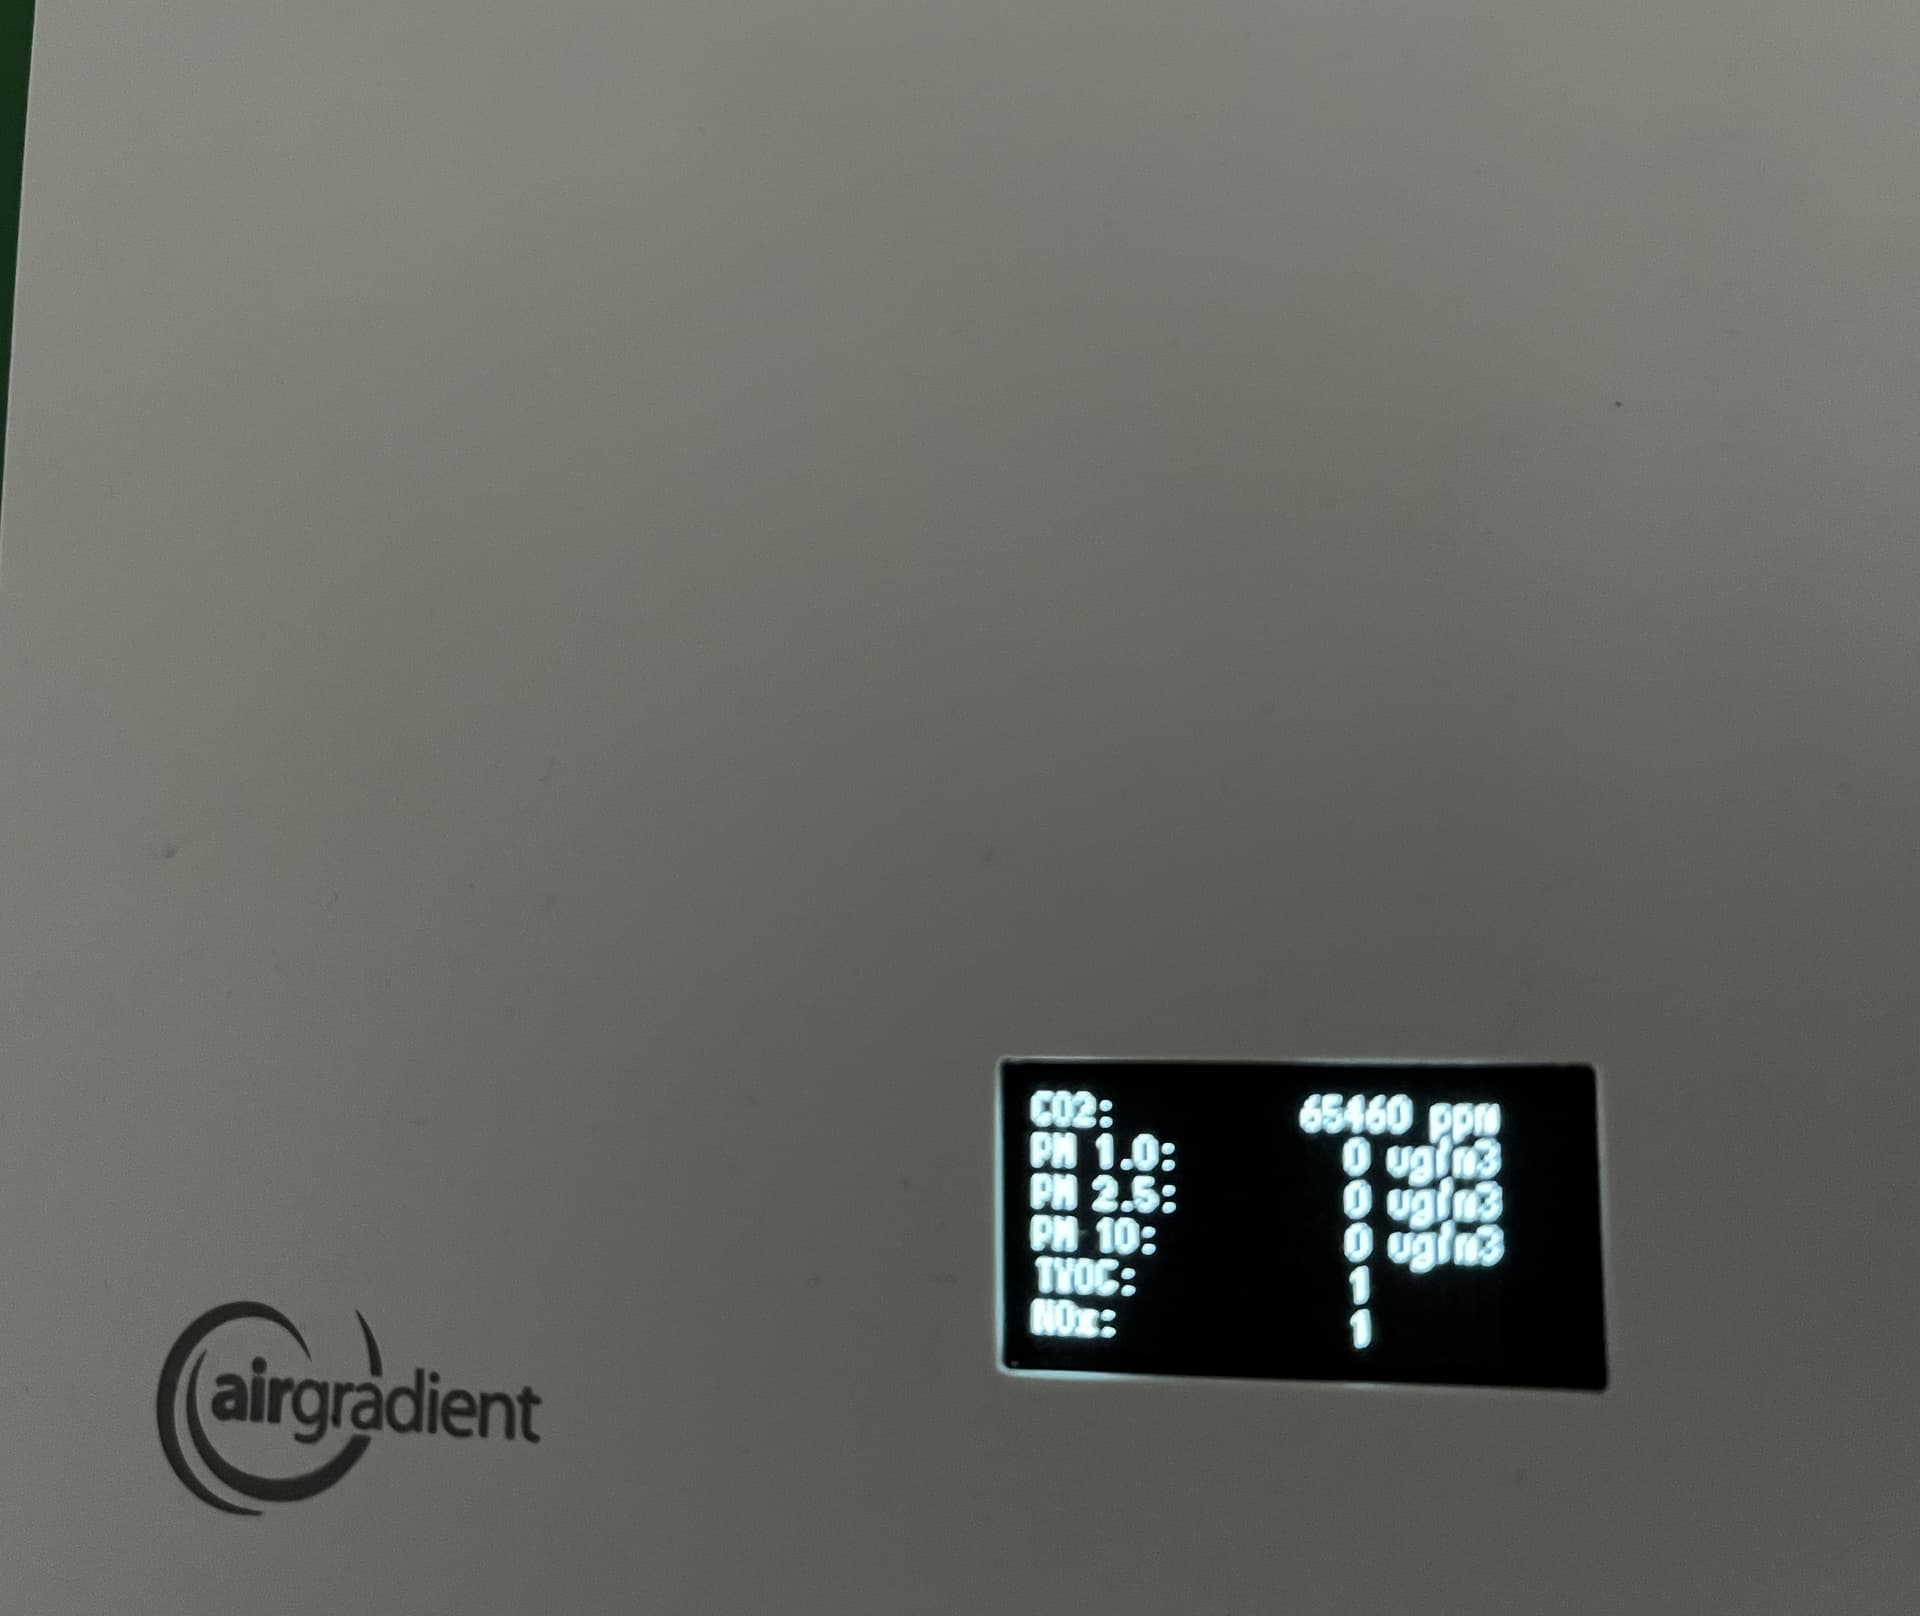
Ok I manage to update to 2023.11.1 and it is getting worse.
Updated yesterday evening, and it worked OK until this morning when I opened the window: CO2 = 65340 ppm.
It really looks like an int overflow (close to 65526…).
I suppose I’ll have to contact the official support.
Here is my config file:
# AirGradient Pro v4.2 DIY edition
#

substitutions:
  id: "1"
  devicename: "airgradient-pro"
  upper_devicename: "AirGradient Pro"

esphome:
  name: "${devicename}-${id}"
  friendly_name: "${upper_devicename} ${id}"
  # Automatically add the mac address to the name
  # so you can use a single firmware for all devices
  # name_add_mac_suffix: true
  platform: ESP8266
  board: d1_mini

# Enable logging
logger:

# Enable Home Assistant API (API password is deprecated in favor of encryption key)
# https://esphome.io/components/api.html
api:
  encryption:
    key: !secret home_assistant_encryption_key

ota:
  password: !secret ota_password

wifi:
  networks:
  - ssid: !secret wifi_ssid
    password: !secret wifi_password
  reboot_timeout: 15min

  # Enable fallback hotspot (captive portal) in case wifi connection fails
  ap:
    ssid: "${upper_devicename} Fallback Hotspot"
    password: !secret fallback_ssid_password

# Used to support POST request to send data to AirGradient
# https://esphome.io/components/http_request.html
http_request:

# Creates a simple web server on the node that can be accessed through any browser
# https://esphome.io/components/web_server.html
web_server:
  port: 80
  include_internal: true

# The captive portal is a fallback mechanism for when connecting to the configured WiFi fails.
# https://esphome.io/components/captive_portal.html
captive_portal:

# Create a switch for safe_mode in order to flash the device
# Solution from this thread:
# https://community.home-assistant.io/t/esphome-flashing-over-wifi-does-not-work/357352/1
switch:
  - platform: safe_mode
    name: "Flash Mode (Safe Mode)"
    icon: "mdi:cellphone-arrow-down"

i2c:
  sda: D2
  scl: D1

# Monofonto by Typodermic Fonts: https://typodermicfonts.com/monofonto/
# alternative download: https://www.fontsaddict.com/font/monofonto.html
font:
  - file: "fonts/monofont.ttf"
    id: opensans
    size: 12

display:
  - platform: ssd1306_i2c
    id: oled
    address: 0x3c
    model: "SH1106 128x64"
    pages:
      - id: page1
        lambda: |-
          it.printf(0,  0, id(opensans), "CO2:           %4.0f ppm  ", id(co2).state);
          it.printf(0, 10, id(opensans), "PM 1.0:        %4.0f ug/m3", id(pm_1_0).state);
          it.printf(0, 20, id(opensans), "PM 2.5:        %4.0f ug/m3", id(pm_2_5).state);
          it.printf(0, 30, id(opensans), "PM 10:         %4.0f ug/m3", id(pm_10_0).state);
          it.printf(0, 40, id(opensans), "TVOC:          %4.0f", id(tvoc).state);
          it.printf(0, 50, id(opensans), "NOx:           %4.0f", id(nox).state);
      #    it.printf(0, 40, id(opensans), "Humidity:     %2.2f %%", id(humidity).state);
      #    it.printf(0, 50, id(opensans), "Temperature:  %2.2f C", id(temp).state);
      # - id: page2
      #   lambda: |-

interval:
  - interval: 10s
    then:
      - display.page.show_next: oled
      - component.update: oled

  - interval: 5min
    # Send data to AirGradient API server
    # for more details have a look at sendToServer() function:
    # https://www.airgradient.com/open-airgradient/blog/airgradient-diy-pro-instructions/
    then:
      - http_request.post:
          # AirGradient URL with the last 3 bytes of the MAC address in Hex format all lower case
          url: !lambda |-
            return "http://hw.airgradient.com/sensors/airgradient:" + get_mac_address().substr(6,11) + "/measures";
          headers:
              Content-Type: application/json
          # "!lambda return to_string(id(pm2).state);" Converts sensor output from double to string
          json:
            wifi: id(airgradient_wifi_signal).state
            pm01: !lambda return to_string(id(pm_1_0).state);
            pm02: !lambda return to_string(id(pm_2_5).state);
            pm10: !lambda return to_string(id(pm_10_0).state);
            pm003_count: !lambda return to_string(id(pm_0_3um).state);
            rco2: !lambda return to_string(id(co2).state);
            atmp: !lambda return to_string(id(temp).state);
            rhum: !lambda return to_string(id(humidity).state);
            tvoc_index: !lambda return to_string(id(tvoc).state);
            nox_index: !lambda return to_string(id(nox).state);
          verify_ssl: false
uart:
  - rx_pin: D5
    tx_pin: D6
    baud_rate: 9600
    id: uart_1

  - rx_pin: D4
    tx_pin: D3
    baud_rate: 9600
    id: uart_2

sensor:
  - platform: sht3xd
    temperature:
      id: temp
      name: ${upper_devicename} Temperature
    humidity:
      id: humidity
      name: ${upper_devicename} Relative Humidity
    address: 0x44
    update_interval: 10s

  - platform: pmsx003
    type: PMSX003
    uart_id: uart_1
    pm_1_0:
      id: pm_1_0
      name: "${upper_devicename} Particulate Matter <1.0µm Concentration"
    pm_2_5:
      id: pm_2_5
      name: "${upper_devicename} Particulate Matter <2.5µm Concentration"
    pm_10_0:
      id: pm_10_0
      name: "${upper_devicename} Particulate Matter <10.0µm Concentration"
    pm_0_3um:
      id: pm_0_3um
      name: "${upper_devicename} Particulate Matter >0.3µm Count"
    pm_0_5um:
      id: pm_0_5um
      name: "${upper_devicename} Particulate Matter >0.5µm Count"
    pm_1_0um:
      id: pm_1_0um
      name: "${upper_devicename} Particulate Matter >1.0µm Count"
    pm_2_5um:
      id: pm_2_5um
      name: "${upper_devicename} Particulate Matter >2.5µm Count"
    # formaldehyde:
    #   id: hcho
    #   name: "{upper_devicename} Formaldehyde (HCHO) concentration in µg per cubic meter"
    update_interval: 3min # Sensor will go into sleep mode for extended operation lifetime

# What level of PM2.5 is acceptable:
# PM2.5 refers to atmospheric particulate matter (PM) that have a diameter of less than 2.5 micrometers, which is about 3% the diameter of a human hair.
# Most studies indicate PM2.5 at or below 12 μg/m3 is considered healthy with little to no risk from exposure.
# If the level goes to or above 35 μg/m3 during a 24-hour period, the air is considered unhealthy and can cause issues for people with existing breathing issues such as asthma.

# https://senseair.com/products/size-counts/s8-residential/
# https://www.co2meter.com/products/s8-miniature-co2-sensor-1
  - platform: senseair
    uart_id: uart_2
    co2:
      id: co2
      name: "${upper_devicename} SenseAir CO2 Value"
    update_interval: 60s

# What level of CO2 for indoor air is acceptable:
# ASHRAE recommends maintaining indoor CO2 levels no greater than 700 ppm above ambient levels (assumed to range between 300 and 500 ppm).
# High CO2 levels, generally over 1000 ppm, indicate a potential problem with air circulation and fresh air in a room or building


  # https://sensirion.com/products/catalog/SGP41/
  - platform: sgp4x
    voc:
      id: tvoc
      name: "TVOC Index"
    nox:
      id: nox
      name: "NOx Index"
    compensation:
      humidity_source: humidity
      temperature_source: temp

# What level of VOC is acceptable:
# 0 to 400 ppb: This is the acceptable level of VOC indoors. You should not expect short-term effects such as irritation or discomfort.
# 400 to 2,200 ppb: Short-term exposure can result in noticeable effects such as headaches, nausea, dizziness, and irritation of the respiratory tract and eyes.
# Processed output:	0-500 VOC Index
# Measurement range (TVOC)	0 - 1000	ppm

# What level of NOx is acceptable:
# Good (0-50 ppb) No health impacts are expected when air quality is in this range.
# Moderate (51-100 ppb) Individuals who are unusually sensitive to nitrogen dioxide should consider limiting prolonged outdoor exertion.
# Processed output:	0-500 NOx Index
# Measurement range (NOx)	0 - 1000	ppm

# Measurement range: Ethanol in clean air 0 – 1’000’000 ppb
# Measurement range: NO2 in clean air 0 – 10’000 ppb
  - platform: wifi_signal
    name: "WiFi Signal Sensor"
    id: airgradient_wifi_signal
    update_interval: 60s

  - platform: uptime
    name: "Uptime Sensor"
    id: uptime_sensor
    update_interval: 60s
I also tried the procedure here to perform a manual calibration:
I placed the sensor outside and went to the dashboard to start the calibration.
It asked for the specific Airgradient model with a lot of models.
As I am not sure, I selected I-1DIY (“I” shoud stand for Indoor I suppose ? No clue…)
Then I started the calibration.
Since one hour the CO2 value is staying at 0 ppm (instead of 400ppm).
I didn’t think that functionality was actually working, but I’ll let Achim reply to confirm.
I added some HomeAssistant buttons in ESPHome so I can manually trigger a calibration myself and it works great.
Do you see bogus numbers inside of HomeAssistant as well, or only on the display? I’m not supper familiar with the printf formatting, but I see you are using %4.0f while I use %.0f
I’m not sure if that would format the number any differently, I’m thinking not, but you could try one of my config files for a bit and see if you have the same behavior.
Yes correct. That functionality currently does not work with the open-source version.
To calibrate you could use the below Arduino code:
This works for the DIY Basic and Pro v4.2 kits but not (yet) for the new ESP-C3 mini version. I will talk to our dev team to come up with something integrated into the open-source fw.
Thanks a lot for your link to get a button for calibration, I am sure that it will be useful.
After 3-4 hours, the CO2 was still at 0ppm so I brought it back inside and after a while, the value seems to be correct again.
Let’s see if I will have strange values again (I’ll try your config if that happens but mine is pretty standard except the display, so I am not confident that it will change anything).
And yes I see also incorrect values on the Dashboard and on Home Assistant, so this is not only the formatting.
I’ll keep you updated !
Hello @Achim_AirGradient ,
Thanks for the Arduino code, but is it not simpler to use the ESPHome config from @MallocArray to trigger the manual calibration ?