AirGradient Forum

12-Meter Ultra Low-Profile Flat Cable Pass-Through Setup (No Drilling & No Voltage Drop)

Hey Everyone,

I wanted to share a successful custom power setup I recently engineered, and it is still under test for my outdoor AirGradient monitor.

The Challenge

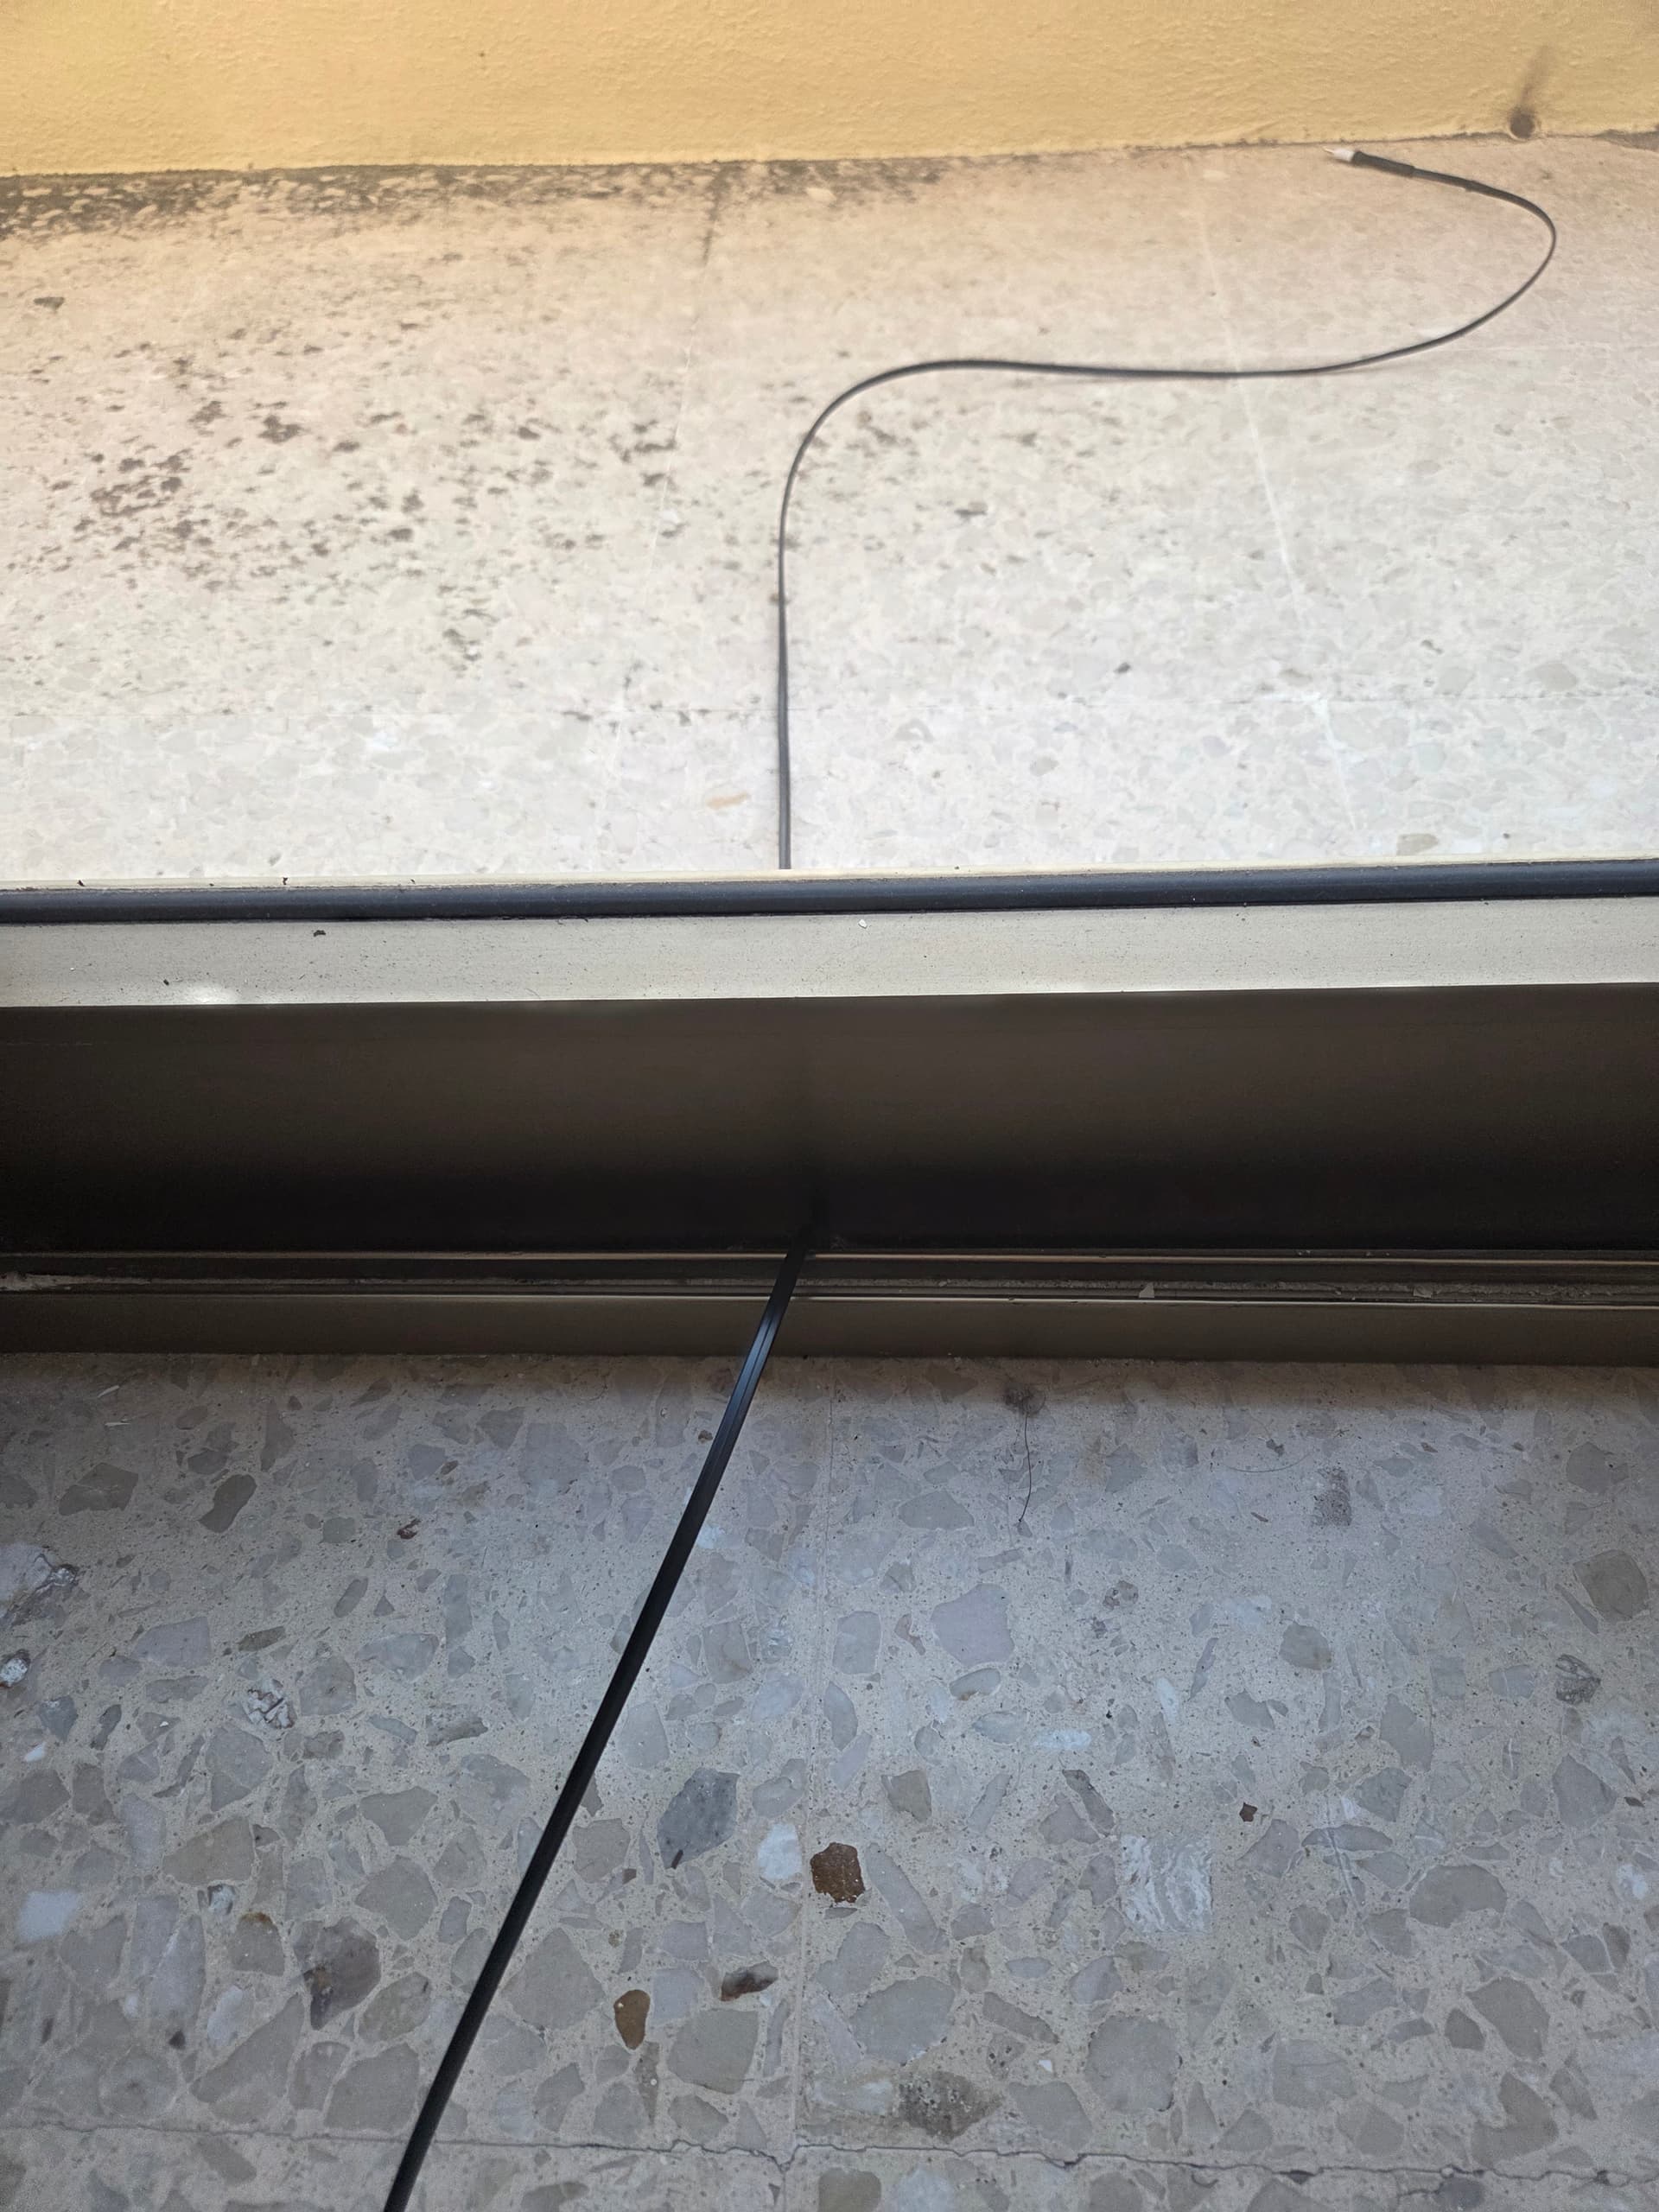
I needed to run power to my outdoor unit from an indoor outlet, passing through a closed window/door frame without drilling permanent holes or damaging structural seals.

The Solution: Conductor Parallel Pairing

One of the solutions that seems promising was a 4-core flat modular telephone cable combined with custom solderable USB connectors:

Cable: 4-core flat profile cable (slips seamlessly through tight window/door gaskets).

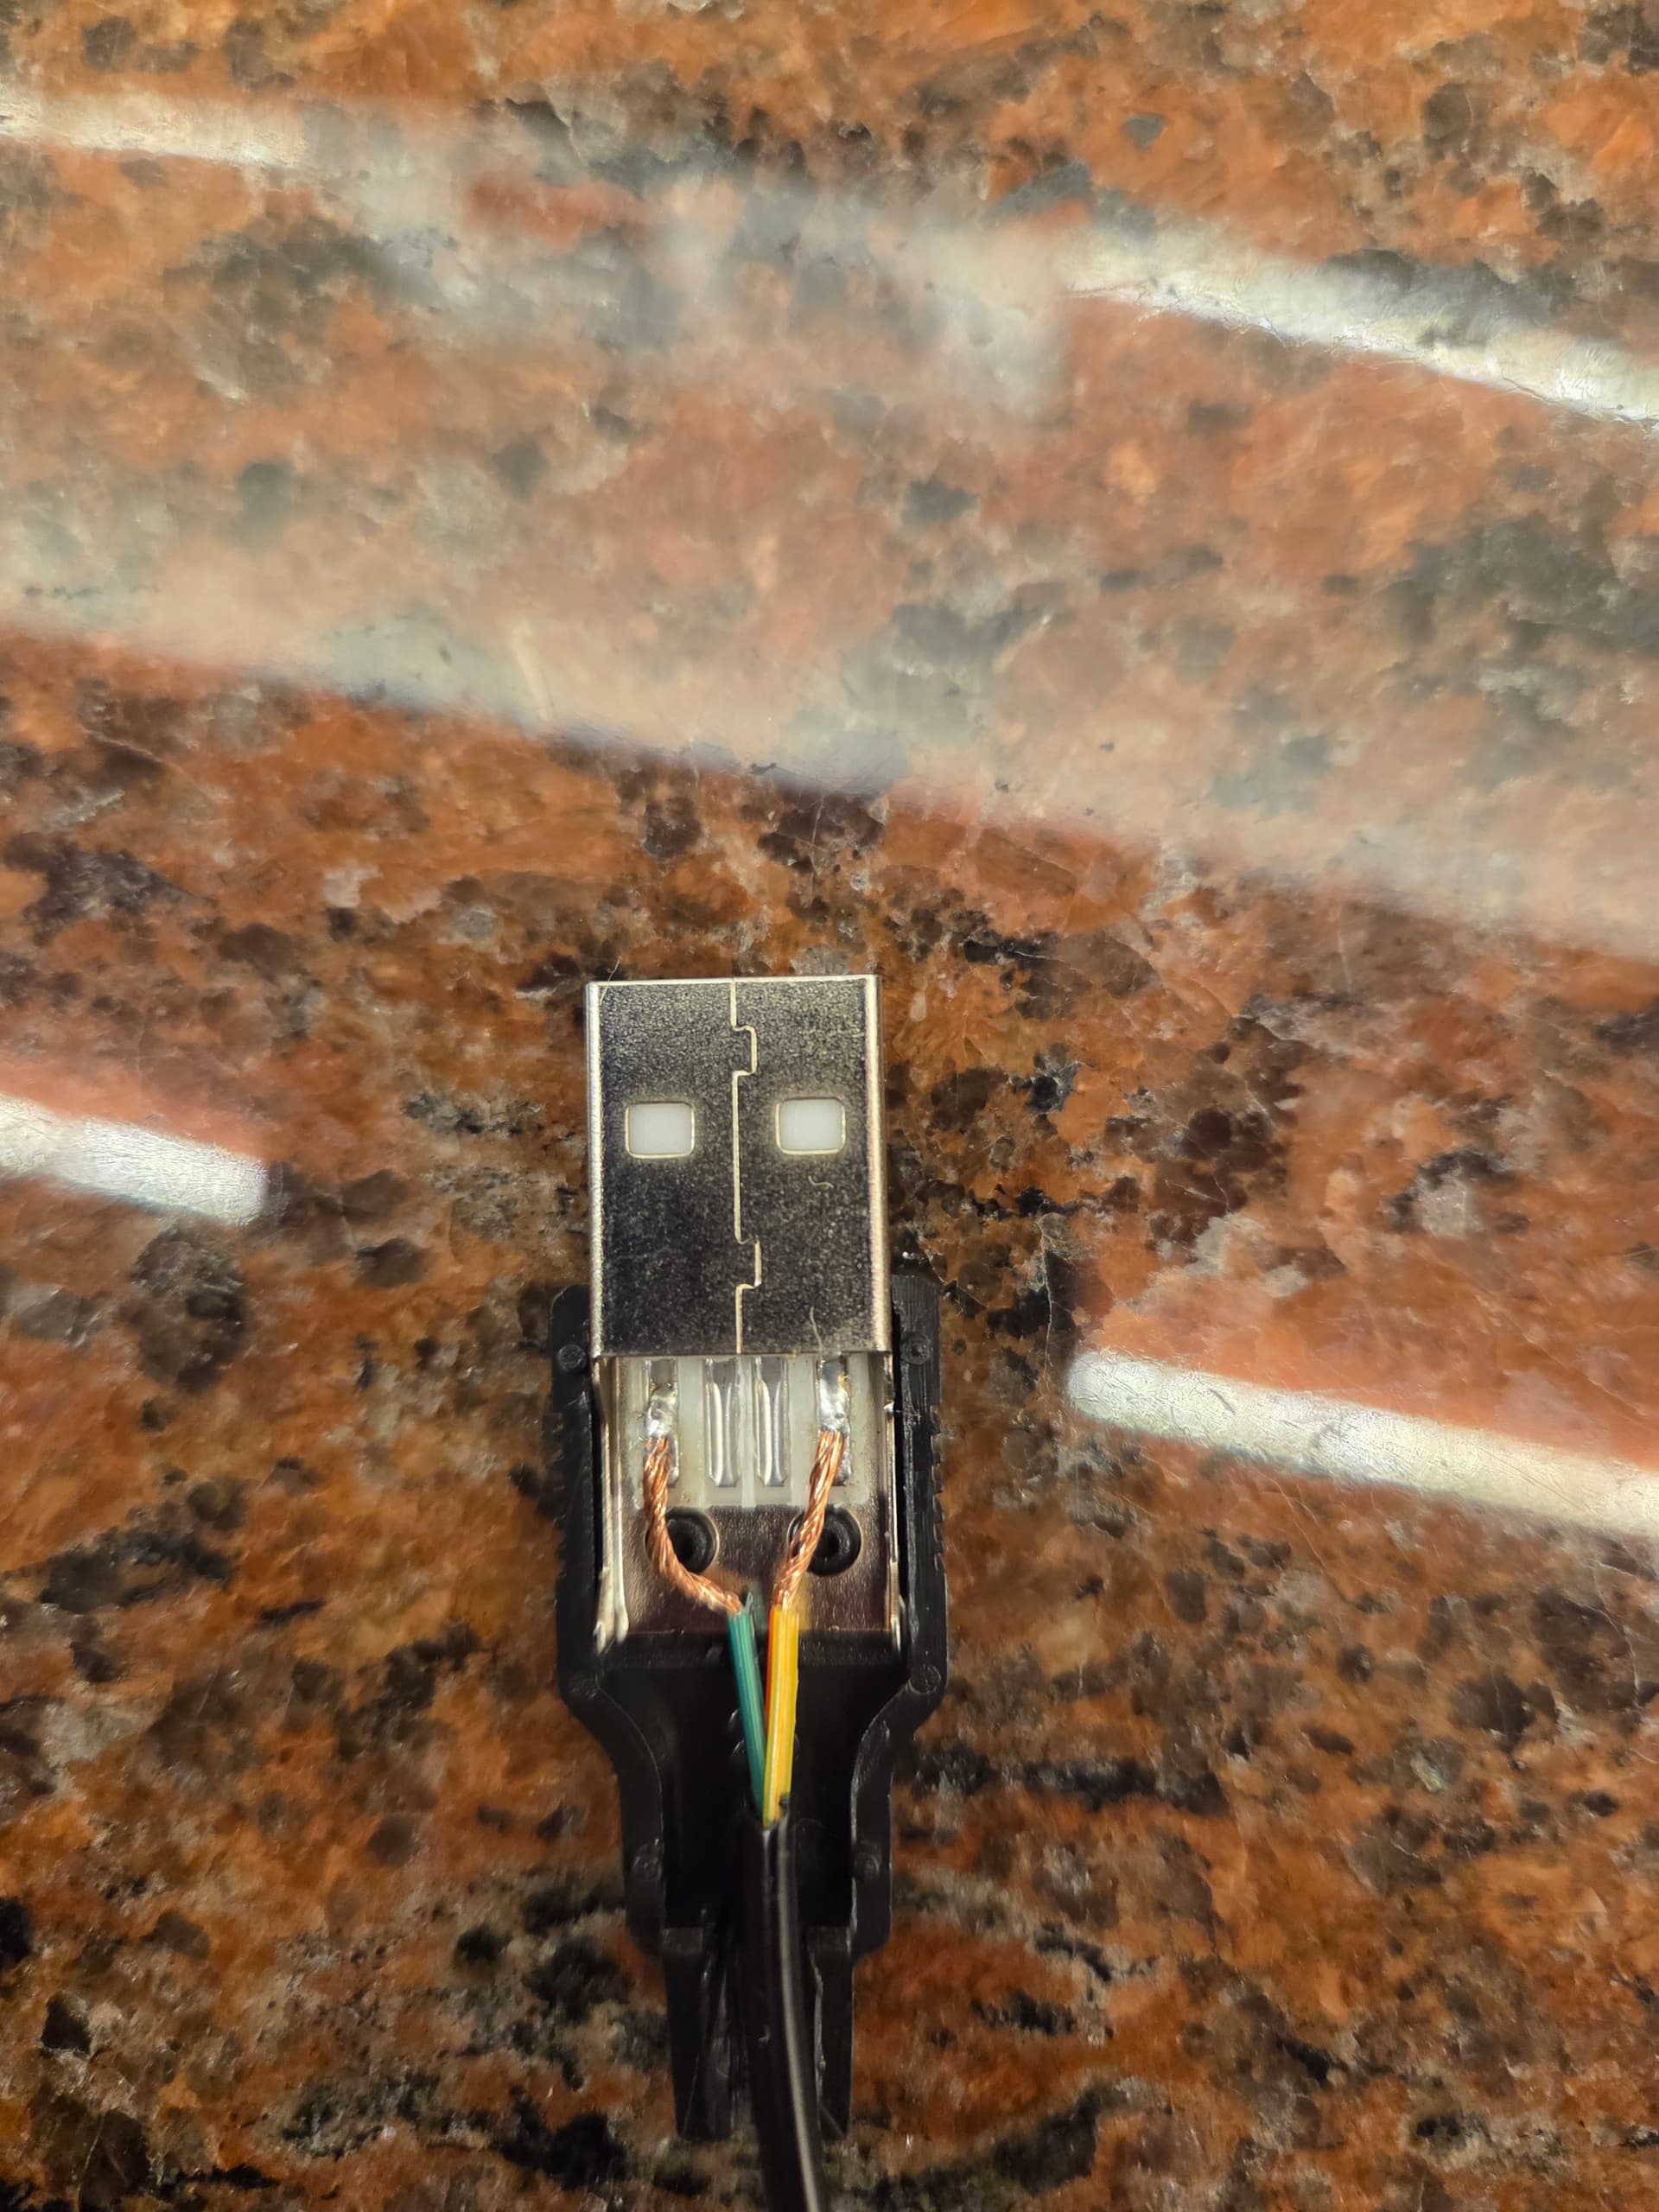
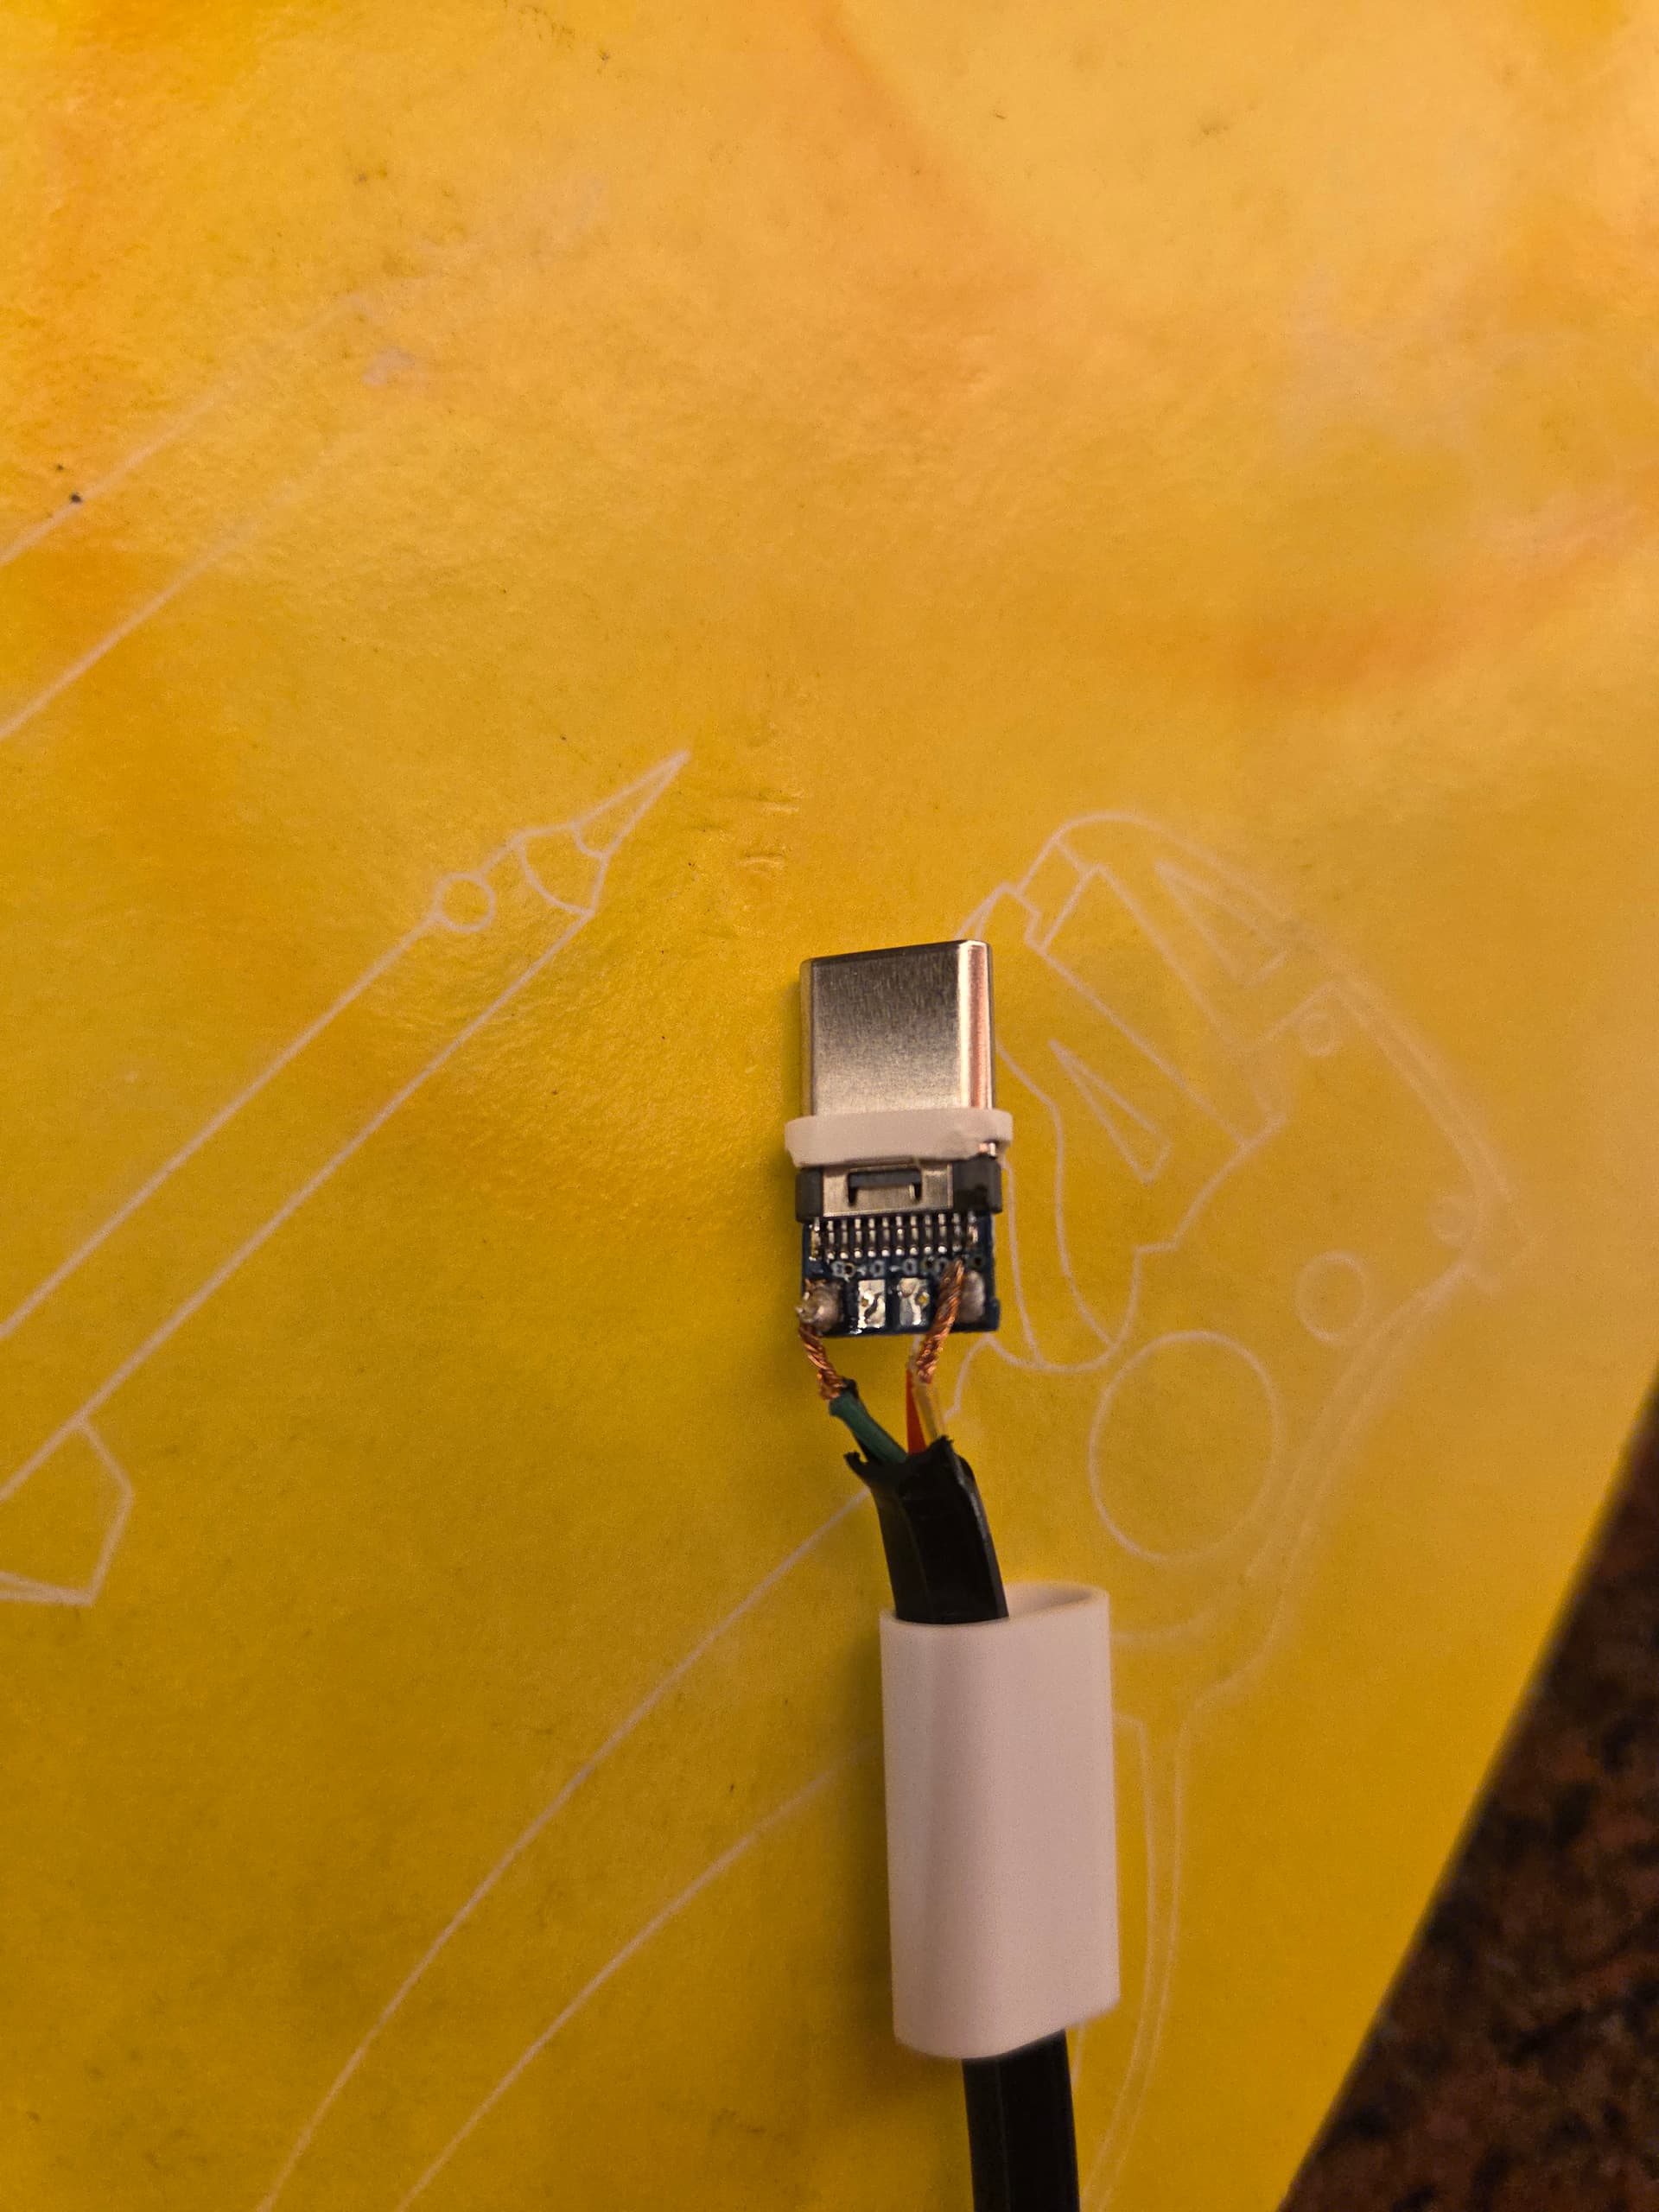
  • Wiring Strategy (Parallel Pairing): Instead of using two cores for USB data and two for power, I paired the conductors to double the cross-sectional area:

  • +5V Line: Red + Yellow wires joined in parallel.

  • Ground (GND) Line: Black + Green wires joined in parallel.

Connectors:

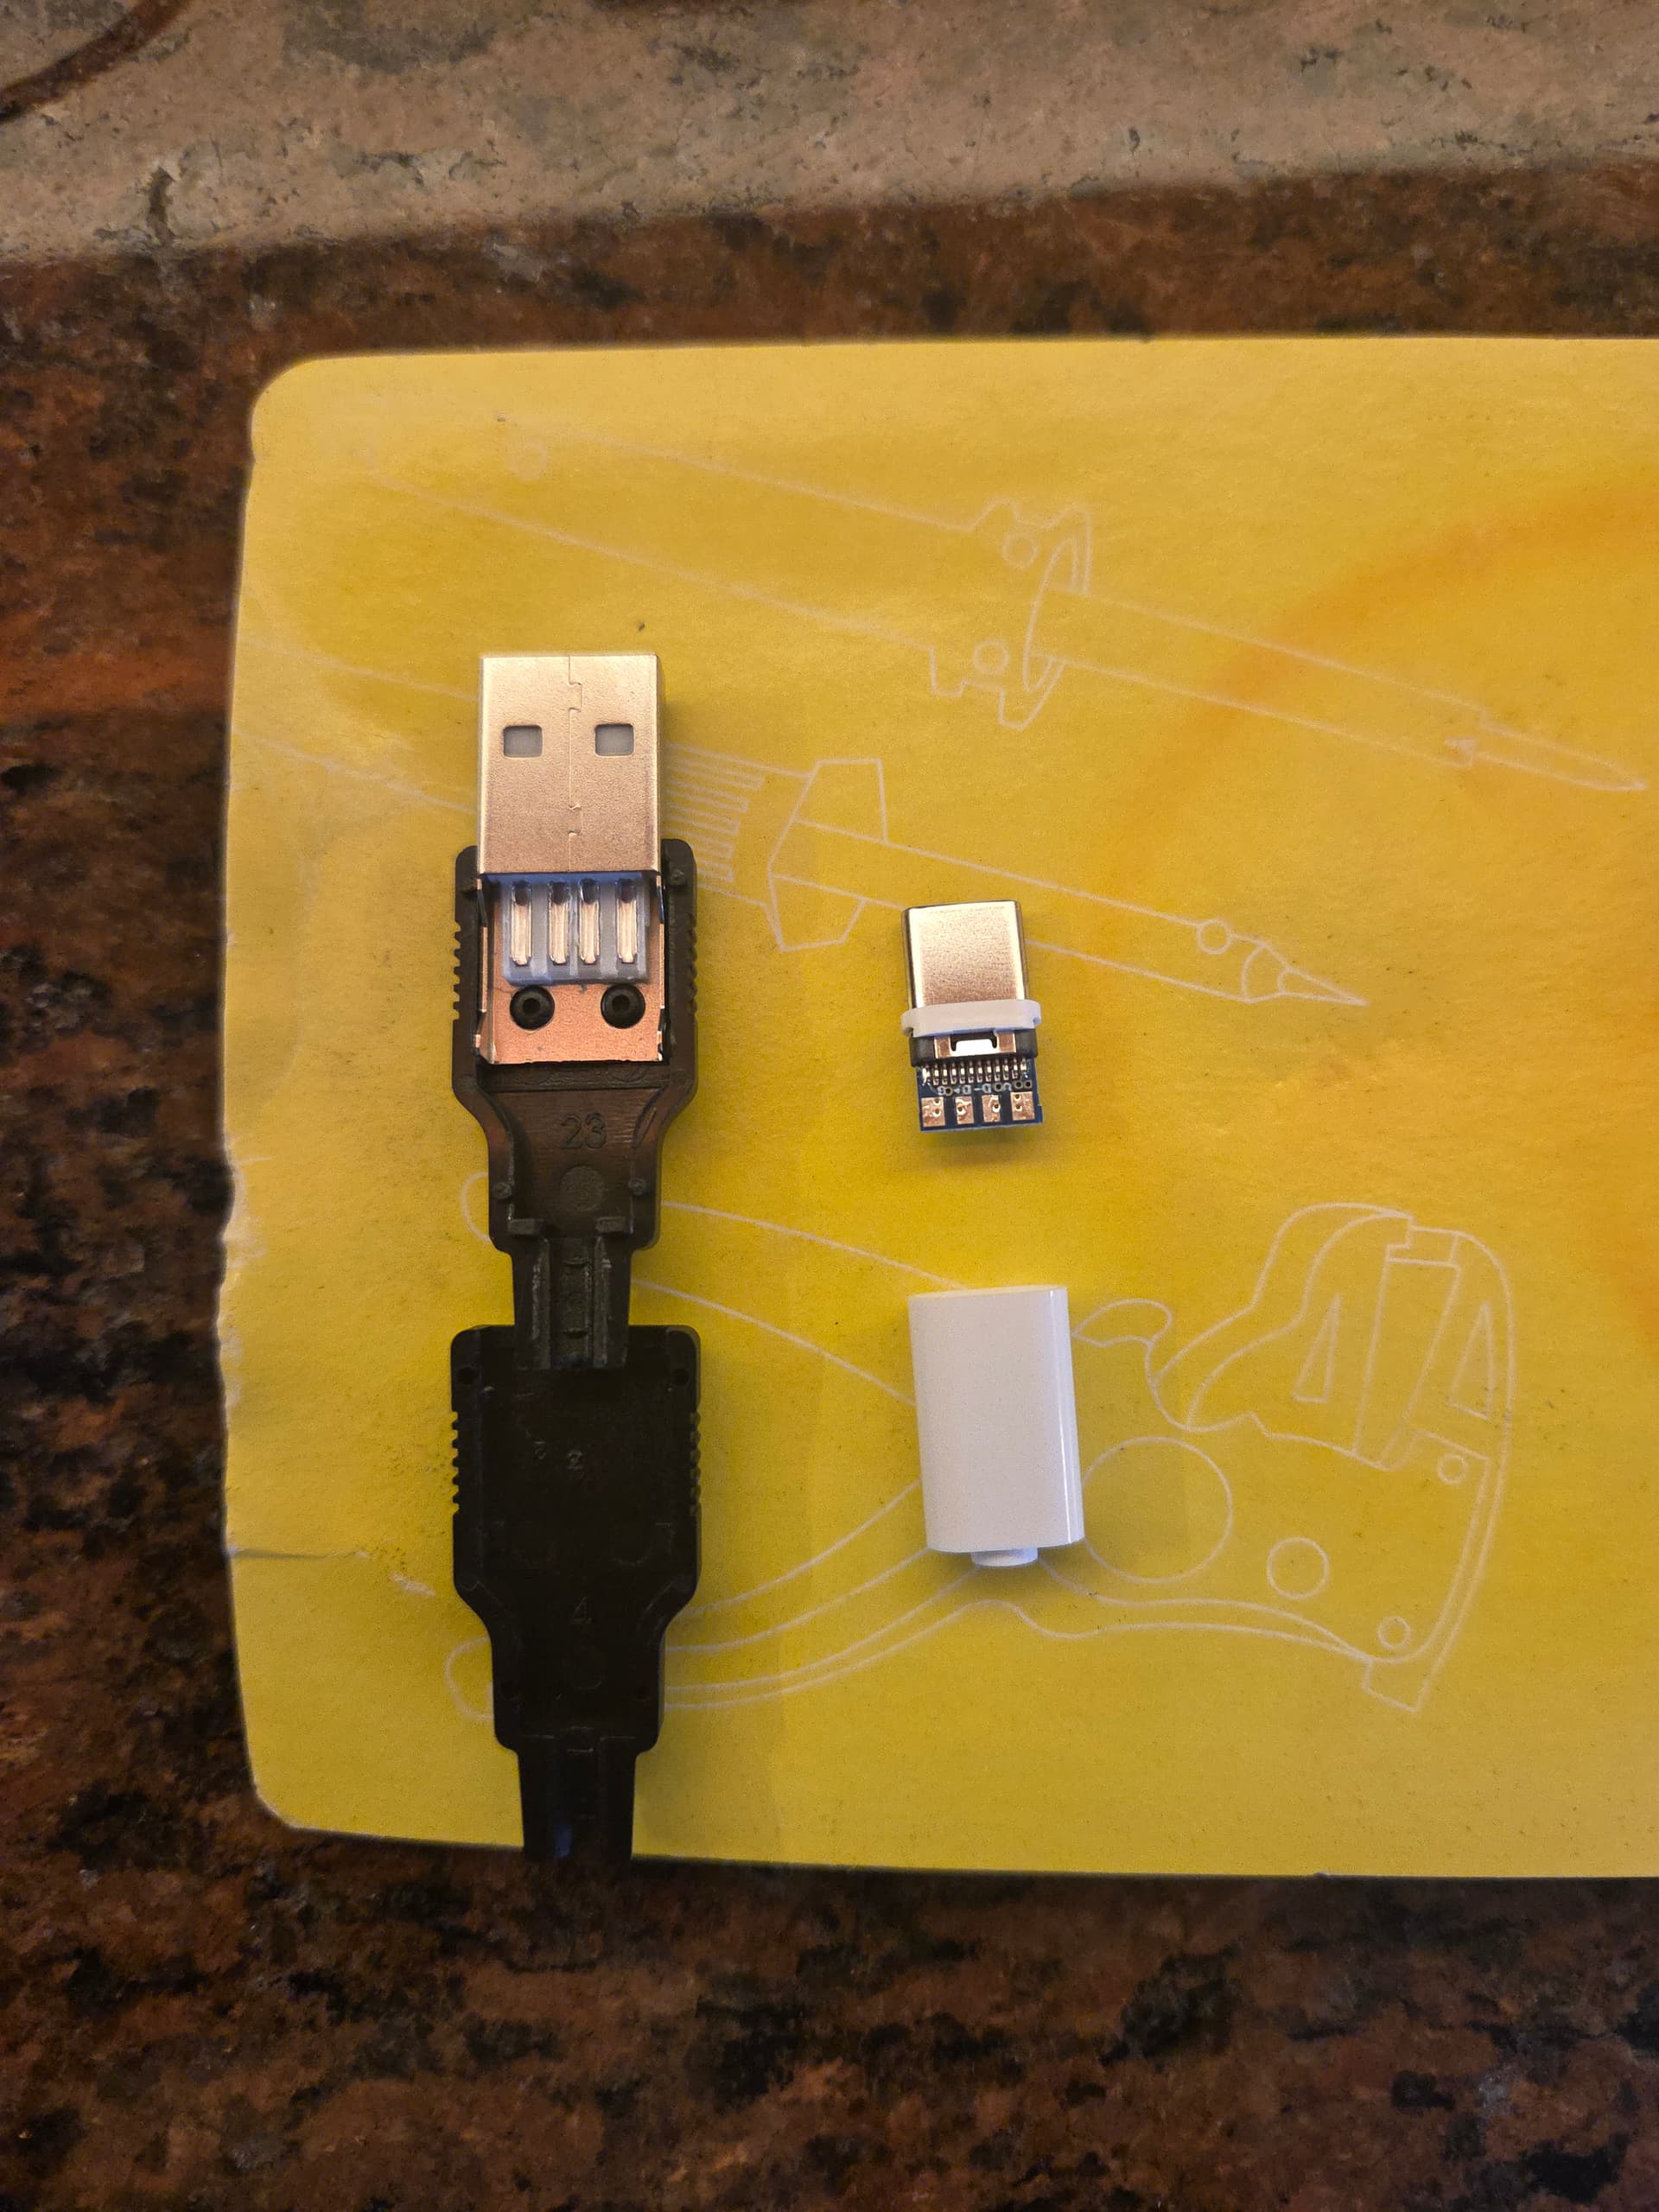
  • Source end: DIY USB-A male connector.
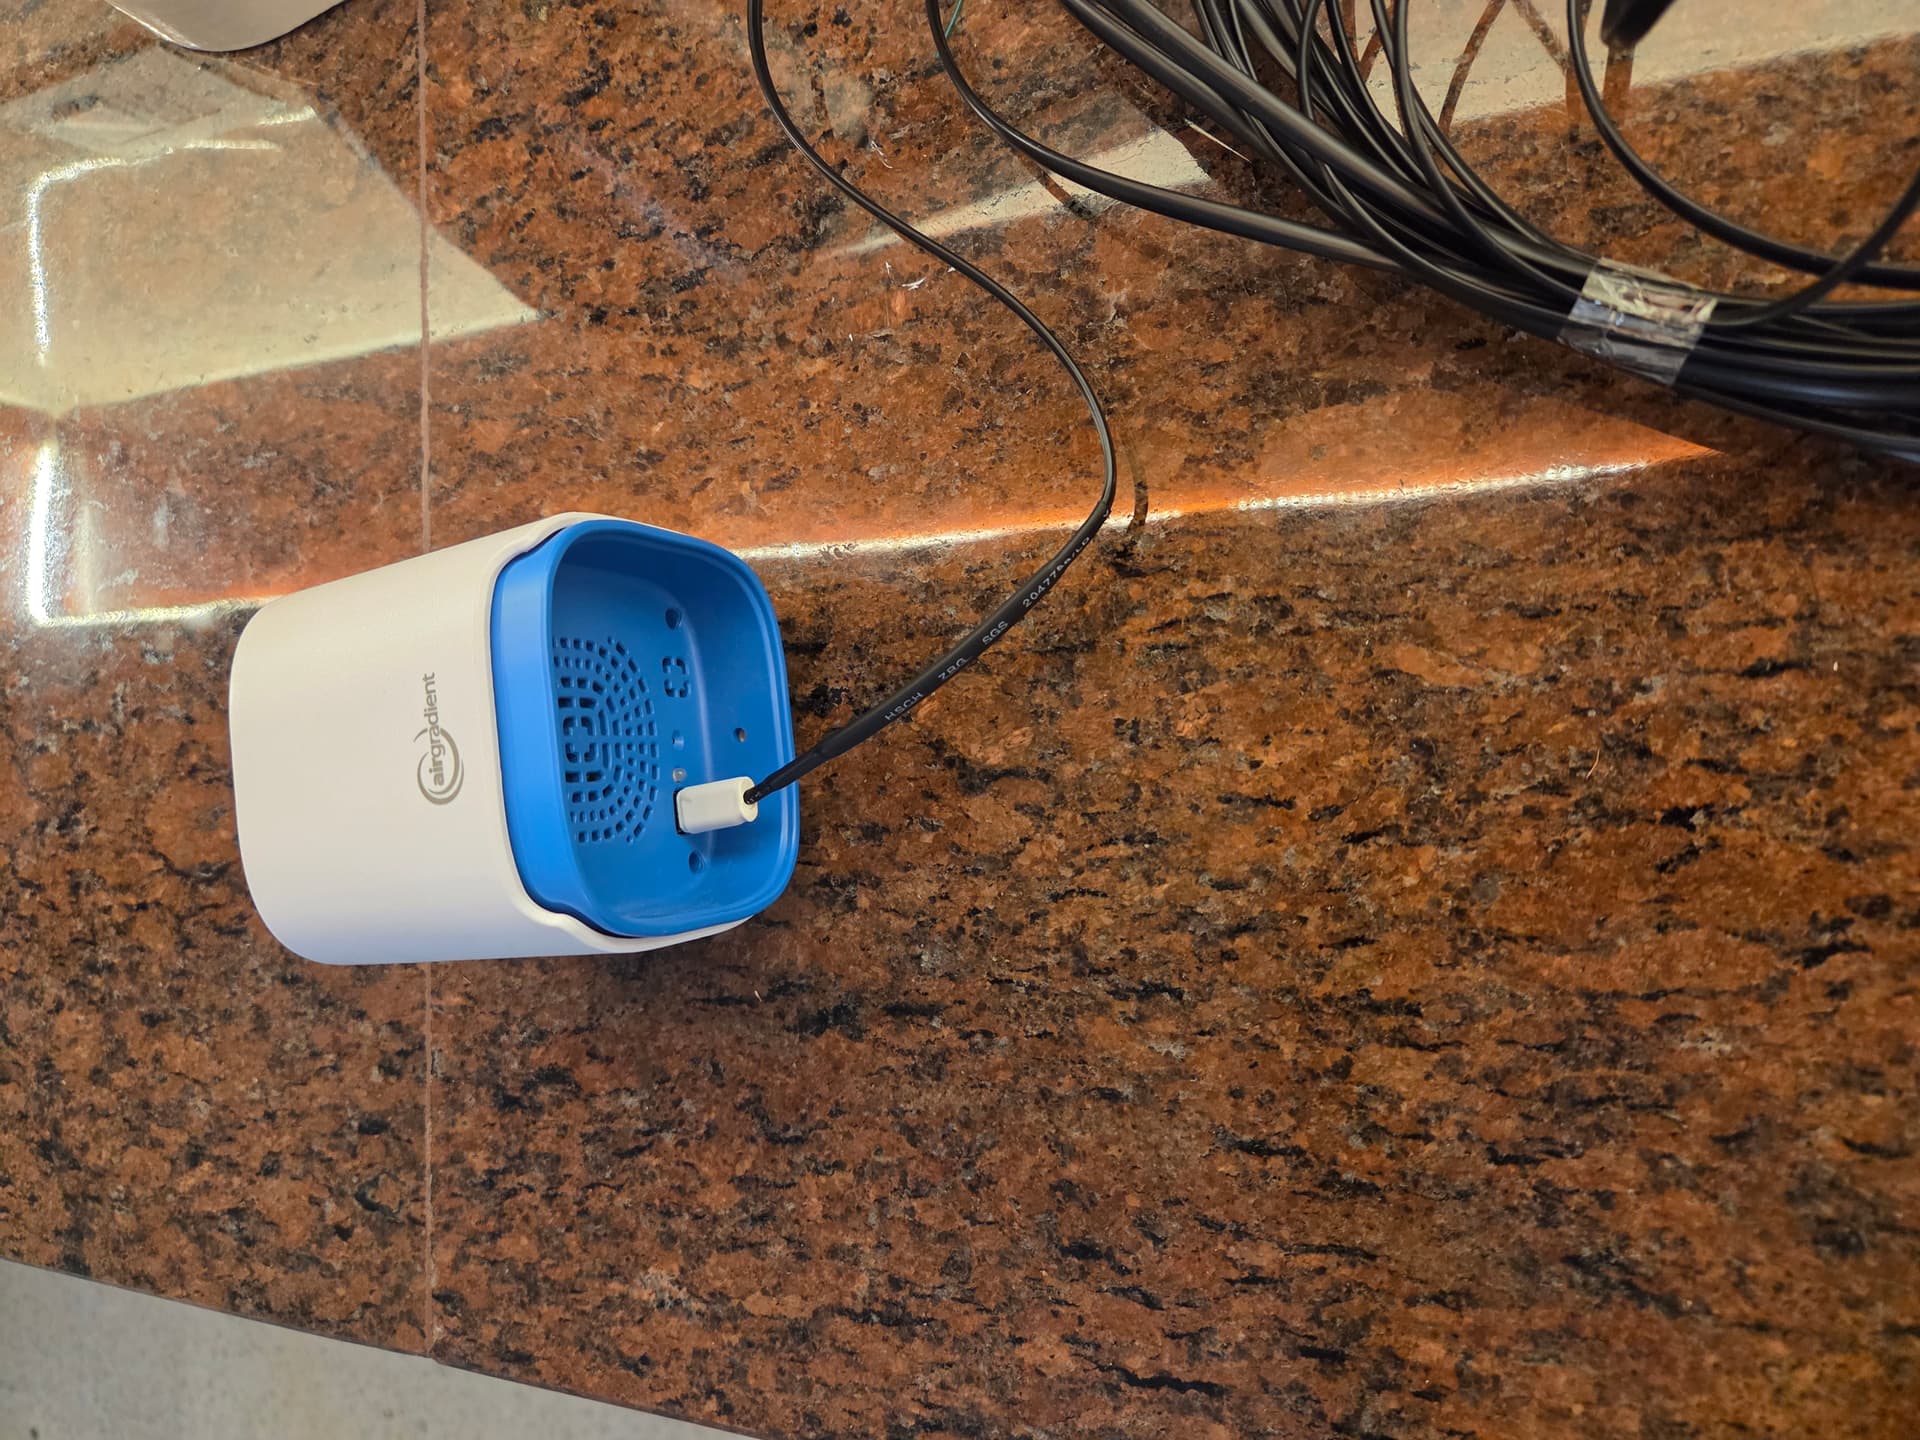
  • Monitor end: DIY USB-C male breakout board with internal T-collar strain relief.
  • Reinforcement: Potting the back housing of the connectors with adhesive/hot glue and finishing with heat-shrink tubing for full mechanical strain relief and outdoor durability.

Results & Measurements

  • Voltage at Power Supply: ~5.2V – 5.3V
  • Voltage at USB-C End (Under Load with Wi-Fi Active): 5.27V!

By doubling up the power and ground conductors, total cable resistance was cut in half, delivering rock-solid voltage to the monitor without any ESP32 reboots or brownouts over a 12 metre cable.

Key Takeaways & Assembly Tips

  1. Clearance Matters: Ensure the internal wire lengths inside the tiny USB-C breakout casing are trimmed short (2–3 mm) and well-isolated to prevent partial short circuits between adjacent pads.
  2. Potting for Rigidity: Filling the connector shells with hot glue/epoxy before closing them turns flimsy DIY shells into rigid, weather-resistant assemblies.

Hope this helps anyone looking for a clean, non-destructive way to power their outdoor monitors over long distances! Let me know if you have any questions about the build or wiring layout.

Duncan


1 Like

Hi @Duncan_Ciappara, welcome to our community, and thank you for sharing your project!

Would you mind sharing some photos of what the installation looks like (the cable through the closed window frame, for example)?

Also, I wonder what the USB-C end voltage is if using only one core. That would be interesting to know. Thank you!

Thanks so much for sharing @Duncan_Ciappara!

1 Like

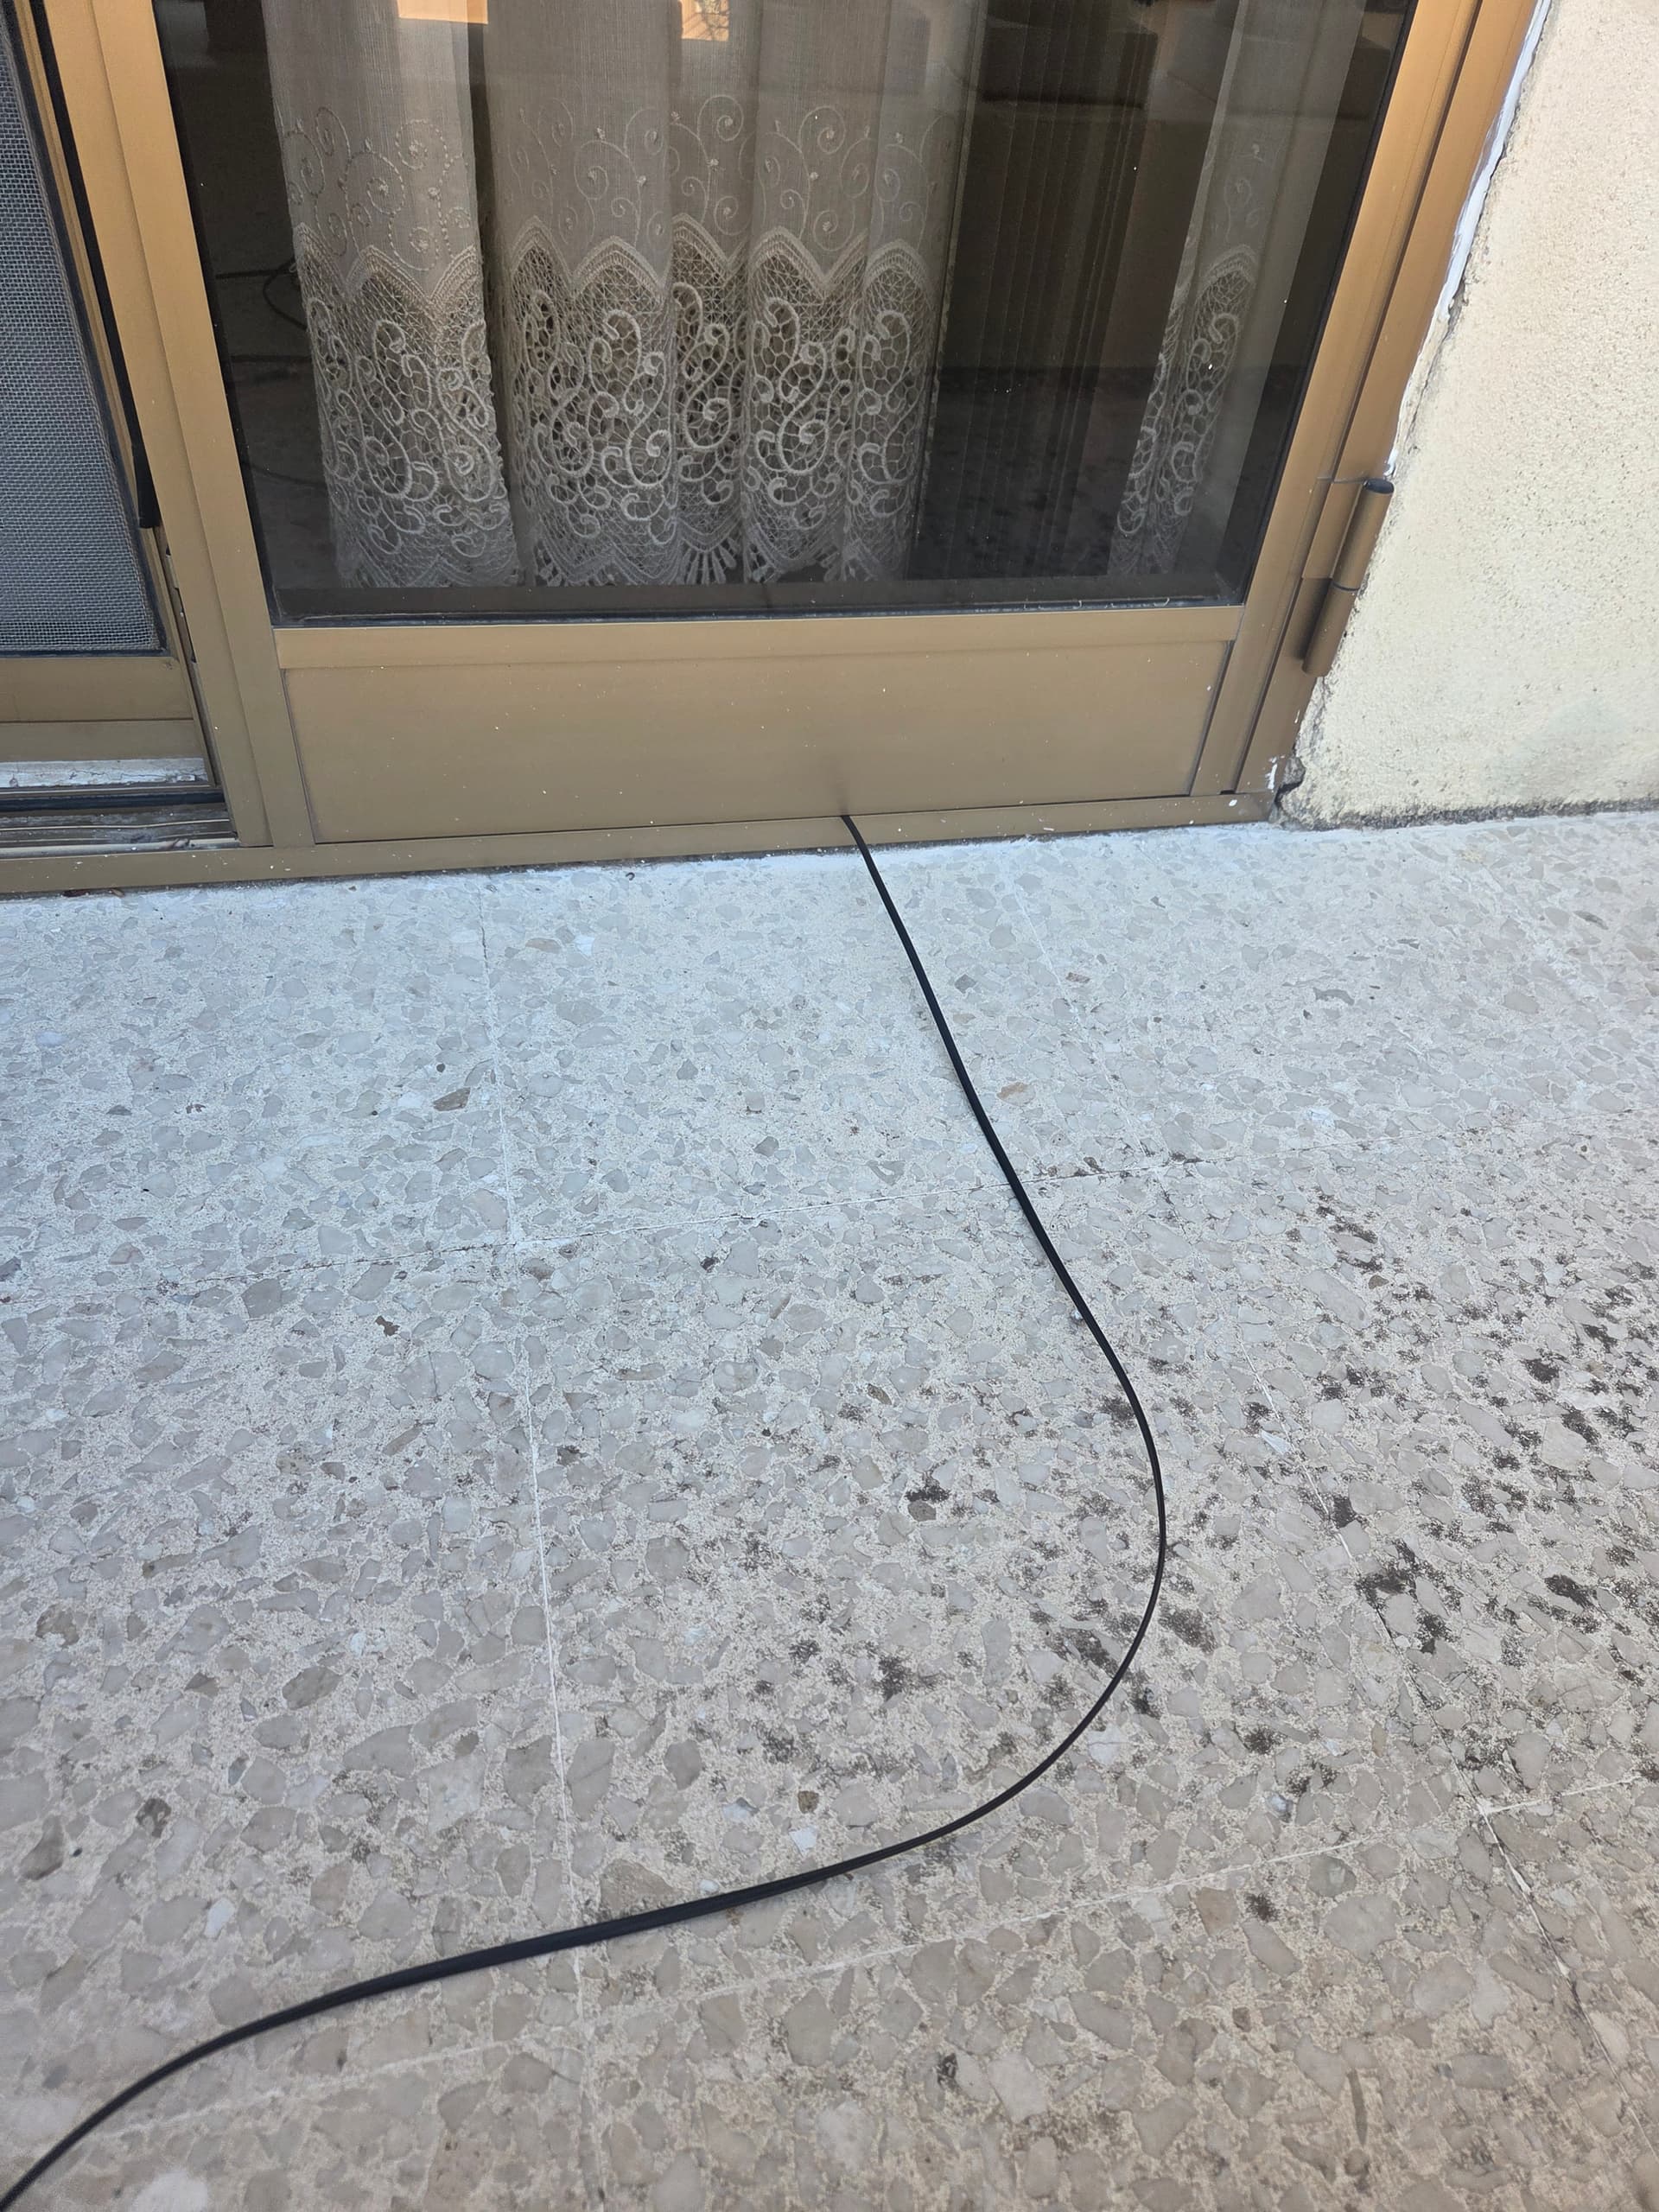
Hi @Tai_AirGradient! Thanks for the questions. Here is what the final setup looks like where the flat cable routes under the door/window frame:

Regarding the single-core voltage question: standard 4-core telephone wire uses quite thin conductors (around 28 AWG). Over a 12-meter run, using just a single core for power introduces too much line resistance, causing a voltage sag under load that triggers ESP32 brownouts. By pairing up two cores in parallel for +5V and two for GND, resistance is halved, which is how I got a stable 5.27V at the far end and rock-solid uptime!

Thank you. If you need to see more pictures or have any questions, I would be happy to help.

1 Like

Hi @Duncan_Ciappara, thanks for the answer and the photo! Seems like a good workaround for those who don’t want to make a hole through the wall. I’m quite obsessed with USB cables and have seen some flat, pre-built USB cables (but they are definitely not as long as 12m). Never thought about using telephone wire before. That’s truly inspiring.

I look forward to hearing from you if this works fine in the long run. Also, do you have any tips for managing the cable under the door? From you photo, it looks like a sliding door?

I have a sliding door at my place, but there is a foam strip that runs along that rail so the gap is sealed. My concern is that if I run a cable under my door like this, it would likely be damaged if the door is regularly used.

Hi @Tai_AirGradient, thank you! I’m glad you liked the telephone cable idea.

To clarify: this is actually a hinged balcony door rather than a sliding door, and it is rarely opened. Because it stays closed, the flat cable rests naturally under the rubber frame seal without experiencing any friction or pinching from regular door movement.

You are completely right that on a frequently used sliding door with dense foam/brush seals, constant dragging would eventually wear down the insulation. But for a semi-permanent installation where the door remains shut, it provides a tight, draft-free seal without damaging the wire!

1 Like

Hi @Duncan_Ciappara, thanks again for sharing more photos. I’m always fascinated to see DIY projects like this, especially what you called ‘semi-DIY’, because I have also been tinkering with something like this for several years. As I don’t own a house, the landlord usually doesn’t want you to make anything permanent. That’s quite painful, but it also brings a lot of creativity.

Please feel free to share with our community if you come up with any DIY projects or let us know if there’s any issues with your Open Air.

Thanks a lot!

Hi @Tai_AirGradient, thank you for the kind words! Being in a situation where you can’t drill permanent holes definitely forces you to get creative, but I’m really glad this flat-cable workaround turned out so reliable.
The Open Air monitor has been running smoothly with continuous data, but I’ll definitely keep the community posted on long-term performance or any future tweaks.

Thanks again for the great support!

1 Like

Thank you, too! Looking forward to hearing from you about the long-term flat cable report!